

©2010 PACE Inc., Annapolis Junction, Maryland All Rights Reserved
Page 8 of 11
a) Press and release the Program Key (
) to keep the stored Low Temperature
Limit.
b) Adjust the stored Lo Temperature Limit (up to 482°C, 900°F) using the keypad.
c) Press and release the Program Key to proceed to the next step.
Temperature Setback
7
.
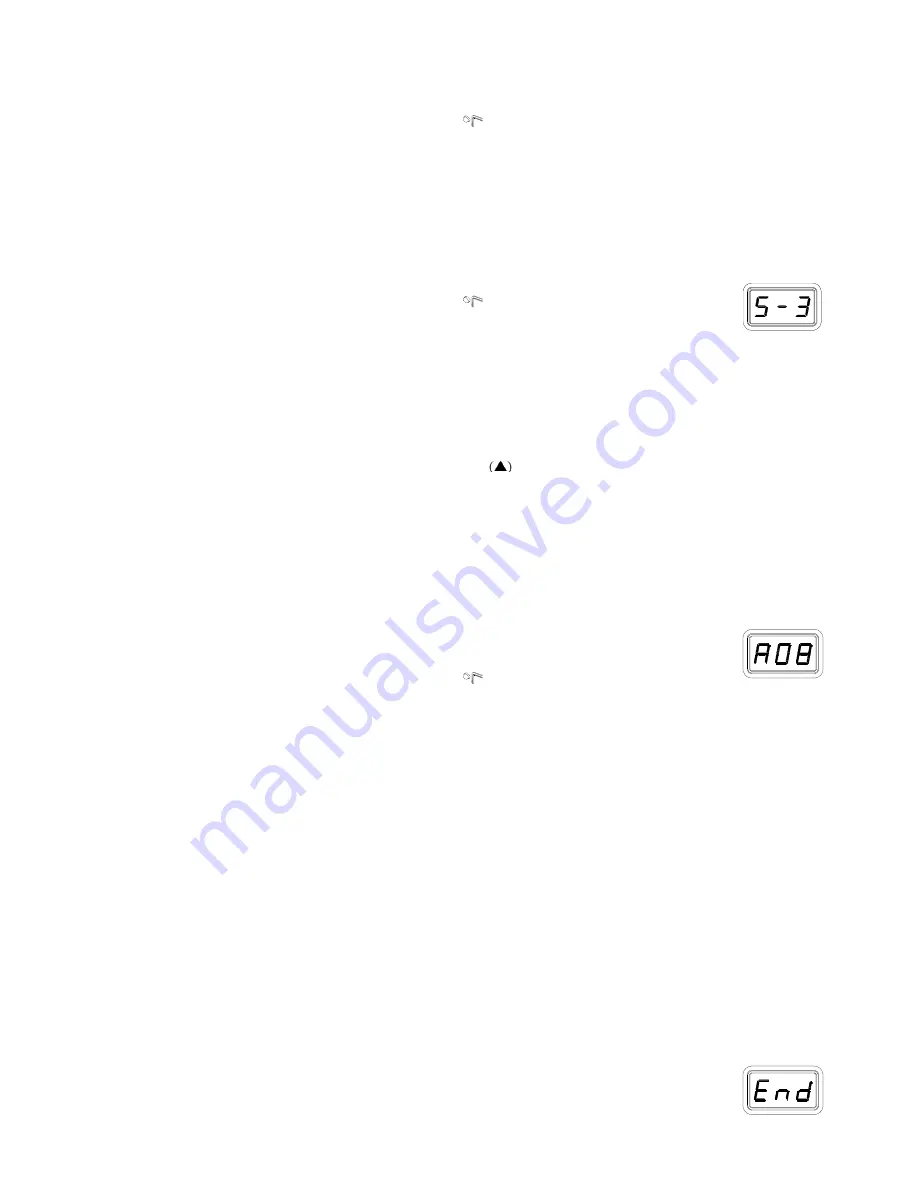
The LED Display now shows the stored Temperature Setback time as "S-X" (x=0 thru 9).
Time is shown as tens of minutes (e.g., "S-3" equals 30 minutes). A display of "S- 0"
indicates that Setback is disabled. Choose one of the following:
a) Press and release the Program Key (
) to keep the currently stored
Temperature Setback time.
b) A adjust the stored Temperature Setback value using keypad.
c) Press and release the Program Key to proceed to the next step.
To preserve tip life and save energy, the system can be programmed to automatically set back its
Tip Temperature to 177°C (350°F) after a selected period of handpiece inactivity (adjustable 10-
90 minutes in Set-Up Mode). As received from the factory, this feature is enabled. There are 2
ways to exit Temperature Setback Mode:
7A1.
Press and release Scroll up Key
.
7A2.
Cycle the Power
Switch.
Set Tip Temperature and Tip Offset values will be simultaneously restored. For optimum
performance, do not attempt to use the attached handpiece until the Set Tip Temperature is
achieved.
Auto Off
8. The LED Display now shows the stored Auto Off time as "AOx" (x=0 thru 9).
Time is shown as tens of minutes (e.g., "AO8" equals 80 minutes). A display of
"AO0" indicates that Auto Off is disabled. Choose one of the following:
a) Press and release the Program Key (
) to keep the currently stored Auto
Off time.
b) Adjust the Auto Off value using the keypad.
c) Press and release the Program Key to proceed to the next step.
8A.
When enabled, the Auto Off safety feature turns off the power to the handpiece 10-90
minutes after entering Temperature Setback. When the system has entered
Temperature Setback, an Auto Off timer within the system circuitry will start running.
8A1.
If any key is pressed during the selected time out period, the Auto Off and
Setback timers are reset. The system will return to normal operation.
8A2.
At the end of the time out period, the system will enter Auto Off. Power is
turned off to the heater and the LED Display will show a flashing “OFF ”.
8B. Exiting
Auto
Off:
Auto Off can be exited; returning to normal operation by:
8B1.
Pressing and releasing a Key (either of the 3 keys), or
8B2
By turning the Power Switch OFF (“0”) and then back ON (“1”).
Exiting Set-Up Mode
9. The LED Display now reads "End". The Set-Up Mode procedure is now complete.
Choose one of the following steps:


