- 14 -
Running the machine in SCRUB ONLY or SCRUB will lower the scrub head to the floor. The scrub head motors will
begin running when the throttle pedal is depressed. Scrub head down pressure is set using the DOWN PRESSURE selector on the
Control Panel. See the chart below for down-pressure forces.
SETTING
DOWN-PRESSURE
1
90 lbs (40.8 kg)
2
120 lbs (54.4 kg)
3
150 lbs (68 kg)
4
180 lbs (81.6 kg)
5
210 lbs (95.3 kg)
SCRUB HEAD
ORBITAL SCRUB HEAD & CHEMICAL-FREE FINISH REMOVAL
NOTE
: Do not operate the Orbital Scrub Head without a pad installed. Operating the head without a pad will damage the Mighty-
Lok
®
face.
STANDARD OPERATION
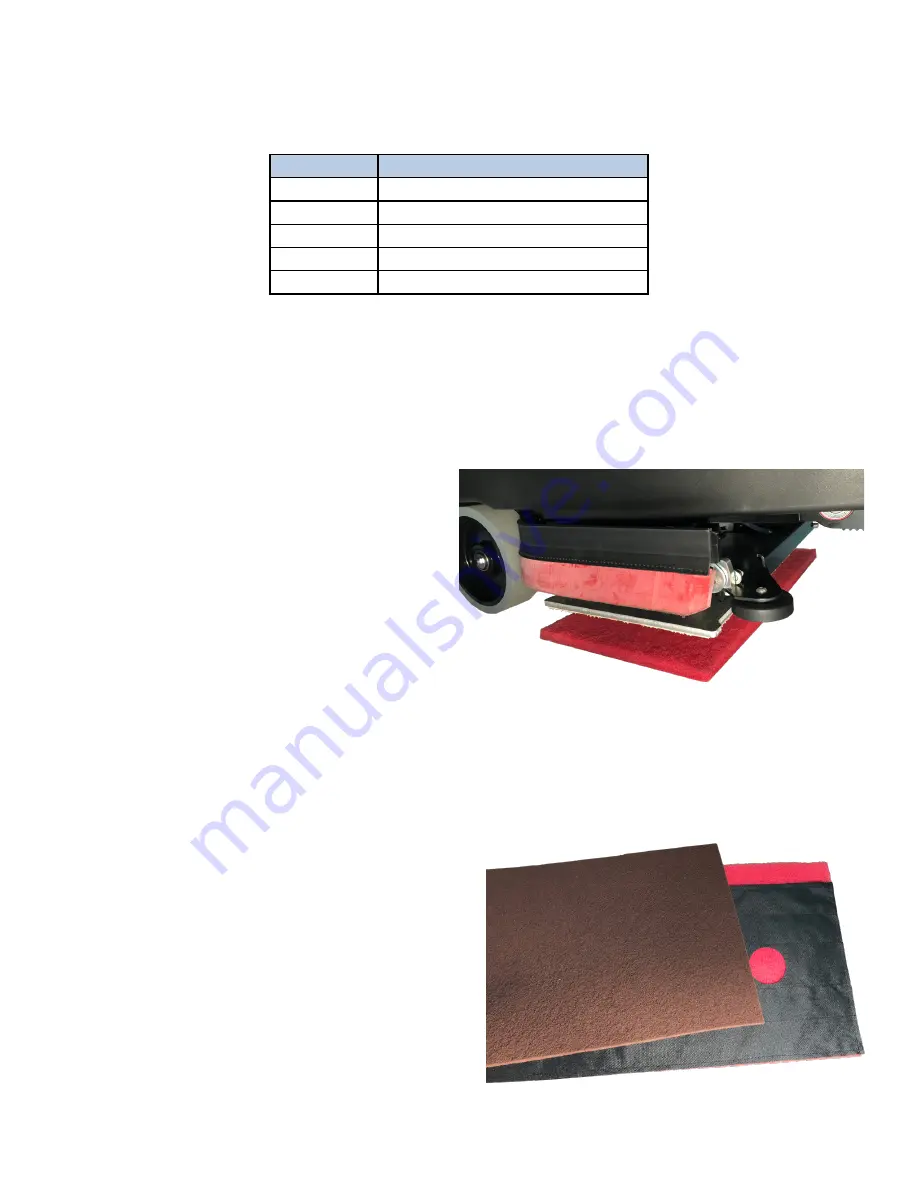
1. With power off and the Scrub Head raised, lift the Side
Squeegees to the raised position.
2. Align the corners of the pad to the corners of the aluminum
plate with Mighty-Lok
®
face and press to attach.
3. Lower the scrub deck onto the pad (by turning power on the
machine and selecting SCRUB ONLY or SCRUB
mode).
4. Ensure the pad is properly aligned front-to-back and right-to-
left. Water should drip directly onto the top of the pad.
5. Lower the Side Squeegees.
6. The machine is ready for operation.
CHEMICAL-FREE FINISH REMOVAL (CFR) PAD ASSEMBLY & OPERATION
In addition to the traditional cleaning pad, a specialized surface preparation pad is required for chemical-free finish removal. The
standard red scrub pad acts as a “backer” and compensates for variances in the floor.
1. Place the black retainer pad 2” back from the front of the red
scrub pad.
2. Align the maroon CFR pad with the red scrub pad.
3. Ensure the pads are aligned so that the black pad is justified
towards the back of the machine, so that the gap described in Step
1 is towards the front of the machine.
4. Install the pads in accordance with the instructions above for
standard operation.
5. Fill the Solution Tank with clean water.
6. Set the DOWN PRESSURE selector to the maximum setting.
7. Set the SOLUTION FLOW to the medium setting. Adjust as
needed to obtain the optimum finish removal using the least
amount of water for effective rinsing.
8. Set the MAX SPEED selector to the lowest setting.
Summary of Contents for RS28
Page 23: ...20 RETURN TO TABLE OF CONTENTS PAGE INTENTIONALLY LEFT BLANK...
Page 43: ...RETURN TO TABLE OF CONTENTS 40 PAGE INTENTIONALLY LEFT BLANK...
Page 52: ...49 RETURN TO TABLE OF CONTENTS ELECTRICAL DIAGRAMS...
Page 53: ...RETURN TO TABLE OF CONTENTS 50 ELECTRICAL DIAGRAMS...
Page 54: ...RETURN TO TABLE OF CONTENTS 51 DATE MAINTENANCE LOG...
Page 55: ...52 RETURN TO TABLE OF CONTENTS DATE MAINTENANCE LOG...
Page 57: ...54 RETURN TO TABLE OF CONTENTS PAGE INTENTIONALLY LEFT BLANK...
Page 58: ...www pacificfloorcare com...

