


9
MACHINE PREPARATION
2
1
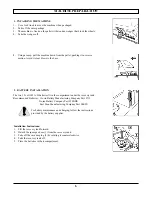
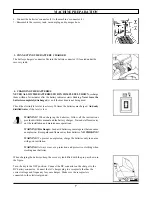
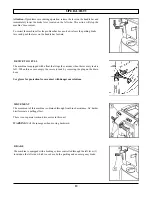
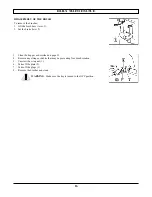
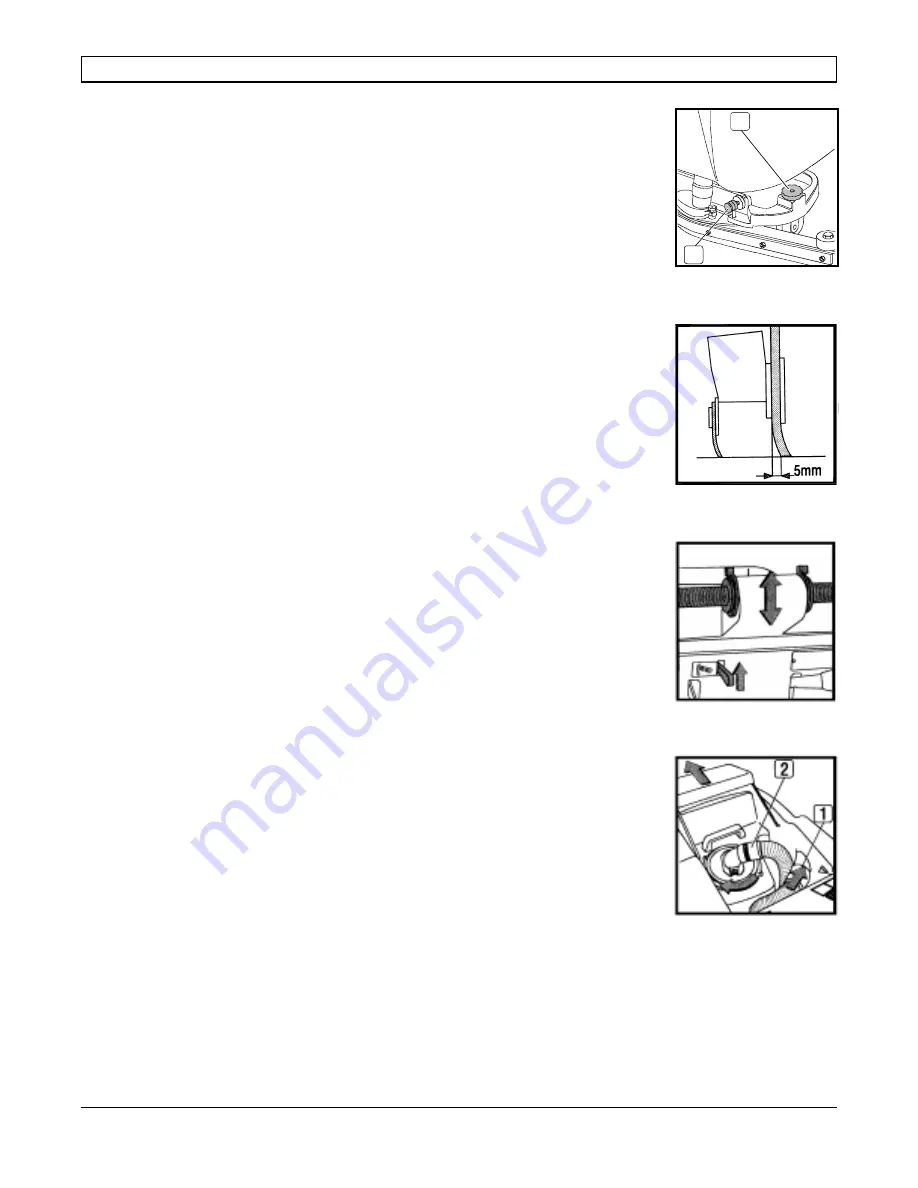
8. ADJUSTING THE SQUEEGEE HEIGHT
The height from the floor to the squeegee should be adjusted based on the blade’s
wear. Rotate the knob (2) counter-clockwise to lift the squeegee and clockwise to
lower it.
Note: Adjust the right and left knobs the same amount; the squeegee should be
positioned parallel to the floor.
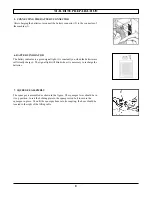
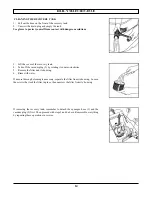
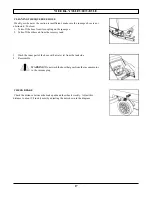
9. ADJUSTING THE SQUEEGEE INCLINATION
During operation, the rear squeegee blade is most efficient when tilted back about
3/16 inch (5mm) along its whole length. To increase the blade bending in the central
part, tilt the squeegee body backward by turning the adjuster (1) counter-clockwise.
Subsequently, turn the adjuster clockwise to increase the bending at the sides of the
squeegee blade.
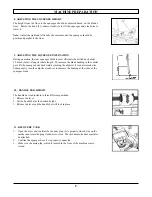
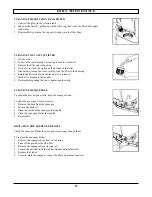
10. HANDLE BAR HEIGHT
The handle bar is adjustable in three different positions:
1. Release the lever.
2. Put the handle bar at the desired height.
3. Release the lever and the handle bar will lock in place.
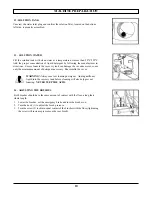
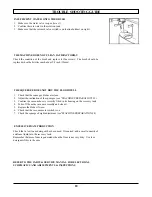
11.
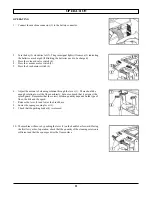
RECOVERY TANK
1.
Open the cover and confirm the vacuum plug (2) is properly closed: line up the
notches and rotate the plug clockwise to close. The vacuum motor hose must also
be attached.
2.
Confirm the squeegee hose (1) is properly connected.
3. Make sure the drain plug, which is located in the front of the machine is also
closed.
Summary of Contents for Floormaster 18B
Page 19: ...19 NOTES...


