TROUBLESHOOTING GUIDE
ISSUE
POTENTIAL CAUSE
PROPOSED SOLUTION
Machine isn’t cleaning satisfactorily
Pad or brush may be worn
Inspect & replace if necessary. Brushes should be
replaced when the bristles reach a length of 3/4 in
(19 mm)
Excessive foam is being produced in the recovery tank
Detergent used is not a low foaming
detergent
Check bottle label. Use low foaming detergent or
add a small quantity of defoamer to the recovery
tank. More foam is generated when a floor is lightly
soiled. Use less detergent if this is the case
Brush motor will not activate
Scrub head is still in the transport/
storage position
Lower scrub head to operating position
Batteries are discharged to the point
that the brush motor is shut down
Recharge the batteries
Brush motor or wiring may be faulty
Contact a service center for testing
Brush motor circuit breaker has been
tripped
Reset brush motor circuit breaker on back panel of
scrubber
Brush motor relay may be faulty
Contact a service center for testing
Scrub head switch may be faulty
Contact a service center for testing
Handle switch may be faulty
Contact a service center for testing
Vacuum motor will not turn on
Squeegee is still in transport/storage
position
Lower squeegee to operating position
Vacuum motor relay may be faulty
Contact a service center for testing
Vacuum motor or wiring may be faulty
Contact a service center for testing
Traction drive (if equipped) does not activate
Traction drive motor circuit breaker
has been tripped
Reset traction drive motor circuit breaker on back
panel of scrubber
Speed control knob is turned too far
to the left
Rotate knob to the right
Traction drive motor or wiring may be
faulty
Contact a service center for testing
Traction drive motor controller may
be faulty
Contact a service center for testing
Run time is short
Batteries are discharged
Recharge the batteries for a full cycle
Wet batteries may need to be watered
See End of Shift Maintenance segment of manual
Batteries are defective
Replace batteries
Battery charger is defective
Repair or replace charger
Scrub head is locked in high down
pressure setting
Change scrub head setting from high down pressure
setting to normal operation setting
Charger is set to incorrect battery
type
Verify dip switch setting is correct on charger
using Setting the Dip Switches segment in the
Machine Preparation segment of this manual
Summary of Contents for S-20
Page 37: ...37 S 20 AUTO SCRUBBER FRAME ASSEMBLY TRACTION...
Page 38: ...38 S 20 AUTO SCRUBBER FRAME ASSEMBLY PAD BRUSH ASSIST...
Page 39: ...39 S 20 AUTO SCRUBBER SOLUTION TANK ASSEMBLY...
Page 40: ...34 S 20 AUTO SCRUBBER BATTERY ASSEMBLY...
Page 41: ...41 S 20 AUTO SCRUBBER RECOVERY TANK ASSEMBLY...
Page 42: ...42 S 20 AUTO SCRUBBER SQUEEGEE ASSEMBLY...
Page 43: ...43 S 20 AUTO SCRUBBER SQUEEGEE LINK ASSEMBLY...
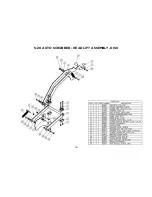
Page 44: ...44 S 20 AUTO SCRUBBER HEAD LIFT ASSEMBLY DISK...
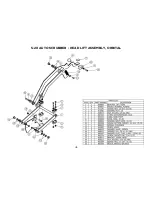
Page 45: ...45 S 20 AUTO SCRUBBER HEAD LIFT ASSEMBLY ORBITAL...
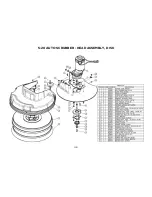
Page 46: ...46 S 20 AUTO SCRUBBER HEAD ASSEMBLY DISK...
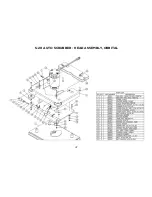
Page 47: ...47 S 20 AUTO SCRUBBER HEAD ASSEMBLY ORBITAL...
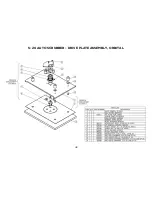
Page 48: ...48 S 20 AUTO SCRUBBER DRIVE PLATE ASSEMBLY ORBITAL...
Page 49: ...49 S 20 AUTO SCRUBBER CONTROLS ASSEMBLY TRACTION...
Page 50: ...50 S 20 AUTO SCRUBBER CONTROLS ASSEMBLY PAD BRUSH ASSIST...
Page 51: ...51 S 20 AUTO SCRUBBER ELECTRONICS ASSEMBLY TRACTION...
Page 52: ...52 S 20 AUTO SCRUBBER ELECTRONICS ASSEMBLY PAD BRUSH ASSIST...
Page 53: ...53 S 20 AUTO SCRUBBER CHARGER ASSEMBLY ON BOARD...
Page 54: ...S 20 AUTO SCRUBBER WIRING DIAGRAM TRACTION DRIVE DISK...
Page 55: ...S 20 AUTO SCRUBBER WIRING DIAGRAM PAD BRUSH ASSIST DISK...


