11
1. STARTING WORK
1.
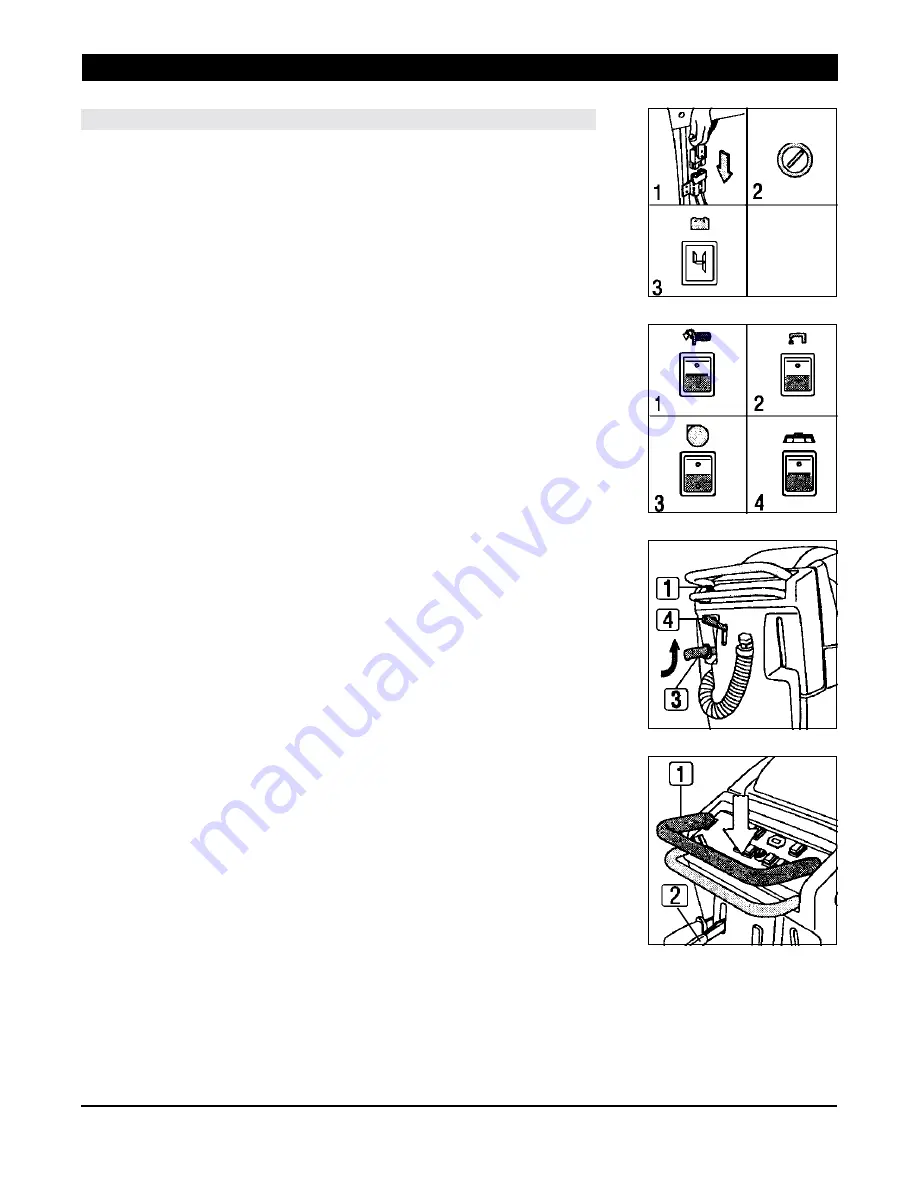
Connect the machine connector to the battery connector (1).
2.
Turn the key (2) clockwise to position I (ON) . The green signal light will come on
(3) indicating the batteries are charged (if blinking, the batteries need to be charged).
3.
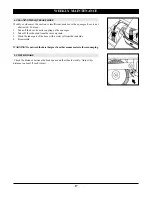
Press in on the top of the brush motor switch (1), the brush indicator light (4) will
illuminate.
4.
Press the solenoid valve switch (2).
5.
Press the vacuum motor switch (3).
6.
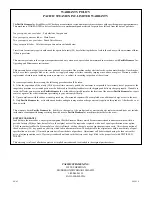
Adjust the amount of cleaning solution through lever (1). There should be
enough solution to wet the floor uniformly, but not so much that it gets past the
splash guard. Remember that the correct solution quantity depends on the type of
floor, the dirt and the speed.
7.
Release the foot pedal and lower the brush base.
8.
Lower the squeegee: Release lever (3) by pushing it in and then up.
9.
Check that the parking brake (4) is released, the light should be off.
10. The machine will move by pushing down on the lever (1). During the first few yards
of operation, check that the quantity of the cleaning solution is sufficient and that
the squeegee dries the floor surface.
0
I
OPERATION
WARNING: The parking brake (2) must be released prior to pushing down on
the drive lever (1). If the parking brake is left on, damage may occur to the
drive belt.


