Chapter 3
97
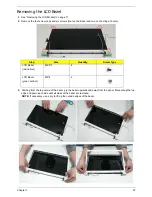
Removing the LCD Bezel
1.
See “Removing the LCD Module” on page 71.
2.
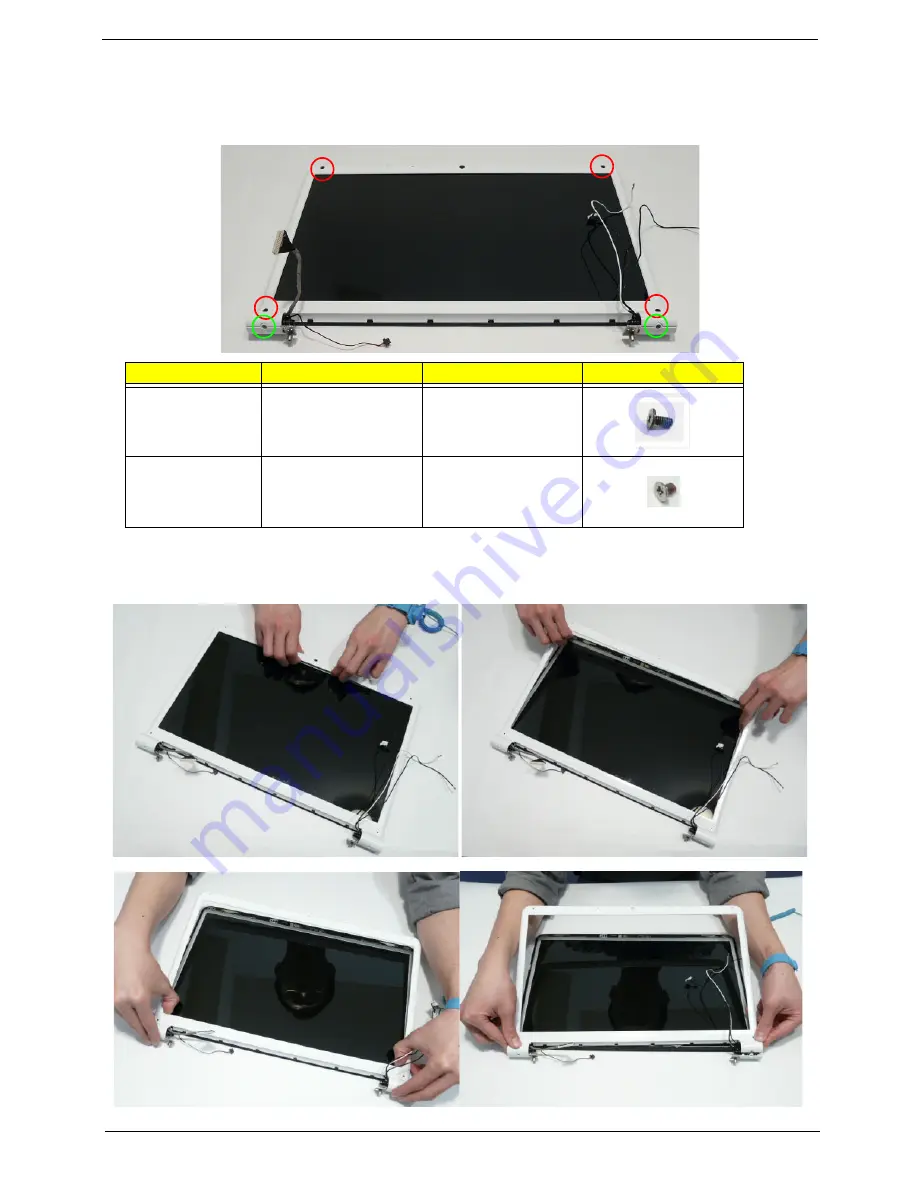
Remove the four screw caps and six screws (four on the Bezel and two on the Hinge Covers).
3.
Starting from the top centre of the bezel, pry the bezel upwards and away from the panel. Move along the top
edge and down each side until all sides of the bezel are removed.
NOTE:
If necessary, use a pry to lift up the outside edges of the bezel.
Step
Size
Quantity
Screw Type
LCD Bezel
(red callout)
M2.5*5
4
LCD Bezel
(green callout)
M2*4
2
Summary of Contents for EasyNote LJ75
Page 6: ...VI ...
Page 10: ...X Table of Contents Online Support Information 207 Index 209 ...
Page 15: ...Chapter 1 5 System Block Diagram ...
Page 58: ...48 Chapter 2 ...
Page 71: ...Chapter 3 61 5 Remove the HDD from the carrier ...
Page 85: ...Chapter 3 75 11 Carefully remove the LCD module from the chassis ...
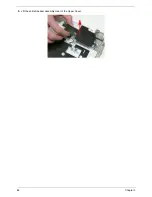
Page 94: ...84 Chapter 3 5 Lift the entire Speaker assembly clear of the Upper Cover ...
Page 148: ...138 Chapter 3 ...
Page 178: ...168 Chapter 4 ...
Page 186: ...176 Chapter 5 ...
Page 199: ...Chapter 6 189 ...
Page 216: ...206 Appendix B ...
Page 218: ...208 Appendix C ...
Page 222: ...212 ...

