126
Chapter 3
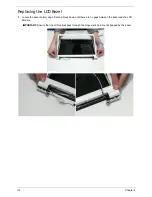
Replacing the LCD Module
1.
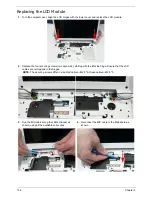
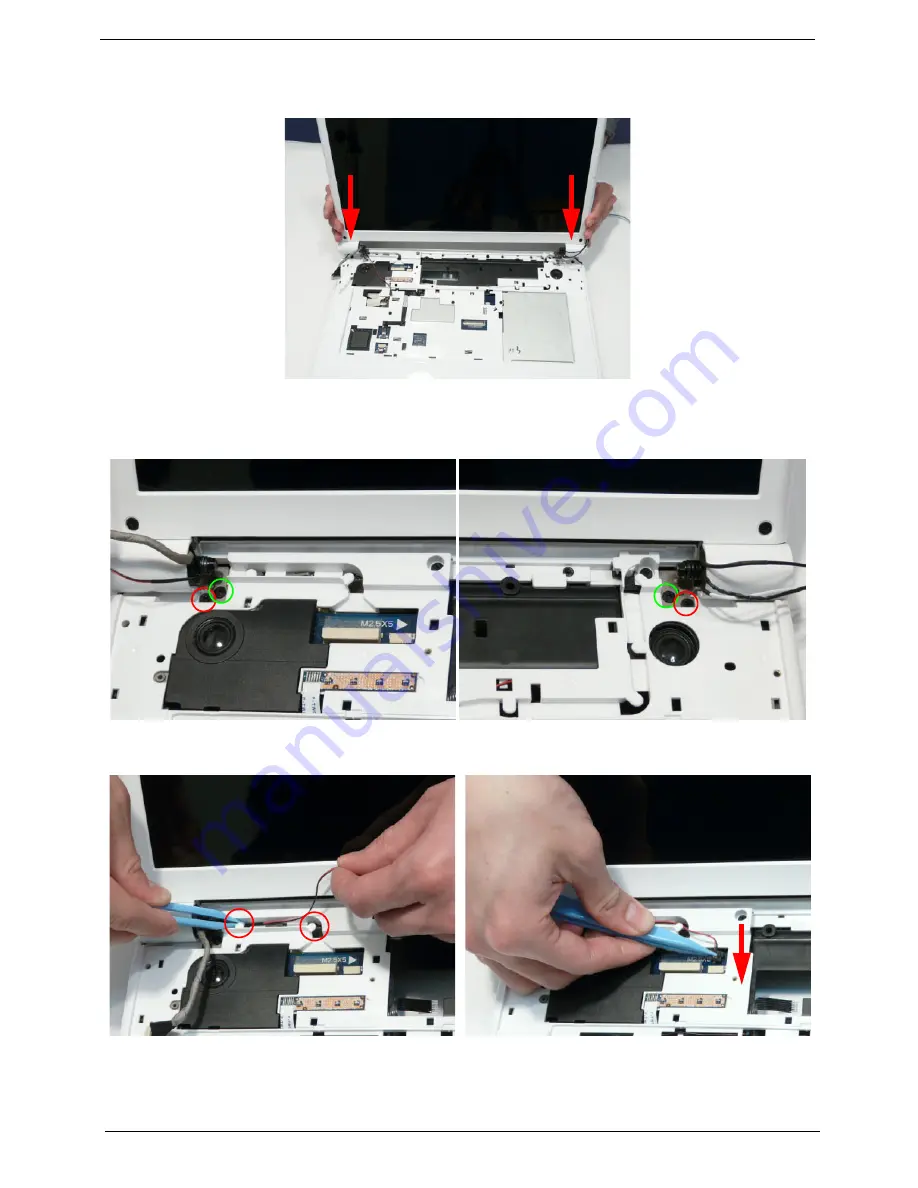
Turn the computer over. Align the LCD hinges with the lower cover and replace the LCD module.
2.
Replace the four securing screws (two each side), starting with the left side hinge. Ensure that the LCD
cables are not trapped in the hinges.
NOTE:
The securing screws differ in size: Red callout—M2.5*8, Green callout—M2.5*5.
3.
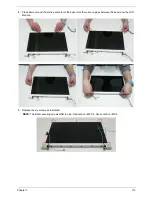
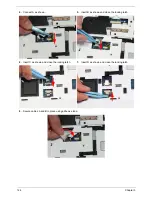
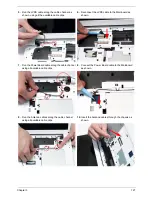
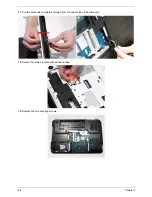
Run the MIC cable along the cable channel as
shown, using all the available cable clips.
4.
Reconnect the MIC cable to the Mainboard as
shown.
Summary of Contents for EasyNote LJ75
Page 6: ...VI ...
Page 10: ...X Table of Contents Online Support Information 207 Index 209 ...
Page 15: ...Chapter 1 5 System Block Diagram ...
Page 58: ...48 Chapter 2 ...
Page 71: ...Chapter 3 61 5 Remove the HDD from the carrier ...
Page 85: ...Chapter 3 75 11 Carefully remove the LCD module from the chassis ...
Page 94: ...84 Chapter 3 5 Lift the entire Speaker assembly clear of the Upper Cover ...
Page 148: ...138 Chapter 3 ...
Page 178: ...168 Chapter 4 ...
Page 186: ...176 Chapter 5 ...
Page 199: ...Chapter 6 189 ...
Page 216: ...206 Appendix B ...
Page 218: ...208 Appendix C ...
Page 222: ...212 ...

