UK
Using the Packard Bell Smart TV32 -
9
E
NG
LISH
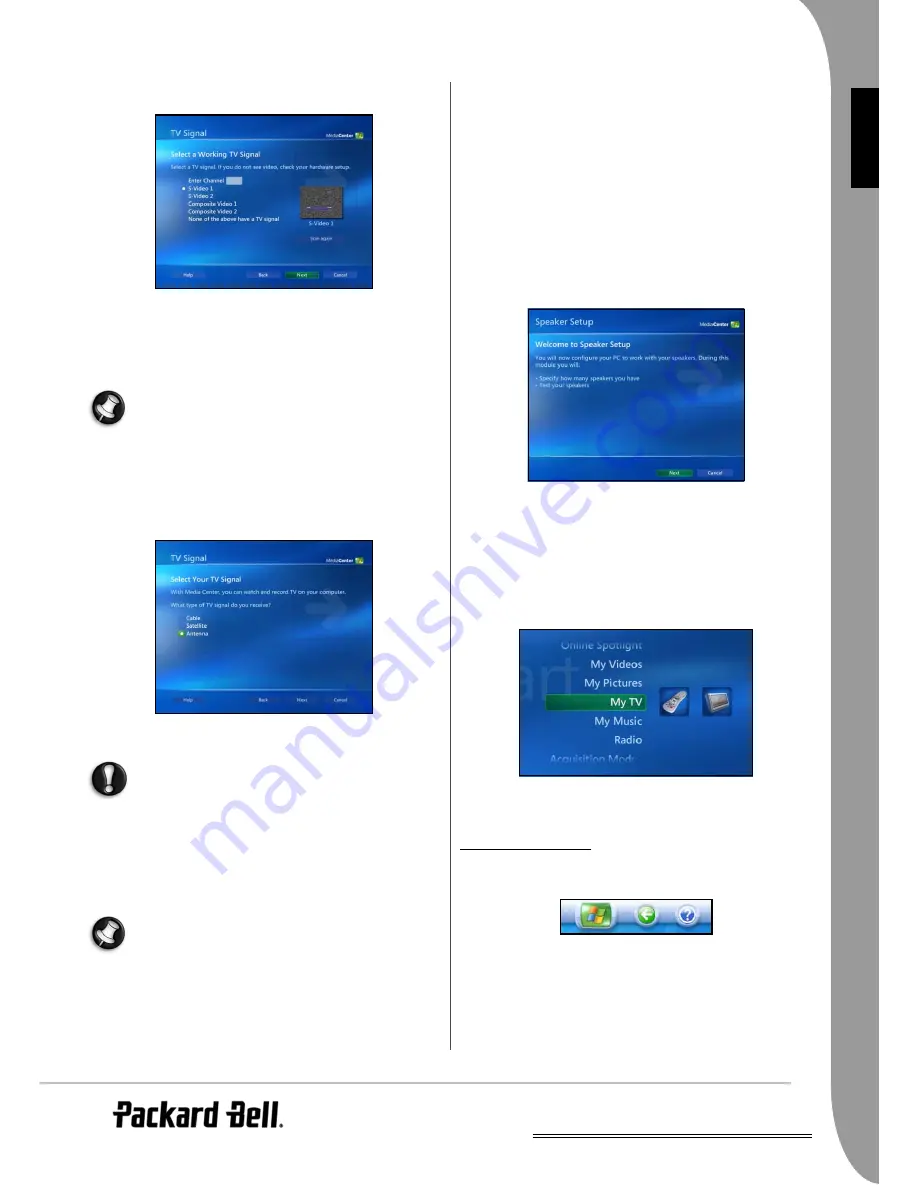
5. Wait for Windows Media Center to scan for a TV signal. If an
image from the set-top box is displayed (this may just be ‘snow’ or
a test image if the set-top box has not been fully configured yet)
select Next to continue to the remote control section.
If the set-top box is not detected, select Scan Again. If the set-top
box is still not detected, check the connections.
6. Once the set-top box has been detected, you may configure the
Smart TV32 remote control to change channels on the set-top box.
Click on Next and follow the on-screen instructions.
This function is handled by Windows Media Center, and is sep-
arate from any programmable functions provided by the remote
control (see page 6).
Using cable or aerial reception
If you have not attached a set-top box, you may use a signal from an
aerial or cable network with the TV tuners on the underside of the
Smart TV32.
1. When given the choice of TV signals, select Cable or Antenna (as
appropriate).
2. If you selected
Antenna
, you will be given a choice of signal types
(analogue or digital).
If you select
Digital Terrestrial (DVB-T)
, Windows Media Center
will not process analogue signals (including FM radio). You may
use the
TV and Video Capture
section to view (and record) ana-
logue television signals.
3. Select Two in the
How many Tuners Do you Want to Configure?
section and select Next.
4. Follow the on-screen instructions to scan for channels that match
the information you have entered. After a few minutes a list of dis-
covered channels should be visible.
You may change the order of the channels, or remove
unneeded channels, after you have finished the first start proc-
ess. See Playback on page 10.
The Electronic Program Guide (EPG)
The Smart TV32 may connect to the Internet and retrieve an
Elec-
tronic Program Guide
(EPG) that lists the schedule for many of the
channels you may receive. You may use this guide to program
recordings and to plan your viewing.
If you have an Internet connection, follow the instructions to activate
this option and retrieve the program guide for your area.
Optimise the Display
In order to provide the best image, you may configure the screen for
best performance. You may view a video that explains the settings
before starting. Windows Media Center allows you to choose the type
of display device (
Flat screen
), the type of connection (
VGA
), the
screen ratio (
16:9
) and resolution (
1280 x 720
). Do not adjust the
display properties now, you may return to this section if the display
seems to be positioned incorrectly or the colours are distorted.
Set up Your Speakers
If you have installed additional speakers, you may configure them in
this section. You have the choice of using the two built-in speakers, or
connecting a surround sound setup with 6 or 8 speakers. This section
will allow you to test that the speakers are connected and configured
correctly.
The Windows Media Center Interface
With most functions, you can simply press a button on the remote
control and the related section will start. However, in some cases it
may be easier to use the Windows Media Center interface that
provides a list of activities.
Use the
Up
and
Down
buttons to select a section, then press OK to
select it. In each section you may select additional options until you
select the exact task you need.
After you have configured Windows Media Center, you may check
that the TV channels display correctly. Refer to the
Playback
section on
page 10 for information on viewing and changing TV channels.
H
OW
TO
GET
H
ELP
?
Windows Media Center is equipped with an extensive help section
called Help and Support. To access these files click on the question
mark in the top-left corner of the screen.
Further help is available from the standard
Windows XP
interface,
click on Start and then Help and Support.


