Digital Video Recorder
5
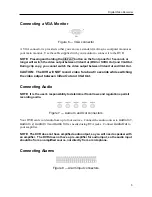
Connecting a VGA Monitor
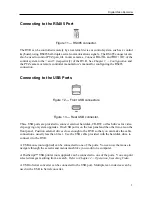
Figure 6 — VGA connector
A VGA connector is provided so that you can use a standard, multi-sync computer monitor as
your main monitor. Use the cable supplied with your monitor to connect it to the DVR.
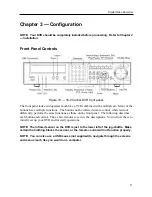
NOTE: Pressing and holding the
DISPLAY
button on the front panel for 5 seconds or
longer will switch the video output between
Video Out (BNC or
SVHS Out)
and
VGA Out
.
During clip copy, you cannot switch the video output between
Video Out
and
VGA Out
.
CAUTION: The DVR will NOT record video for about 3 seconds while switching
the video output between
Video Out
and
VGA Out
.
Connecting Audio
NOTE: It is the user’s responsibility to determine if local laws and regulations permit
recording audio.
Figure 7 — Audio In and Out connectors.
Your DVR can record audio from up to four sources. Connect the audio sources to
Audio In 1,
Audio In 2, Audio In 3
and
Audio In 4
as needed using RCA jacks. Connect
Audio Out
to
your amplifier.
NOTE: The DVR does not have amplified audio output, so you will need a speaker with
an amplifier. The DVR does not have a pre-amplifier for audio input, so the audio input
should be from an amplified source, not directly from a microphone.
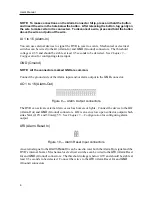
Connecting Alarms
Figure 8 — Alarm Input connectors.
Summary of Contents for PDR-9LX
Page 1: ......
Page 2: ......
Page 12: ...User s Manual x...
Page 86: ...User s Manual 74...

