User’s Manual
6
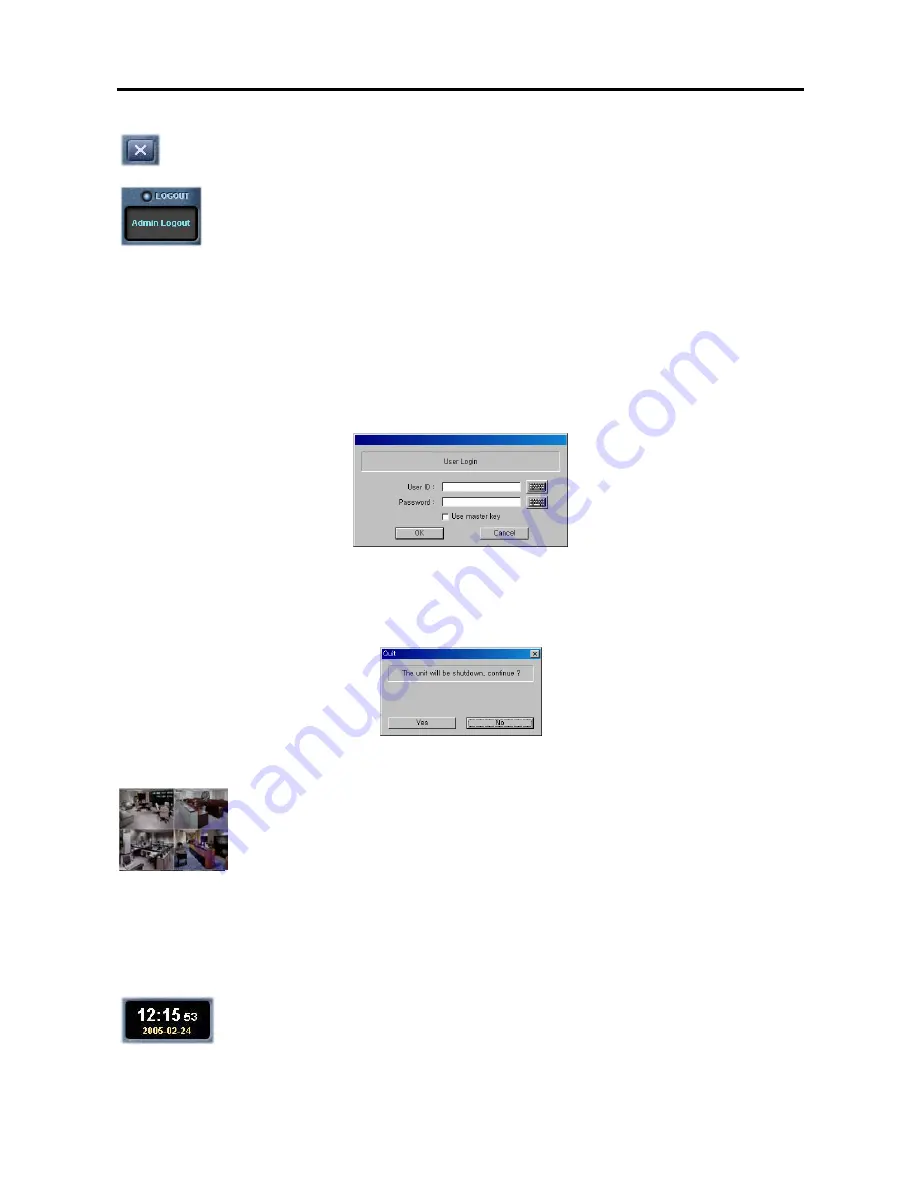
Quit
: Click the button to quit the system.
Login / Logout:
Click the button to log in or log out the system.
Logging In/Out the System
Click the
Logout
button after logging out, the following
User Login
dialog box appears. Enter the
User ID
and
Password
and then click the
OK
button if you want to log in the system. If the login fails more than three times, the
buzzer will be activated for three minutes. The successful login can stop the buzzer trigger during the buzzer
activation. The log for failed login as well as successful login will be displayed on the system status window.
NOTE:
When
No local login
is selected during the SmartGuard – Authority setup, the DVR does not ask login
procedure.
NOTE:
When you forgot the password, ask your dealer or distributor.
Click the
Login
button after logging in, the following
Quit
dialog box appears. Click the
Yes
button if you want to
log out the system.
Monitor
Display Format
: Various display formats (single-screen, full-screen, quad, 3+4, 3x3, 2+8, 4x4,
5x5 and 1+32) are provided for convenient user interface. Each format can be selected by
clicking the screen buttons shown below. The camera groups for multi-screen formats are
composed of cameras 1 to 32 in order. The user can select which camera group is displayed by
clicking any camera button in a group from camera buttons shown below.
OSD
: Information including camera title, recording mode, and recording status can be displayed on the image. Go
to Setting Up the System and Setting Up Cameras
in the SmartGuard Setup section, and place a check in the Show
OSD box to display the OSD information.
System Status
Clock Mode
: Click the left mouse button on the clock area to set date display
(MM-DD-YYYY/...) and time display (12 Hours/24 Hours) formats. Click the right mouse button
on the clock area to set date, time and time zone.
CAUTION: If you change the time, images dated later than the new date/time are deleted. Back up the
images if you want to save them.


