Digital Video Recorder
21
4.
Click the text field beside
Description
, and enter a sensor title such as "Front Door". You can use either the actual
keyboard or the virtual keyboard.
5.
Click the text field beside
Sensor type
, and enter a sensor type such as "magnet". You can use either the actual
keyboard or the virtual keyboard.
6.
Move to
High priority
, and check the box to give high priority to the target sensor so the DVR will follow the
advanced camera setup when the target sensor is activated. See the
Setting Up Cameras
for configuring
advanced camera setup.
7.
Move to
Record Audio
, and check the box to record audio when a selected sensor is activated. Recording audio
will be activated when at least one camera is associated with the sensor and the DVR is recording video. When
checking the
Record Audio
box, click the
Set up Audio...
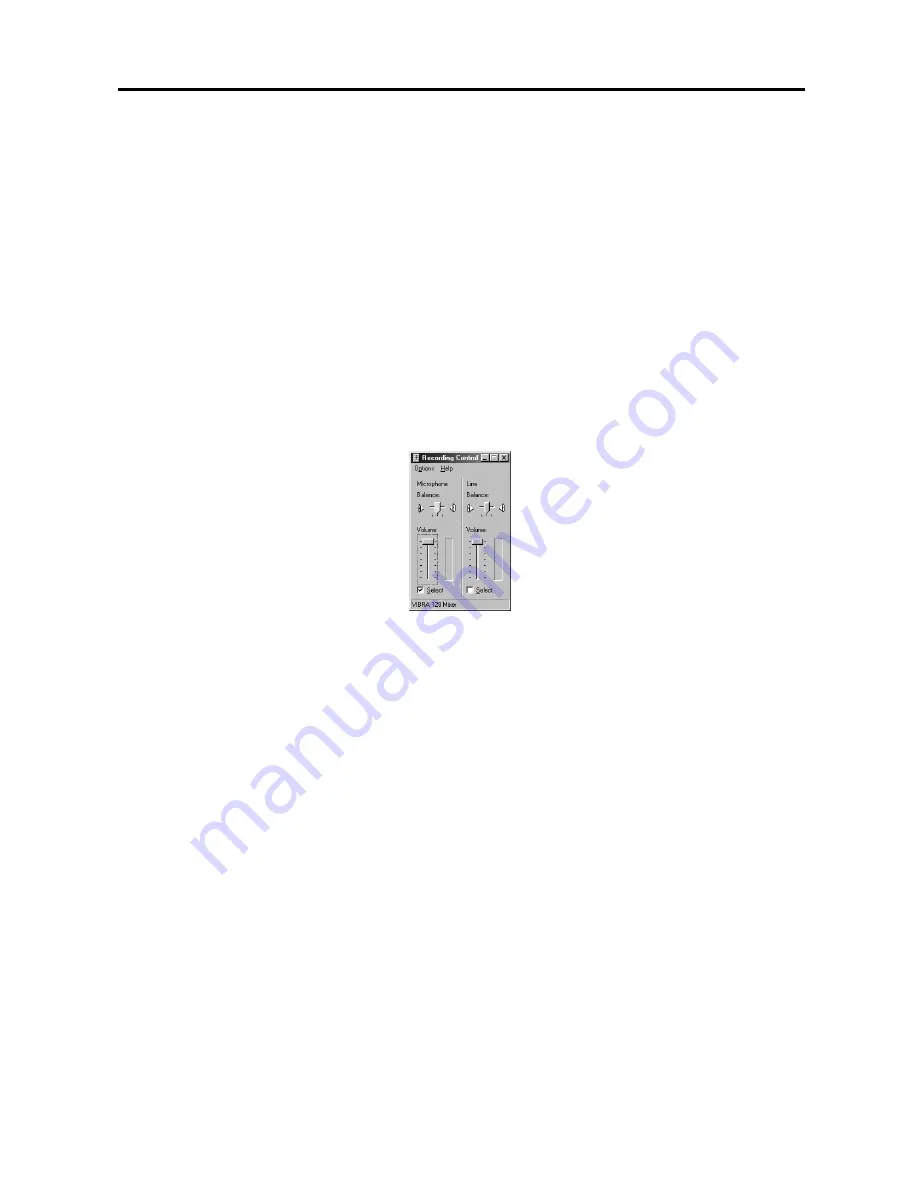
button. Select an audio input type from Microphone
or Line-in, and set its balance and volume in the
Recording Control
dialog box. (Not available for the
PDR16-RMT-RT model)
NOTE:
The sound card provides two types of audio input, Microphone and Line-in. Microphone is for an
unamplified source while Line-in is for an amplified source. You must manually select the type of input.
NOTE:
The voltages generated by microphones are very much smaller than those used in line level devices. If
you were to plug a Microphone into the soundcard Line in, you would never record anything.
8.
Move to
Save Image Files
, and check the box to save the image as a JPG file when a selected sensor is activated.
The file will be saved in the
temp/RecordExt
under program installation folder automatically. The Save Image
files function operates regardless of the recording schedule.
NOTE:
The hard disk drive for saving image files must have at least 700MB free space.
NOTE:
The recording speed might decrease when the image files from multiple cameras are saved at the same
time.
9.
Move to
Move to preset
, and check the box to move the target camera to the preset location when a selected
sensor is activated. Select the camera and preset ID from a drop-down list. Preset values can be set individually
by the user who logs in the system.
10.
Move to
Camera association
, and click the camera icon to associate it with a selected sensor. Up to 32 cameras
can be selected. Video from associated camera(s) will be recorded when a related sensor is activated.
NOTE:
Selecting
1-16
tab displays camera channels 1 to 16 and selecting
17-32
tab displays 17 to 32.
11.
Move to
Alarm association
, and click the alarm icon to be associated with a selected sensor. The alarm will go
off when a related sensor is activated.
NOTE:
Selecting
1-16
tab displays alarm channels 1 to 16 and selecting
17-32
tab displays 17 to 32.


