Digital Video Recorder
43
1.
Move to
Name
, and select an installed printer to use from the drop-down list.
2.
Do not change the setting for the
Print range
.
3.
Move to
Copies
, and set the number of copies using arrow buttons.
4.
Move to
Print Image Only
, and check the box if you want to print the image without text information.
5.
Click the
OK
button to print the current image. Selecting
Cancel
cancels printing operations and closes the
dialog box without saving the settings.
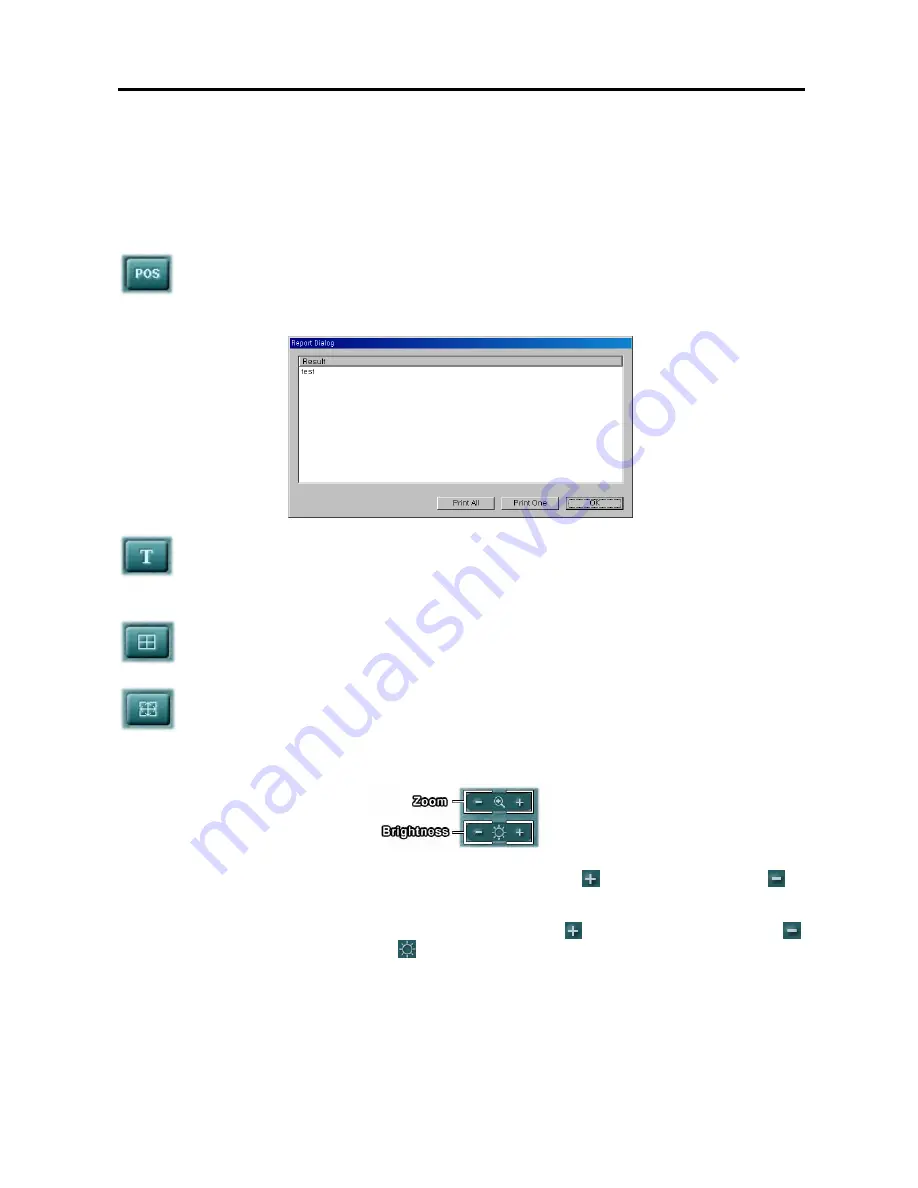
POS:
Click the
POS
button to display the POS Report Dialog window showing the ATQ (Automatic
Transaction Query) results. All or single reported transaction can be printed. The selected transaction
result image from ATQ will be displayed automatically. When using the text inserter by TVS, clicking
the button displays the CYA query dialog box.
Text-In:
Displays the text-in information. To remove the information, click the icon again.
Screen Buttons
Screen Mode
: Every time this icon is clicked, the screen mode switches (single-screen
→
quad
→
3x3
→
4x4). For multi-screen playback, select a camera button from the timetable, and select a desired
screen mode by clicking the Screen Mode button. Then click any playback-related button.
Full Screen
: Display the recorded images in full-screen mode by clicking the Full Screen button during
playback. To exit from full-screen mode, click the left mouse button anywhere on the screen.
Image Adjust
y
Zoom
: Enlarges or shrinks the current image. To enlarge the image, click
. To shrink the image, click
.
This button works only in the single-screen mode. You can also enlarge or shrink the image by rolling the mouse
wheel on the image.
y
Brightness
: Changes the brightness of the current image. Click
to make the image brighter, click
to make the image darker and click
to set the brightness to the default setting.
NOTE:
Make certain that the cameras and monitor are adjusted properly before recording because this
adjustment should not be used to correct improperly recorded video.


