User’s Manual
48
3.
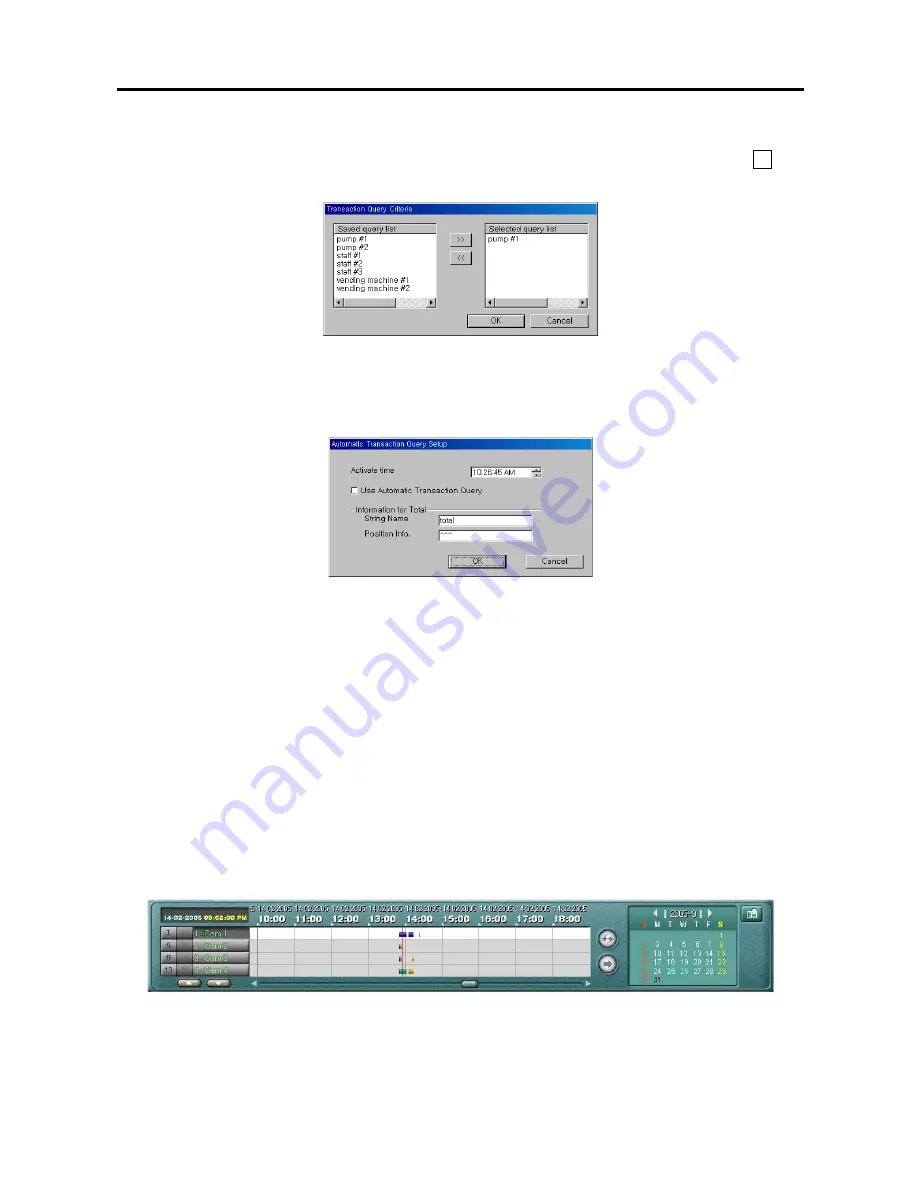
Click the
ATQ Criteria
button and the following
Transaction Query Criteria
dialog box displays. Select the
query item from the
Saved query list
that are previously saved using the
Save Cofig
button, and click
>>
then
OK
button.
4.
Click the
ATQ Setup
button and the following
Automatic Transaction Query setup
dialog box. Set the
Activate time
(query start time). Move to
Use Automatic Transaction Query
and check the box to enable the
ATQ function. If you need the information for Total value from the text-in data, enter the values for
String Name
and
Position Info.
. Refer to the
Appendix 7 – Text-In Query
section for settings of query conditions.
5.
Click the
Save Image
button to save the current image of the result as a bitmap or JPEG file to the local hard disk
drive or floppy disk.
6.
Click the
Find All
button to find all event logs within established find parameters and then display the results in
the
Result
list box. The image of the results can be displayed by double clicking the target event in the Result list.
Remove all entries listed in the box by clicking the
Clear All
button below the
Result
list box. If the
clear all
before apply find all box
is checked, the results before applying
Find All
will be removed.
NOTE:
If you want to find one event at a time, click the
Find Next
button. If you want to find all event for a
specified camera, use Find All button with blank condition for text-in.
7.
Click the
Save Config
button to save the current text-in related settings.
8.
Click the
Load Config
button to load the saved text-in related settings.
Timetable Window
The timetable window consists of a record timetable, camera label and a calendar/bookmark. You will see the bank
file recording information. Various functions of the timetable window enable fast searches.


