User’s Manual
34
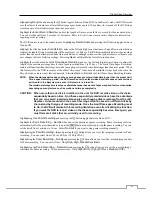
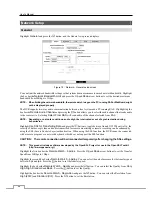
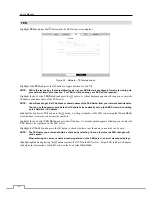
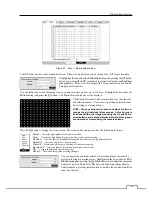
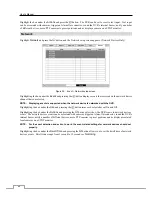
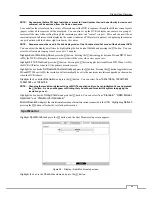
Highlight the box beside
Authentication
and press the
button. An Authentication
screen appears. Highlight
Use
and press the button to toggle between On and Off.
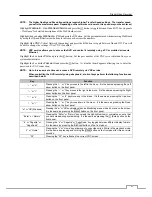
Highlight the box beside
User
/
Password
and press the
button. A virtual keyboard
appears allowing you to enter the user ID and password.
NOTE: This product includes software developed by the OpenSSL Project for use in the OpenSSL Toolkit
(http://www.openssl.org/).
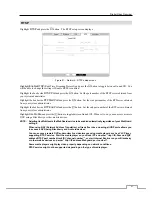
Highlight the box beside S
ender
and enter the sender’s e-mail address. Use the virtual keyboard to enter the e-mail
address.
NOTE: The e-mail address must include the “@” character to be a valid address.
Highlight the
Test
box and press the
button to test emailing with the current settings you made.
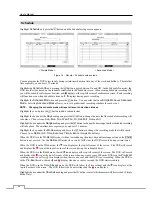
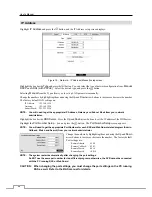
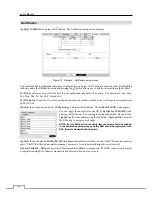
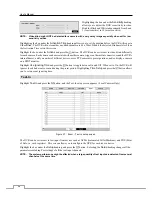
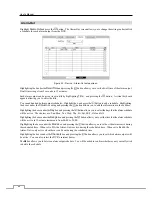
Highlight
SNS – Setup
and press the
button, and the SNS screen appears. The DVR can be set up to post a message
via SNS (Social Network Service) when an event occurs.
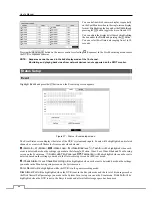
You can add and edit the SNS account on this screen. The SNS
account can be turned On or Off by highlighting the boxes under
the
No.
heading and pressing the
button.
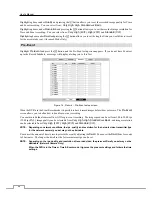
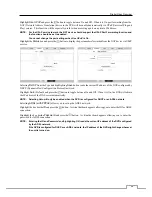
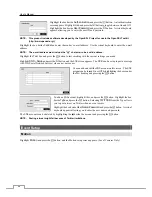
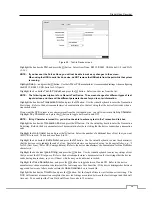
To add an SNS account, highlight the
+
and press the button. Highlight the box
beside
Type
and press the
button. Selecting
from the Type allows
you to post a tweet on Twitter when an event occurs.
Highlight the box beside
User Name
/
Password
and press the button. A virtual
keyboard appears allowing you to enter the user name and password.
The SNS accounts can be deleted by highlighting the beside the account and pressing the button.
NOTE: Posting a tweet might fail because of Twitter limitations.
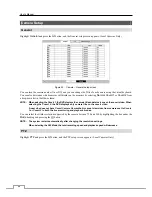
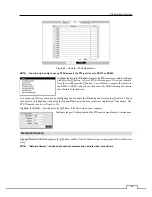
Event Setup
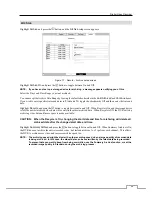
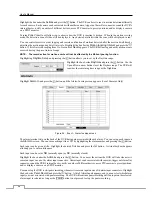
Motion
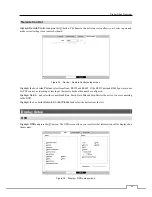
Highlight
Motion
and press the
button, and the Motion setup screen appears. (Local Cameras Only)


