User’s Manual
134
3.
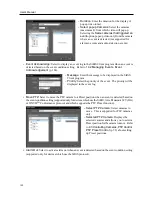
Press the camera screen ID.
4.
Press the
PANE
button.
5.
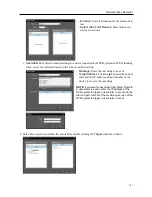
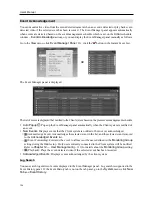
Select a site to connect to from the
Site
list, and then drag
and drop it on the Play or DVR Search screen by using the
mouse connected to the network keyboard. Recorded video
from the selected site is displayed on the screen.
6.
Press the
(Menu) button. The play screen menu is displayed.
7.
Moving to the desired item by using arrow buttons and pressing the enter
button
(
) selects the item in the menu or releases the selection. If you
want to exit the current item setting, press the
(Menu) button and
releases the selection.
8.
Refer to
16.4 Network Keyboard Buttons
,
Buttons for Client System Control
(p. 135) for the
explanations about other functions.
16.4 Network Keyboard Buttons
The following is an explanation of the network keyboard buttons used to control the Client system. Refer
to the network keyboard user manual regarding buttons for PTZ control.
Buttons for Operation Commands
Button
Designation
Operation
Number (1 to 9)
ID
→
MON
,
PANE
,
DEV
: Selects a monitor, camera screen, panel
tab or Client system to control.
Number (0)
Does not function as a command button.
Shift
SHIFT
→
Button : Performs the secondary function for buttons
that support two functions.
ESC
ESC
: Cancels a command during its operation.
Connection
Client system ID
→
DEV
: Connects to the Client system.
Disconnection
SHIFT
&
DEV
: Releases the connection to the Client system.
Panel Tab
Tab ID
→
DEV
: Selects the panel tab.
Summary of Contents for PNVR16-RTM
Page 1: ......
Page 2: ......
Page 8: ...User s Manual vi ...
Page 16: ...User s Manual 8 ...
Page 48: ...User s Manual 40 ...
Page 64: ...User s Manual 56 ...
Page 76: ...User s Manual 68 ...
Page 88: ...User s Manual 80 ...
Page 96: ...User s Manual 88 ...
Page 134: ...User s Manual 126 ...
Page 154: ...User s Manual 146 ...
Page 156: ...User s Manual 148 ...
Page 158: ......

