background image

page 13 

Paddle Palace S4W Robot

User Manual

30 Pre-Programmed Landing Sequences

800-547-5891    

|

    503-777-2266 


p a d d l e p a l a c e . c o m

See pages 8-9 for setting up this feature. 

NO. LEFT HEAD

RIGHT HEAD

LEFT HEAD

RIGHT HEAD

LEFT HEAD

1.

Twice at spot #10

Twice at spot #2

2.

Twice at spot #1

Three times at spot #8

3.

Twice at spot #11

Three times at spot #2

4.

Once at spot #5

Twice at spot #1

5.

Three times at spot #2

Once at spot #9

6.

Twice at spot #4

Twice at spot #11

7.

Four times at spot #8

Twice at spot #1

8.

Twice at spot #10

Three times at spot #1

9.

Twice at spot #1

Four times at spot #9

10.

Three times at spot #2

Twice at spot #4

11.

Twice at spot #11

Twice at spot #4

Twice at spot #1

12.

Once at spot #9

Once at spot #1

Twice at spot #10.

13.

Twice at spot #10

Once at spot #2

Once at spot #11

14.

Once at spot #11

Twice at spot #1

Twice at spot #6

15.

Once at spot #6

Once at spot #11

Three times at spot #2

16.

Twice at spot #11

Once at spot #6

Three times at spot #1

17.

Twice at spot #2

Twice at spot #11

Once at spot #2.

18.

Three times at spot #11

Three times at spot #2

Once at spot #11

19.

Once at spot #1

Once at spot #10

Twice at spot #2

20.

Once at spot #2

Once at spot #11

Three times at spot #1

21.

Once at spot #10

Once at spot #1

Twice at spot #5

Once at spot #11

22.

Once at spot #1

Twice at spot #11

Twice at spot #1

Three times at spot #9

23.

Once at spot #11

Once at spot #7

Once at spot #1

Twice at spot #9

24.

Once at spot #11

Once at spot #2

Three times at spot #10

Once at spot #6

25.

Once at spot #1

Twice at spot #3

Once at spot #8

Twice at spot #11

26.

Once at spot #1

Once at spot #11

Once at spot #2

Once at spot #10

Three times at spot #5

27.

Twice at spot #10

Twice at spot #1

Once at spot #9

Once at spot #11

Once at spot #2

28.

Twice at spot #1

Once at spot #9

Once at spot #2

Twice at spot #3

Twice at spot #10

29.

Once at spot #1

1 shot from RH to #9

Once at spot #2

Once at spot #3

Twice at spot #10

30.

Twice at spot #11

Once at spot #2

Twice at spot #9

Once at spot #1

Three times at spot #11

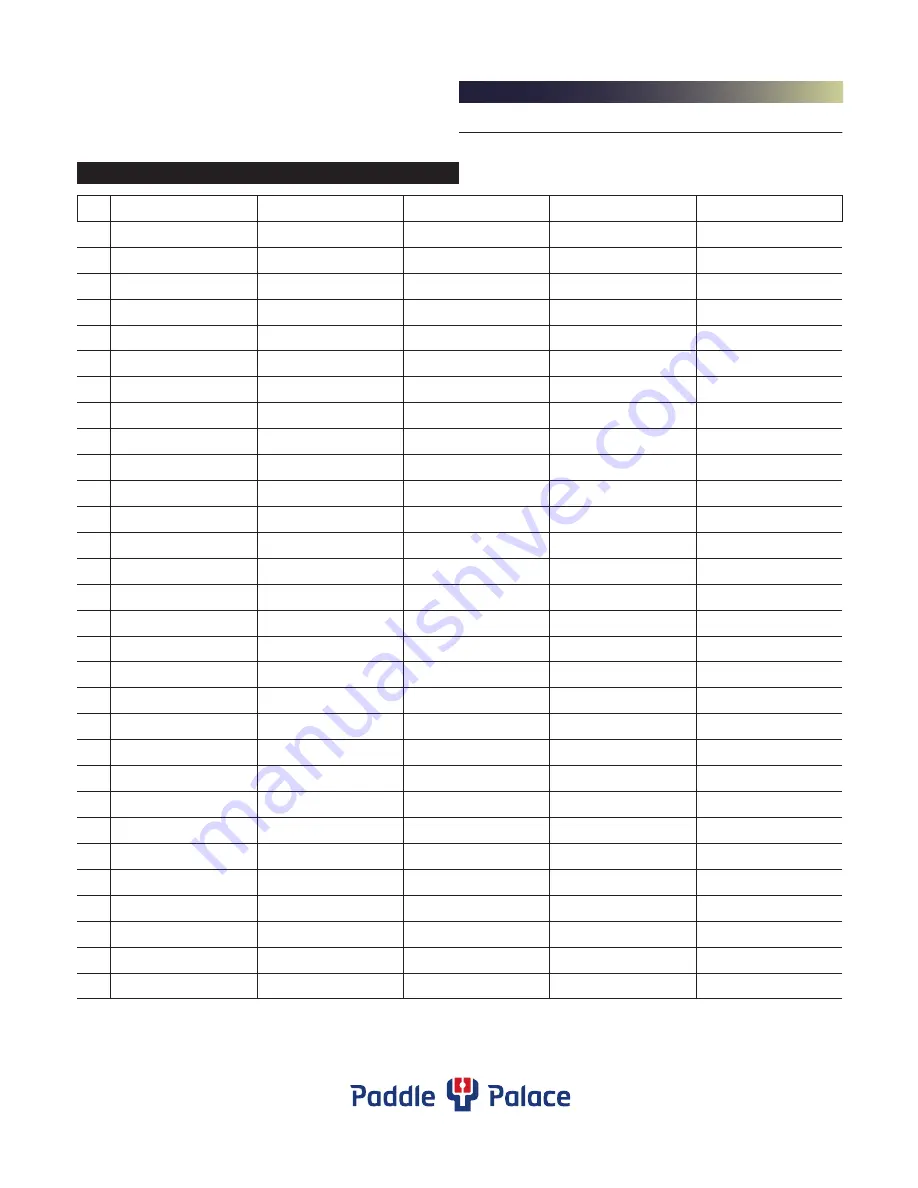
NOTE: The Pre-Programmed Landing Sequences chart indicates the order and location of the shots. For example, for  
Sequence #16, the left head serves twice to spot #11, then the right head serves once to spot #6, then the left head serves 
three times at spot #1, then it repeats back to the beginning of the sequence.

Summary of Contents for S4W PRO ROBOT

Page 1: ...User Manual S4W PRO ROBOT paddlepalace com 800 547 5891 503 777 2266...

Page 2: ...Use the single head to set up a specific serve or volley or employ both heads to alternate seamlessly between types of spin short and long balls strong and weak balls or high and low balls Plus you ch...

Page 3: ...otation 8 Setting Throw Wheel Speed 8 Selecting Pre Programmed Landing Sequences Various Serving Sequence 8 Selecting Random Landing Spot Sequences 9 Selecting the Landing Spot Locations 9 Setting Lan...

Page 4: ...our new Paddle Palace Robot Take time to read these pages thoroughly and keep it handy for reference when using your robot The Ball Container will hold approximately 100 40 balls The level of the ball...

Page 5: ...t Roll the robot to the table 6 Clamp net supports to the table near the net and slip the elastic band over the net support knob 5 Slip the sleeves of the ball net over the net support clamps Net Hard...

Page 6: ...ds With the robot in Standby mode set the total number of balls by pressing the Total Number of Balls button Change the number by using the Up or Down buttons For fast forward adjustment hold either b...

Page 7: ...of this extra bounce Head Angle Lock Loop Adjustment Knob High curve makes landing spot long Low curve makes landing spot short Setting the Type of Spin Head Rotation Each of the two shooting heads c...

Page 8: ...ne of the 30 numbered sets of Pre Programmed Landing Sequences listed on page 13 A red LED light will come on when this feature is activated Press the Up or Down arrow buttons until the number of your...

Page 9: ...t the Ball Counter for Head 1 by pressing the or adjustment keys until you reach the number of balls you want the robot to put into play from Head 1 Next press the Landing Spot button IMPORTANT ONLY P...

Page 10: ...ONLY ONCE WHEN SETTING BOTH HEADS 10 Set landing spot locations for Head 1 11 Set ball counter for Head 2 12 Set landing spot locations for Head 2 13 Press Start Pause button to start robot IMPORTANT...

Page 11: ...replacement power off the robot remove the protective cover and remove the screws from the friction wheels with a screwdriver After replacing the wheels replace the screws properly and with care How...

Page 12: ...cted properlytothe electrical outlet Check the plug connected to the electrical outlet The Start button on the control box is not pressed Press the Start button until the number display The control bo...

Page 13: ...ree times at spot 2 Once at spot 11 19 Once at spot 1 Once at spot 10 Twice at spot 2 20 Once at spot 2 Once at spot 11 Three times at spot 1 21 Once at spot 10 Once at spot 1 Twice at spot 5 Once at...

Reviews: