©2020 PACE Inc., Vass, North Carolina,
All Rights Reserved
Page
22
2)
Navigate to the Profiler Screen if not already there.
3)
Load a removal profile using the Load Profile button.
4)
Install the proper vacuum pick.
5)
If desired use appropriate heater baffle
6)
Click “Start Process” and follow the onscreen instructions which will guide you through the
remainder of the procedure outlined in the following steps.
7)
Place the PCB between the arms on the board holder and tighten the retention screw.
8)
Position the board so the red laser point is roughly in the center of the component, click
“Okay”.
9)
The camera will come out for aligning the vacuum pick to center of component precisely.
10)
When done, press “Alignment complete” and the camera will retract. Now is a good time
to verify the bottom heater height.
11)
Align pyrometers/thermocouples, “Okay”.
12)
Press “Start heating”.
13)
Allow PCB and component to cool before touching.
Developer Mode
Developer Mode has all the same features of Production Mode, with a few additions to allow the
creation and editing of installation and removal profiles.
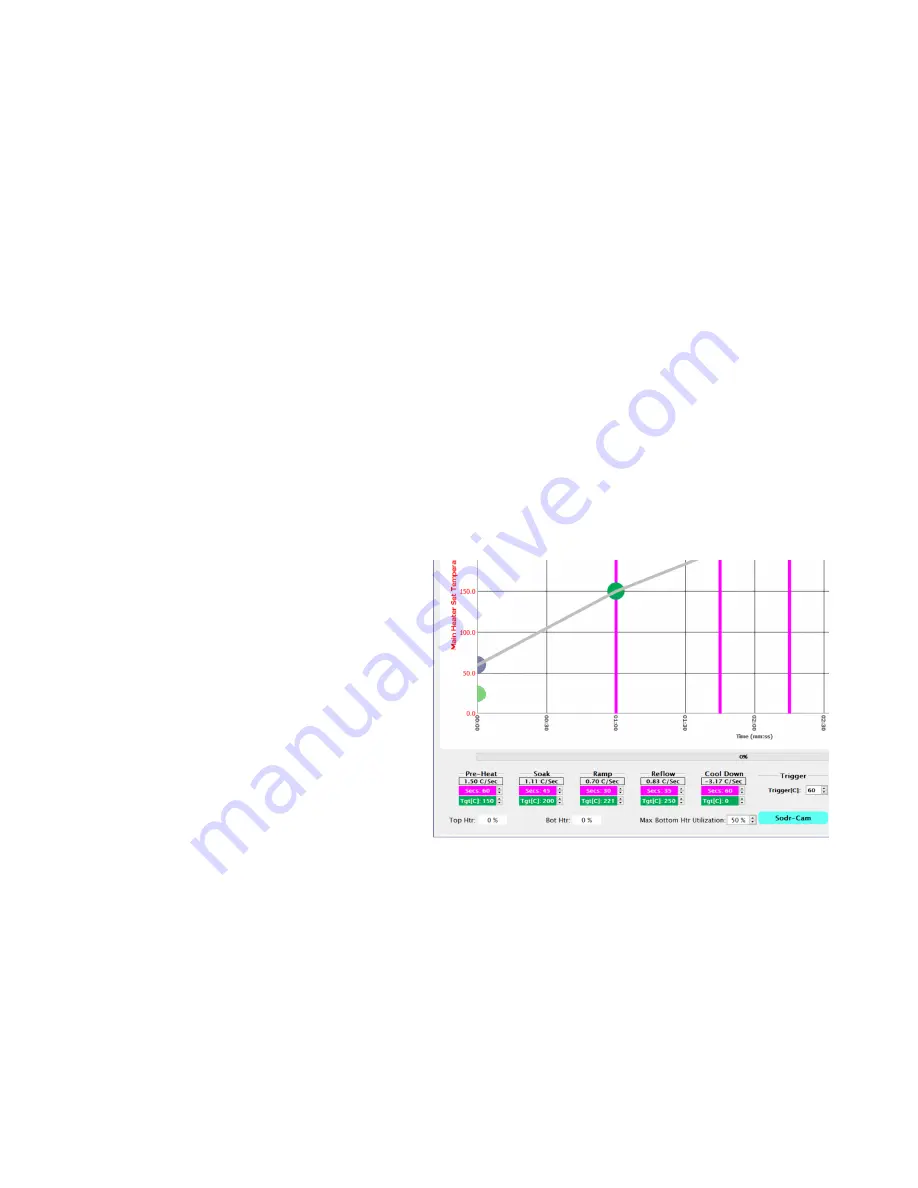
Adjusting the parameters for each phase or step of the profile is done by moving the colored bars in each
phase. More precise settings can be input using the up/down arrows next to each entry at the bottom of the
temperature profile graph.
•
Magenta – Time in seconds
•
Green –Target temperature


