background image

6

7

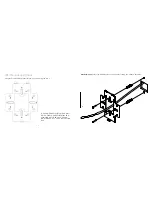
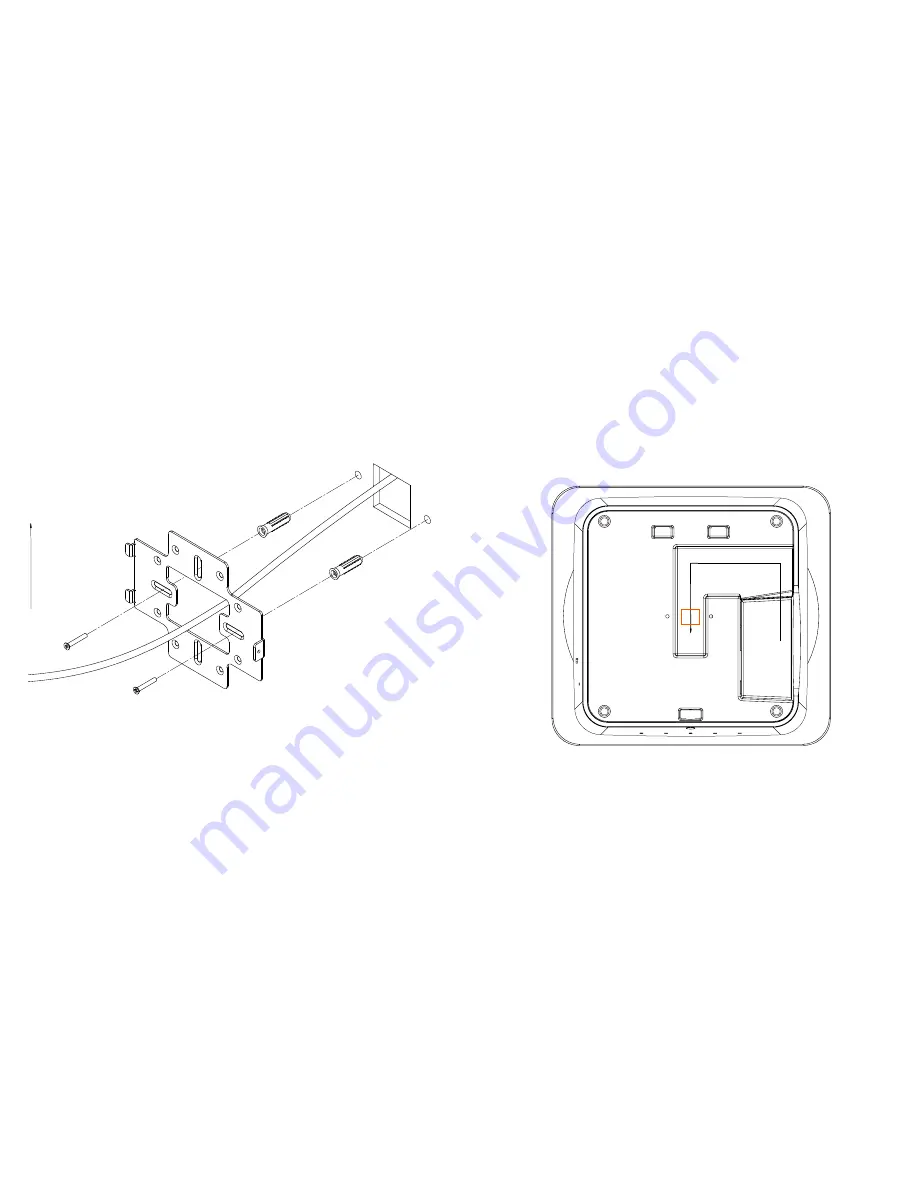
Line the two tabs on the top of the Wall Bracket with the two pockets on the back of the access 

point.

UP

Horizontal mount: 

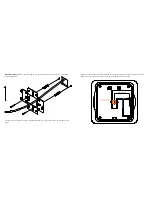
Line up the slots and secure the wall bracket to the wall anchors using the 

included hardware.

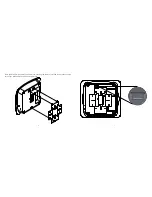
Attach the recommended plastic cable clip. Route cables along the channel on the back of the 

WAP and secure cables to the plastic clip by pressing the cable to the clip.

ROUTE CABLES

RECOMMENDED 

CABLE CLIP PLACEMENT

Summary of Contents for WK-1-X

Page 1: ...QUICK START GUIDE WK 1 X Access Point 802 11ac dual band access Version 1 2...

Page 2: ...Please refer to the installation manual of your product WK 1 802 11ac Dual Band Access Point Built in 2x2 internal antennas Powered by POE 2 LAN ports for Network Extensions System Requirements Windo...

Page 3: ...the WK 1 WK 1 Mounting Options A DOUBLE GANG ELECTRICAL BOX WALL B WALL SINGLE GANG ELECTRICAL BOX EUROPEAN OUTLET BOX US 4 ROUND JUNCTION BOX US 3 5 ROUND JUNCTION BOX Vertical mount Secure the Wall...

Page 4: ...al mount Line up the slots and secure the wall bracket to the wall anchors using the included hardware Attach the recommended plastic cable clip Route cables along the channel on the back of the WAP a...

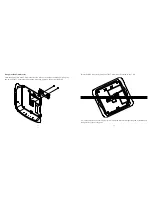
Page 5: ...8 9 Place the WAP firmly against the wall bracket ensuring the cables are tucked in the channel on the back of the WAP and or behind the wall bracket...

Page 6: ...10 11 Slide the WAP downward until the top two tabs on the Wall Bracket are locked into place SLIDE WAP DOWN TO LOCK Secure the WAP to the wall bracket s bottom tab with the included security screw...

Page 7: ...P and line up the two holes on the T bar bracket with the two mounting points on the back of the WAP NOTE Please refer to the user manual for more detailed information regarding the installation and c...

Page 8: ...pter Please see below for examples Power Using a PoE Injector Powering Up the Access Point WK 1 Smartphone Panel Laptop Laptop Tablet Switch PoE Injector Ethernet Cable Ethernet Cable WK 1 Smartphone...

Page 9: ...gin There are multiple option to login to the unit please sees 2 options below Option 1 Using Ethernet cable Connect a computer to the WK 1x through an Ethernet cable Enter 192 168 1 250 into the addr...

Page 10: ...ings and right click Local Area Connection Select Properties Select Internet Protocol Version 4 TCP IPv4 and click Properties Select Use The Following IP Address and enter the following information IP...

Page 11: ...te This application will automatically scan the network for any Pakedge access point Once the appli cation finds the access points you will have the option to change their IP addresses by clicking on...

Page 12: ...ult the WK 1 operates in Access Point Mode The mode can be set for either the 2 4 or the 5 GHz band The available modes for the WK 1 are Access Point WDS Root Access Point WDS Repeater and WDS Bridge...

Page 13: ...Cable Description of Operating Modes In WDS Bridge Mode you can connect the WK 1 to a client by its Ethernet port The WK 1 will receive the wireless signal from an access point and send the signal th...

Page 14: ...K 1 Laptop Ethernet Cable The next tab over is the Security Settings You can change the SSID and security settings for 2 4 GHz and 5 GHz Step 3 Security Profiles This security is known to be the most...

Page 15: ...ot support WPA2 security Also some devices are only compatible with certain security types You may want to reference your device specifications In this section you can change the SSID name by applying...

Page 16: ...30 31 This will allow you to set up a guest network Please see manual for further details Guest Network...

Page 17: ...pakedgedevice software inc 3847 Breakwater Avenue Hayward CA 94545 3606 Main 650 385 8700 Fax 650 685 5520 www pakedge com sales Pakedge com...

Reviews: