37
GTV
FORCED CONVECTION AIR HEATERS
Instructions for Installation and Servicing
ATTENTION! In case you would like to operate your appliance by another type of gas(e.g. by Natural
gas instead of Propane gas), then contact the local authorized representative or a qualified service
department!
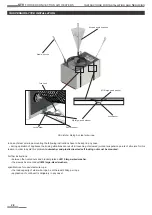
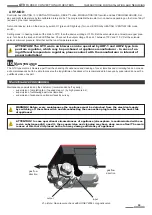
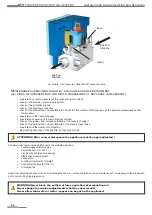
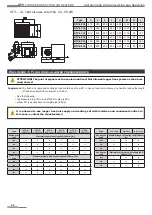
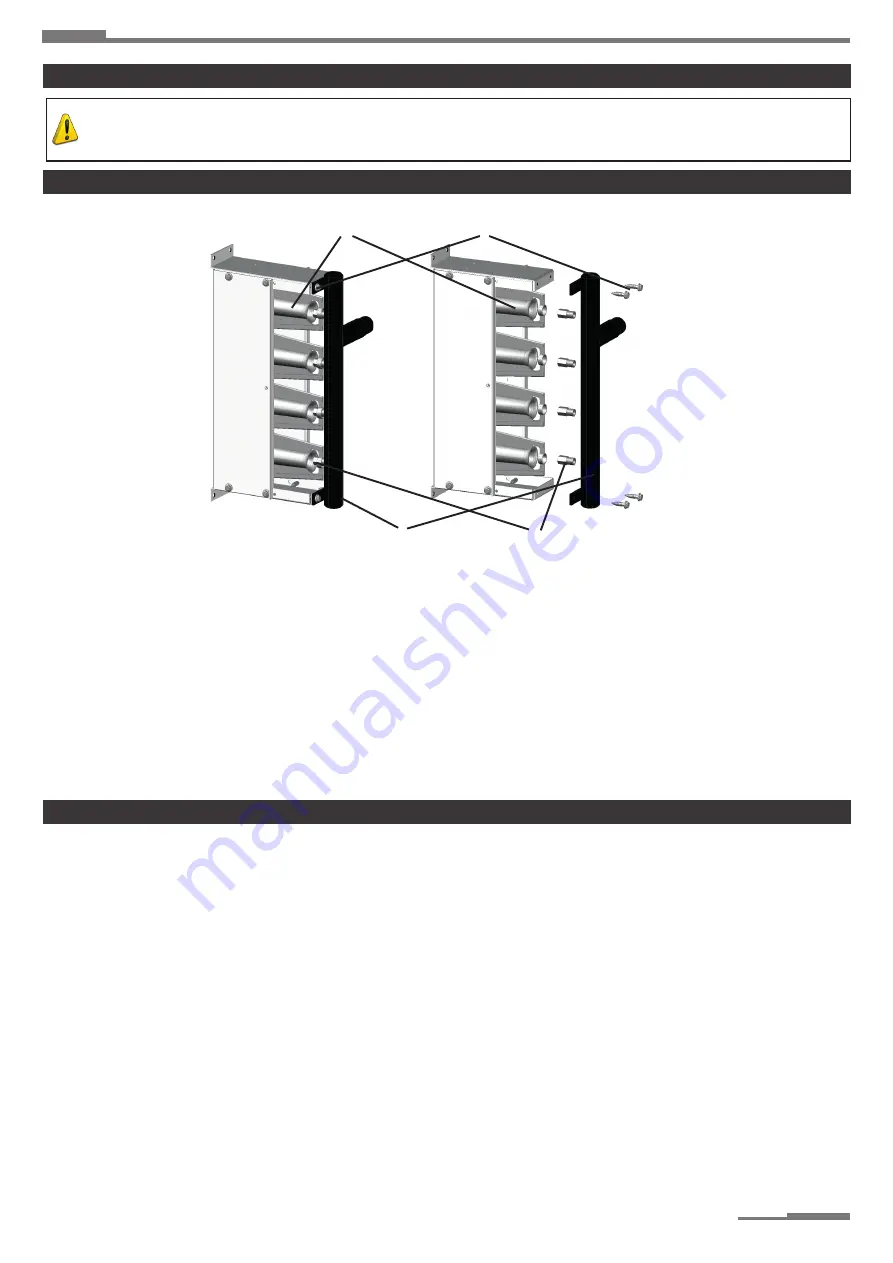
43. picture: Disassembly of burner
Venturi-burner
Tinner screw
Nozzle-holder pipe
Nozzle
•
disconnect the electrical and gas supply
• take off the solenoid gas valve from the nozzle holder pipe
• take off the 4pcs tinner screws from nozzle holder pipe
• take off the nozzle holder pipe from the burner
•
unscrew the nozzles (NPT threaded)
•
clear the threads if necessary
•
screw in the new nozzles
•
put the nozzle holder pipe back to the venturi-burner
• fix it by 4pcs tinner screws
•
mount the solenoid valve on the nozzle-holder pipe
•
disconnect the air and gas supply
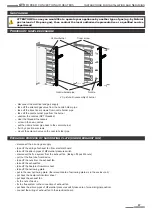
• take off the wiring of exhaust fan from electrical board
• take off the silicon pipes of differential pressure switch
• disconnect the flue system from the exhaust fan (taking off 4pcs M4 nuts),
• pull out the flue tube from device
• take off the nuts from the exhaust fan
• take off the exhaust fan
• take off the heatproof insulator sheet
• take off the narrowing plate
•
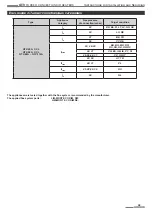
put in the new narrowing plate (the relevant data of narrowing plates is in the enclosure 5)
•
put back the heatproof insulator sheet
•
put back the exhaust fan
• fix the nuts of device
• fix the flue system to the connection of exhaust fan
• put back the silicon pipes of differential pressure switch (take care of proper/original position)
•
connect the wiring of exhaust fan to the electrical board
Gas change
Process of nozzle exchange
Exchange process of narrowing plate (under exhaust fan)

