5 Gate Installation
Revision 1.5
- 16 -
5.3
Control power wiring setup
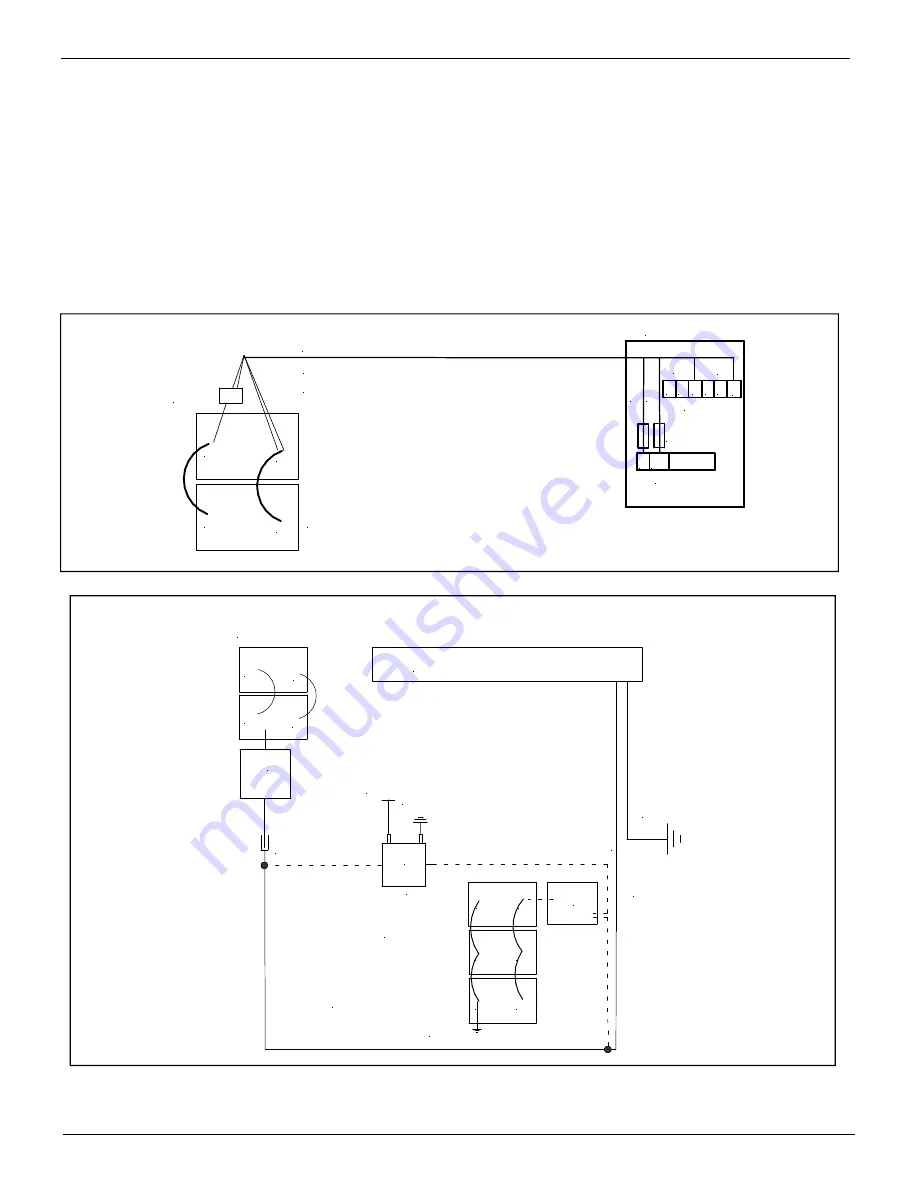
To maintain the best possible power supply, install the auxiliary batteries as close as possible to the gate.
- Truck installations might not have an auxiliary battery kit (PALFINGER Liftgates
always
recommends
a kit). In this
case you have to run the control power straight off the truck battery.
- Trailer installations always have a trailer battery kit (at least 2 batteries recommended)
Connect your control power to the positive (#2 & #4) and the negative (#1 & gr/ye) post of the batteries.
Control Power 4-Wire Cable
Truck Application-Always wire to truck battery
Trailer Application-wire to trailer battery
+
-
20 Amp
In-Line
Fuse
+
-
Wires marked
#2;#4 (Black)
go to hot,
#1 and green/yellow
go to ground
PC-board
2 27
15 Amp fuses
J1 Plug
#2 #4
+
+
E
E
-
-
gr/ye
#1
J2 Plug
Figure 10 Board control power wiring connection
G
ro
u
n
d
C
a
b
le
Ground
at trailer
frame
(Third Battery Shown
for heavy applications Only)
+
-
Liftgate Mount Frame
Main Truck
Batteries
2
G
a
.
L
ift
g
a
te
P
o
w
e
r
C
a
b
le
Ground
+
-
+
-
To Ignition
Switch
Ground
Aux. Batteries
Battery
Isolator
+
-
(if applicable)
Circuit
Breaker
+
-
Circuit
Breaker
Tractor -
Trailer
Plug
Figure 11 Main Power supply setup


