25
PALLMANN GmbH l Ein Unternehmen der Uzin Utz AG | Im Kreuz 6 | 97076 Würzburg | T49 931 27964-0 | T49 931 27964-50 I www.pallmann.net
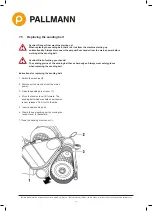
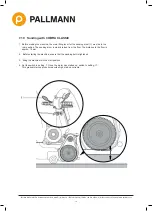
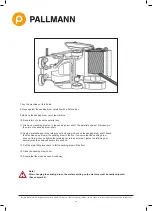
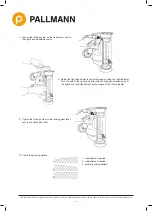
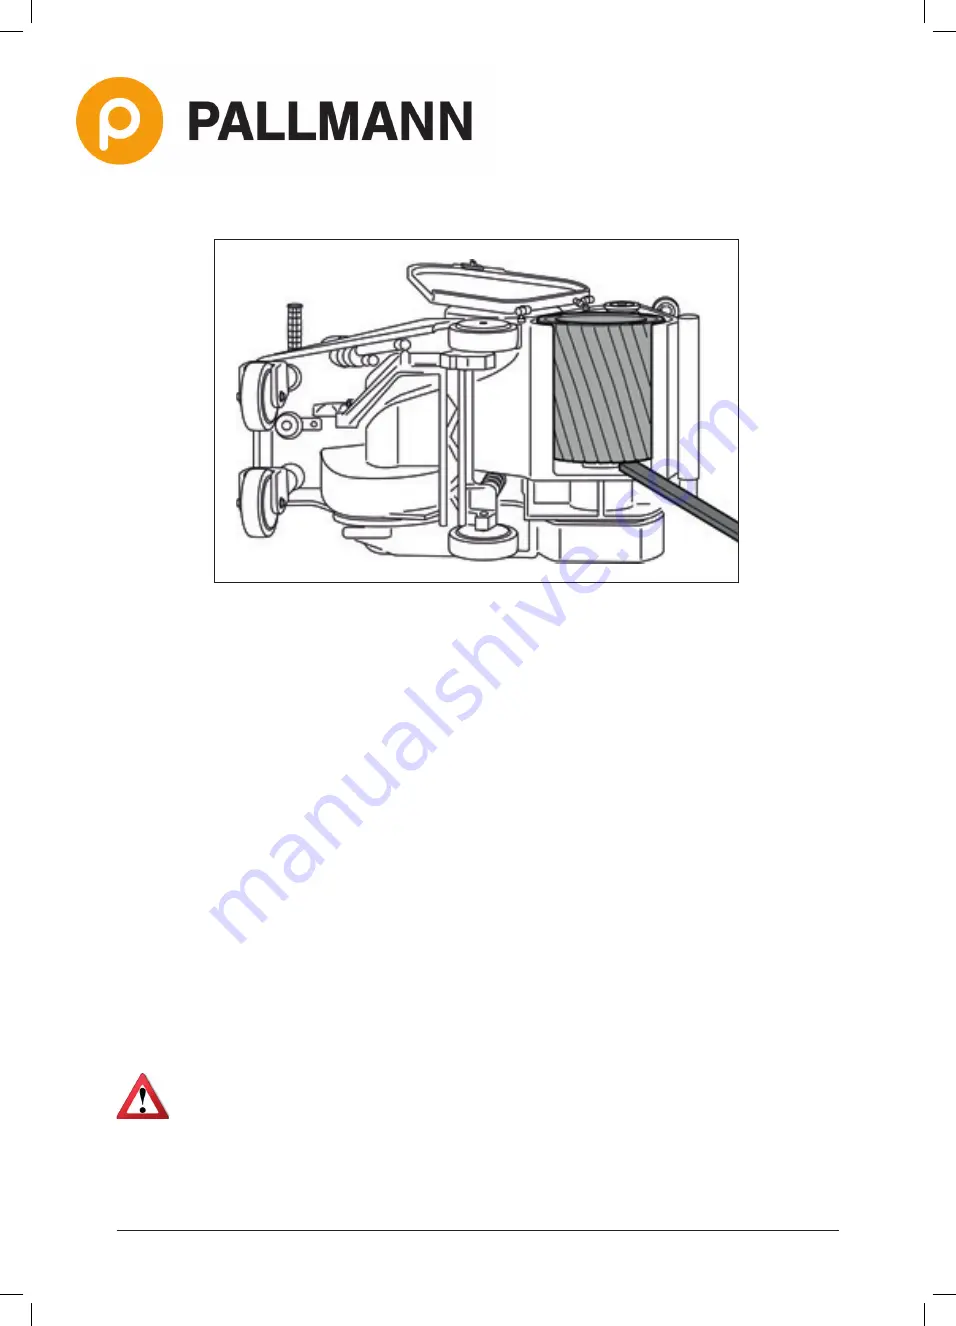
7. Lay the machine on its left side.
8. Press against the sanding drum carefully with a fl at iron bar.
9. Remove the sanding drum out of the machine.
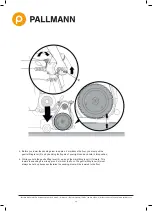
10. Be careful no to loose the parallel key.
11. Slide a new sanding drum on to the sanding drum shaft. The parallel key must fi t properly in
the slot on the sanding drum shaft.
12. Apply metal adhesive to the retaining nut and screw it back on the sanding drum shaft. Stand
the machine up and lower the sanding drum to the fl oor to ensure that the sanding drum
does not turn while you tighten the retaining nut in the next step. Tighten the retaining nut
securely with the enclosed double fork wrench.
13. Pull the main lifting lever back to lift the sanding drum off the fl oor.
14. Close the sanding drum cover.
15. Ensure that the machine cannot roll away.
Note!
After changing the sanding drum, the surface setting on the machine must be newly adjusted.
(See chapter 8.2)

