background image

11

10

3.

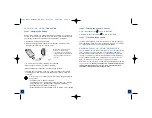
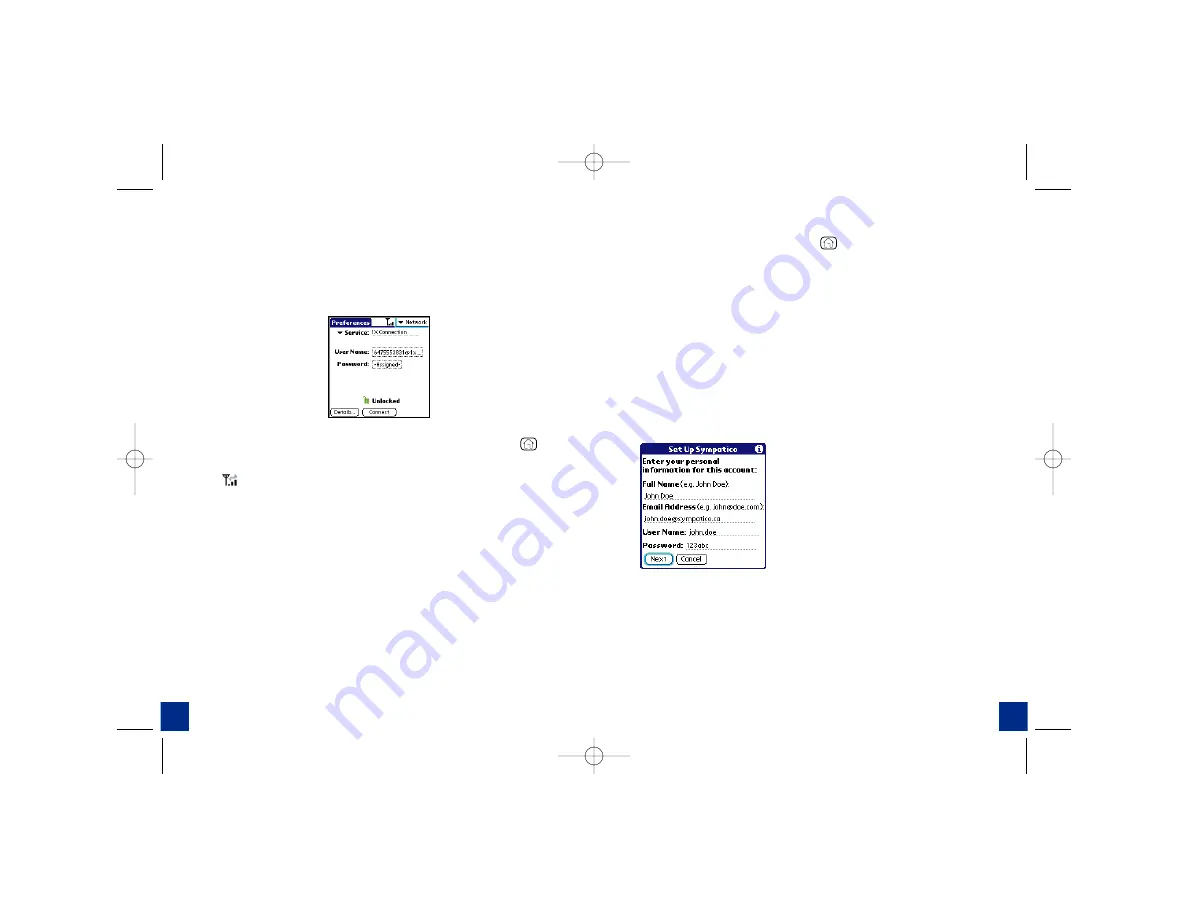
Enter the following information in the following fields:

i. 

Service:

should already be preset to 

1X 

connection. If not, select by

tapping on arrow.

ii.

Username:

your mobile number@1x.bell.ca, 

i.e. 1234567890@1x.bell.ca

iii. 

Password: 

your original voicemail password

4.

You have now completed set up for wireless connectivity. Tap 

Connect

to

start a data connection or press the Application Launcher button,

to

return to applications.

Note:

This icon indicates that you are connected to a data network.

When the arrows are grey, you are in standby mode and can receive calls.
When the arrows are green, a data session is active and you cannot receive
any calls.

Setting Up Your POP3 E-mail Account

You can set up a connection to an e-mail server so that you can send and
receive e-mail messages by using a modem or network connection and

Inbox

on your device.

You can manage multiple e-mail accounts. For each e-mail account you
intend to use, first set up and name the e-mail service. If you use the same
service to connect to different mailboxes, set up and name each mailbox
connection.

t o   s e t   u p   y o u r   p o p

3

s e r v i c e :

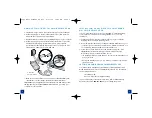
1. Press 

Applications Launcher

button

.

2. Tap the Mail icon.

3. Tap on the pick list, and then select your e-mail service provider. If your

e-mail service provider is not listed, select Other.

4. Choose Next.

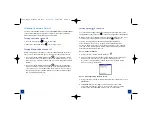
5. Type your Full Name (as you want it to appear when you send

messages), your full e-mail address, and your Password for this account.  
Please follow the instructions below based on your pick list selection:

A. Sympatico:  
Users will already have their server settings pre-set. The default POP3
setting is pop1.symptico.ca, however some users may have a different
POP3 setting, i.e. pop6.sympatico.ca. In this case the default will need
to be changed in the server tab. Fill in the appropriate information in
the Name tab:

Note 

For more information on the

connection to the 

Treo 600

system

requirements or other settings, please 
refer to the User Manual.

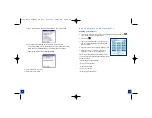
B. Other:  
Your 

Treo 600

allows you to receive e-mail messages but depending on

your ISP, you may not be able to send, forward or reply to your e-mail
messages. That’s because, in an effort to minimize SPAM, most ISPs block
SMTP access to their mail server.

Bell provides an SMTP E-mail Support service that solves this problem. 
Bell SMTP E-mail Support is an outgoing mail server service that allows
you to receive and reply to your POP3 emails on your 

Treo 600

. Once 

you have configured the mail client to the Bell outgoing mail server
configuration – 

mail.1Xbell.ca

, you will be able to send from your device.

2092_Bell_Treo600_UG_R11  8/11/04  10:19 AM  Page 10

Summary of Contents for Treo 600

Page 1: ...Mobility Business Solutions getting started guide Treo 600 smartphone from palmOne read me first 2092_Bell_Treo600_UG_R11 8 11 04 10 19 AM Page a...

Page 2: ...res 2 Setting up your Treo 600 4 Connection to Your Computer 5 Setting up Your Device for Wireless Use 7 Setting Up Your POP3 Account 10 Basic Phone Functionality 13 Optional Wireless Services and Fea...

Page 3: ...B D E A Antenna B Wireless Mode button C Infrared IR port D Ringer switch E Stylus F Expansion card slot A Phone receiver B LED Wireless Mode and charge indicator C Volume buttons D Phone E Calendar...

Page 4: ...nue press Center to unlock the keyboard feature connection to your computer Synchronization lets you enter information on your computer using Palm Desktop or Microsoft Outlook for Windows and then eff...

Page 5: ...ful installation 1 Exit any applications that are currently running on your computer including those running in the background 2 Insert the CD that came with your Treo into the CD ROM drive on your co...

Page 6: ...g up the Connection You should be in the Application Launcher page to get there simply press the Application Launcher button on the bottom right side of the keypad Note Ensure that ALL appears at the...

Page 7: ...lect your e mail service provider If your e mail service provider is not listed select Other 4 Choose Next 5 Type your Full Name as you want it to appear when you send messages your full e mail addres...

Page 8: ...ease refer to the Treo 600 User Manual to find out more about the enhanced functionalities of this device including Enhanced phone functionalities Using organizer features Web and Messaging Using your...

Page 9: ...of the optional features that are available to you to use along with your new voice enabled device Note Must activate on a Bell Mobility Voice plan to be subscribed to these services Message Centre Me...

Page 10: ...is subject to the manufacturer s specifications and warranty We do not guarantee uninterrupted service and will not be liable for any damages losses or expenses that may arise due to temporary network...

Page 11: ...k or our ability to provide services to others to be adversely affected You cannot threaten or abuse any Bell Mobility employee or representative For details on our return policy for Devices and servi...

Page 12: ...ntegrity of our network you may not resell any of our services or allow any alteration of the electronic serial number located on your Device In addition you must agree to follow all other service reg...

Page 13: ...____ Customer Signature ____________________________________________ These Terms of Service cannot be modified in any way by your Bell Mobility sales representative or agent If you require further inf...

Page 14: ...2092_Bell_Treo600_UG_R11 8 11 04 10 19 AM Page 24...

Reviews: