©
Palo
Alto
Networks,
Inc.
Panorama
6.1
Administrator’s
Guide
•
165
Monitor
Network
Activity
Use
Panorama
for
Visibility
Step
2
Set
up
Panorama
to
reports.
1.
Select
Panorama > Server Profiles > Email
.
2.
Click
Add
and
then
enter
a
Name
for
the
profile.
3.
Click
Add
to
add
a
new
server
entry
and
enter
the
information
required
to
connect
to
the
Simple
Transport
Protocol
(SMTP)
server
and
send
(you
can
add
up
to
four
servers
to
the
profile):
•
Server
—Name
to
identify
the
server
(1
‐
31
characters).
This
field
is
just
a
label
and
does
not
have
to
be
the
host
name
of
an
existing
SMTP
server.
•
Email Display Name
—The
name
to
display
in
the
From
field
of
the
email.
•
From
—The
address
where
notification
emails
will
be
sent
from.
•
To
—The
address
to
which
notification
emails
will
be
sent.
•
Additional Recipient
—To
send
notifications
to
a
second
account,
enter
the
additional
address
here.
•
Email Gateway
—The
IP
address
or
host
name
of
the
SMTP
gateway
to
use
to
send
the
emails.
4.
Click
OK
to
save
the
server
profile.
5.
Click
Commit
and
select
Panorama
as
the
Commit Type
to
save
the
changes
to
the
running
configuration.
Step
3
Schedule
the
report
for
delivery
by
email.
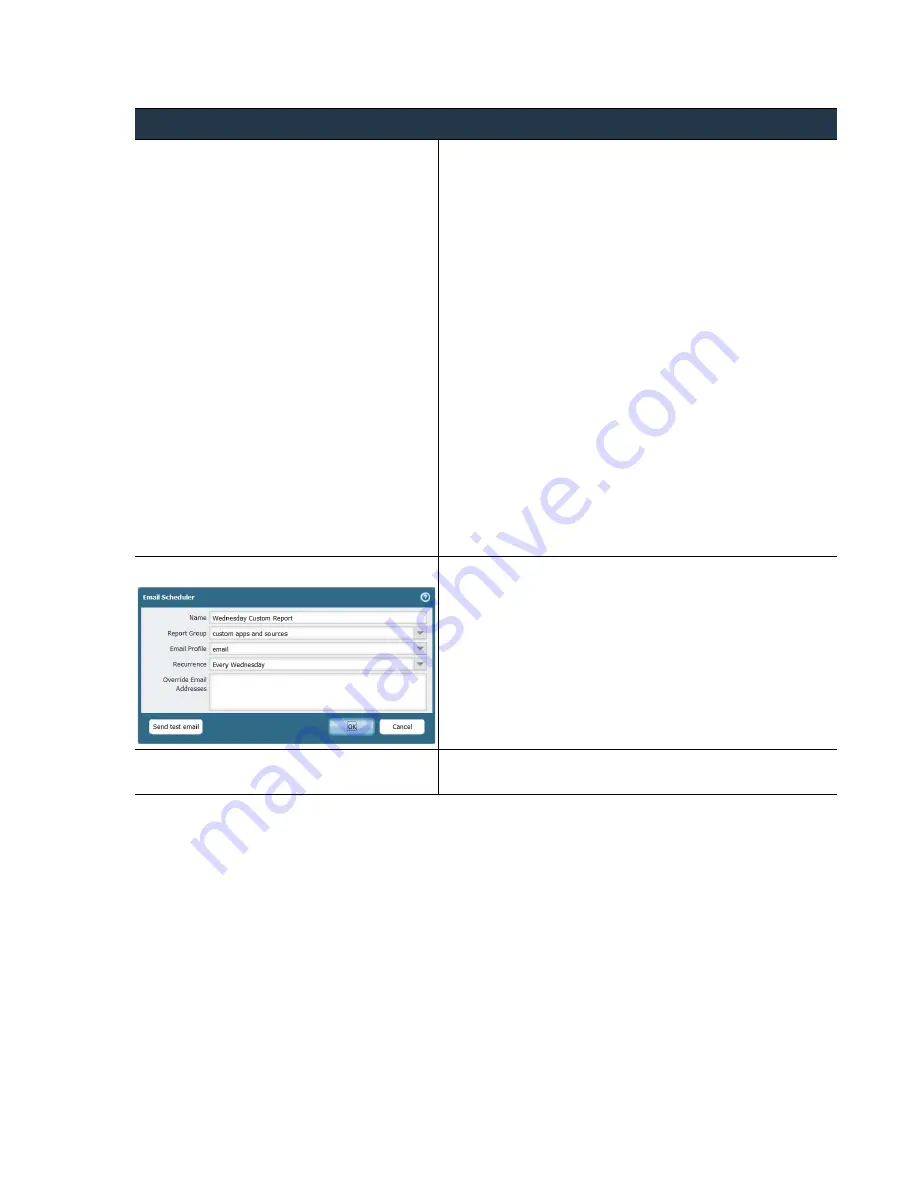
1.
Select
Monitor > PDF Reports > Email Scheduler
.
2.
Click
Add
and
then
enter
a
Name
for
the
scheduler
profile.
3.
Select
the
Report Group
,
the
Email Profile
,
and
the
Recurrence
for
the
report.
4.
To
verify
that
the
settings
are
accurate,
select
Send test
.
5.
Click
OK
to
save
your
settings.
Step
4
Save
the
configuration
changes.
Click
Commit
and
select
Panorama
as
the
Commit Type
to
save
the
changes
to
the
running
configuration.
Generate,
Schedule,
and
Reports
(Continued)


