


2) SYS (sound system) selection.
In this TV model this item is ineffective. (Refer to the
NOTE
on page 6)
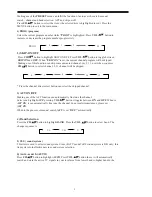
3) BLUE ON/OFF selection.
Select and highlight
BLUE ON/OFF
. Press
VOL
button to select ON or OFF. When
"BLUE ON"
is selected, blue background will appear on the screen automatically when no input
signals, and the sound is mute. After 5 minutes the set will cut off automatically.
Channel selection
1. Using direct select buttons
1) Single digital method ( 0~9 ).
You can select any one of 0~9 channel position directly by pressing the number button
accordingly.
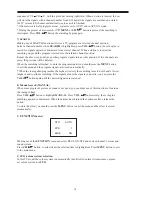
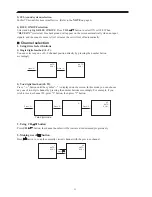
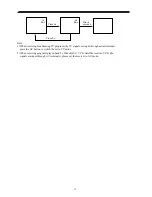
2) Two digital method (10~99).
Press "-/--" button until the symbol "--" is displayed on the screen. In this mode you can choose
any one of two digit channel by pressing the number buttons accordingly. For example, if you
wish to receive channel 25, press "2" button, then press "5" button.
Two digit mode
Press " 5 "
Press "0"
AUTO
SYS 1
AUTO
SYS 1
Press " 2 "
Press "-/--"
Press " 5 "
25
AUTO
SYS 1
2 -
- -
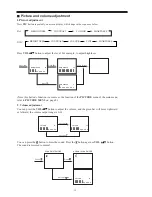
2. Using CH button
Press
CH
button, the channel number will be increased or decreased progressively.
3. Making use of button
Press button to swap the currently viewed channel with the previous channel.
Press
1
AUTO
SYS 1
20
AUTO
SYS 1
11