background image

Safety Precautions

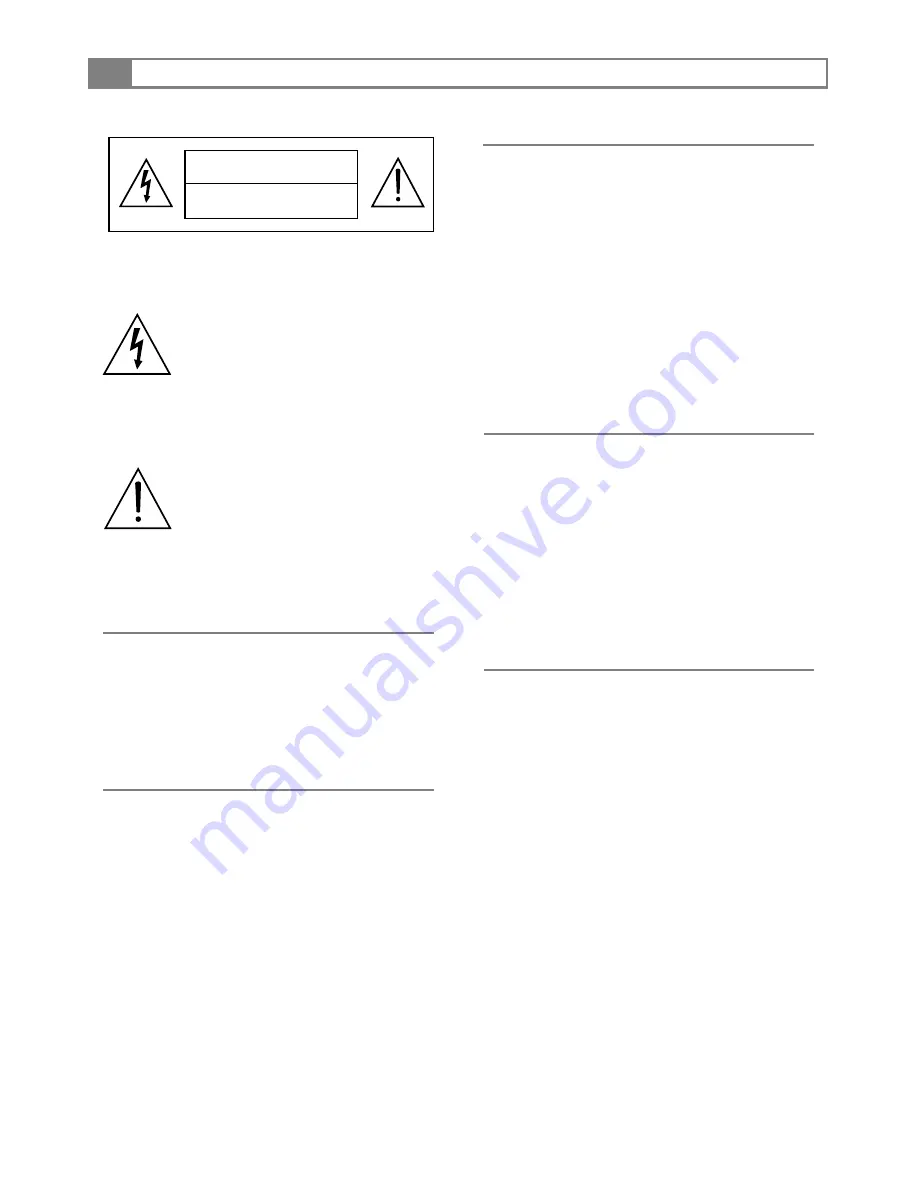
THE LIGHTNING FLASH WITH AR-
ROWHEAD SYMBOL WITHIN AN EQUI-
LATERAL TRIANGLE IS INTENT TO
ALERT THE USER TO THE PRESENCE OF
UNINSULATED "DANGEROUS VOLTAGE"
WITHIN THE UNIT'S CABINET THAT MAY
BE OF SUFFICIENT MAGNITUDE TO
CONSTITUTE A RISK OF ELECTRIC
SHOCK TO PERSONS.

THE EXCLAMATION POINT WITHIN AN
EQUILATERAL TRIANGLE IS INTENDED
TO ALERT THE USER TO THE PRE-
SENCE OF IMPORTANT OPERATING
AND MAINTENANCE (SERVICING)
INSTRUCTIONS IN THE MANUAL
ACCOMPANYING THE UNIT.

TO PREVENT FIRE OR ELECTRIC SHOCKS, DO NOT
EXPOSE THE UNIT TO RAIN OR MOISTURE. NEVER
ATTEMPT TO OPEN THE CABINET, DANGEROUS
HIGH VOLTAGES ARE PRESENT IN THE UNIT. REFER
SERVICING TO QUALIFIED SERVICE PERSONNEL.

TO PREVENT ELECTRIC SHOCKS, MATCH WIDE-
BLADE PLUG WITH WIDE SLOT, FULLY INSERT.
THE APPARATUS SHALL NOT BE EXPOSED TO
DRIPPING OR SPLASHING AND THAT NO OBJECTS
FILLED WITH LIQUIDS SUCH AS VASES SHALL BE
PLACED ON THE APPARATUS.

THE UNIT EMPLOYS A LASER SYSTEM. TO
ENSURE THE PROPER USE OF THE UNIT, READ
THIS MANUAL CAREFULLY AND KEEP IT FOR 
FUTURE REFERENCE.

IF THE UNIT REQUIRES SERVICING, CONTACT
THE SELLER OR OUR SERVICE CENTRE - SEE
"TROUBLE SHOOTING".

TO PREVENT DIRECT EXPOSURE TO THE LASER
RADIATION, DO NOT OPEN THE CABINET. VI-
SIBLE LASER MAY RADIATE WHEN THE CABINET
OPENED OR THE INTERLOCKS ARE DEFEATED.
DO NOT STARE INTO THE LASER BEAMS.

THE DVD VIDEO PLAYER IS A CLASS 1 LASER
PRODUCT. USE OF CONTROLS OR ADJUST-
MENTS OR PERFORMANCE OF PROCEDURES
OTHER THAN THOSE SPECIFIED HEREIN MAY
RESULT IN HAZARDOUS RADIATION EXPOSURE.

AS THE LASER BEAM USED IN THIS DVD VIDEO
PLAYER IS HARMFUL TO THE EYES, DO NOT
ATTEMPT TO DISASSEMBLE THE CABINET.
REFER SERVICING TO QUALIFIED PERSONNEL
ONLY.

FCC REGULATIONS STATE THAT ANY CHANGE
OR MODIFICATION TO THE EQUIPMENT, NOT
EXPRESSLY APPROVED BY MAKER OR ITS
AUTHORISED PARTIES, COULD VOID USERS
AUTHORITY TO OPERATE THIS EQUIPMENT.

CAUTION:

CAUTION:

WARNING:

WARNING:

CAUTION:

RISK OF ELECTRICAL SHOCK

DO NOT OPEN

CAUTION

2

Summary of Contents for DVD/CD/MP3 DVD2030

Page 1: ...N AVENUE WATERLOO NSW 2017 AUSTRALIA TEL 02 9313 7111 FAX 02 9313 7555 www palsonic com au PALSONIC CUSTOMER SERVICE TELEPHONE AUSTRALIA 1300 657 888 DVD2030 USER S MANUAL Please read this manual before connection and use DVD CD MP3 PLAYER ...

Page 2: ... a TV Set Connecting to an AV Amplifier with 2 Channels Analog Audio Input Connecting to a AV Amplifier with Digital Audio Input Connections 9 10 11 Basic Operation 12 Basic Playback Trouble Shooting Specifications Remote Controller Preparation Others 29 30 30 Modes and Features Setup Remote Controller Operation MP3 Playback Kodak Picture CD Playback Function Illustrations 13 18 27 28 ...

Page 3: ...CH AS VASES SHALL BE PLACED ON THE APPARATUS THE UNIT EMPLOYS A LASER SYSTEM TO ENSURE THE PROPER USE OF THE UNIT READ THIS MANUAL CAREFULLY AND KEEP IT FOR FUTURE REFERENCE IF THE UNIT REQUIRES SERVICING CONTACT THE SELLER OR OUR SERVICE CENTRE SEE TROUBLE SHOOTING TO PREVENT DIRECT EXPOSURE TO THE LASER RADIATION DO NOT OPEN THE CABINET VI SIBLE LASER MAY RADIATE WHEN THE CABINET OPENED OR THE I...

Page 4: ...ct and to protect it from overheating and these openings must not be blocked or covered These openings should never be blocked by placing the product on a bed sofa rug or other similar surface This product should not be placed in a built in installation such as a bookcase or rack unless proper ventilation is provided or the manufacturer s instructions have been adhered to 11 POWER SOURCES This pro...

Page 5: ...manufacturer 25 HEAT The product should be situated away from heat sources such as radiators heat registers stoves or other products including amplifiers that produce heat 15 OUTDOOR ANTENNA GROUNDING If an outside antenna or cable system is connected to the product be sure the antenna or cable system is grounded so as to provide some protection against voltage surges and built up static charges A...

Page 6: ...iod of time Do not move this product during playback Doing so may cause damage to the pick up and the disc Press OPEN CLOSE on the front panel or remote to open or close the disc tray Do not push or touch the tray while it is opening or closing Please use the original box and packing materials for safe transportation of the product ...

Page 7: ...ovision Corporation and is intended for home and other limited viewing uses only unless otherwise authorised by Macrovision Corporation Reverse engineering or disassembly is prohibited Multi angle Subtitle choices Audio choices TV Aspect Ratio mode Closed Caption CC 32 9 Progress Scan Video output Full compatibility with DVD DVD R RW DVD R RW VCD CD MP3 Kodak Picture CD CD R and CD RW finalised Mu...

Page 8: ...Connect to the audio inputs of a TV stereo or analog amplifier 1 2 3 4 Coaxial Digital Audio Output Connect to the coaxial input of a digital amplifier receiver with a Dolby Digital decoder S Video Output Connect to a TV equipped with an S Video input 5 6 Disc Tray Insert disc here Front Panel Display Display the player s status IR Sensor Receives input from the remote control OPEN CLOSE Open and ...

Page 9: ...Y PBC SETUP DISPLAY TITLE POWER REW N P REPEAT Note 1 Please note that reference numbers for the remote are described begin on page 20 of this manual 2 In this manual will be used to represent different NAVIGATION ARROWS on the remote respectively STEP AUDIO STOP DISC MENU 10 KEY PROGRAM PS IS LEFT UP RIGHT PAUSE SEARCH MUTE DOWN ...

Page 10: ...Video cable and left right audio cable set the Video Type to S Video 2 Composite video cable and left right audio cable 3 Component video cable and left right audio cable set the Video Type to Y Pb Cb Pr Cr S VIDEO VIDEO COAXIAL Pb Cb Pr Cr Y L R VIDEO IN S VIDEO VIDEO AUDIO IN L R WHITE RED YELLOW VIDEO IN Pb Cb Pr Cr ...

Page 11: ... DVD Player Connecting to an AV amplifier with 2 Channel Analog Audio Input Connections S VIDEO VIDEO COAXIAL Pb Cb Pr Cr Y L R BASS TREBLE ECHO DOWN UP VOLUME INPUT SELECTOR MUTE KARAOKE CHANNEL TEST MODE 3 STEREO PRO LOGIC BYPASS EXCITE POWER MIC 2 1 1 MIC VOL 2 MIC VIDEO DVD IN R red W white WHITE RED YELLOW AMPLIFIER ...

Page 12: ...he Coaxial digital audio output 2 Set the players audio out to Raw or PCM mode 3 Set the Amplifier to the AV input connected to the DVD player BASS TREBLE ECHO DOWN UP VOLUME INPUT SELECTOR MUTE KARAOKE CHANNEL TEST MODE 3DSTEREO PRO LOGIC BYPASS EXCITE POWER MIC 2 1 1 MIC VOL 2 MIC Coaxial Connections Coaxial cable ...

Page 13: ...input connected to the DVD player Step 3 Press the PLAY button on the front panel or remote control The player will automatically read and identify the disc and begin playback Step 2 Press OPEN CLOSE button either on front panel or remote control When the tray is open place the disc on the tray with the label side up Press OPEN CLOSE again to Close the disc tray Step 1 Press the POWER to start the...

Page 14: ...B Press SETUP to exit the Setup Menu Setup Menu Press to change items Language Video Audio Rating Press to select the menu item Language Video Audio Rating OSD Menu Subtitle Audio DVD Menu English English English English A Press ENTER or to set B Press to go back one menu C Press OR repeatedly to return to the Setup Menu Press to change your selection A Press ENTER to confirm B Press SETUP to exit...

Page 15: ...Press SETUP to exit the Setup Menu Press to change your selection Note Subtitle languages vary by disc Language Video Audio Rating OSD Menu Subtitle Audio DVD Menu English English English English English Francais Esponal Auto Off Select Audio and press ENTER or to display the Audio submenu Language Video Audio Rating OSD Menu Subtitle Audio DVD Menu English English English English English Francais...

Page 16: ...o Rating TV signal TV system Video Output 4 3 PS NTSC S Video Press to change your selection Press to select the menu item Press to change your selection A Press ENTER to confirm B Press SETUP to exit the Setup Menu 4 3PS Pan and scan refers to pictures where part of pictures is cut off so fills the whole screen 4 3LB Letter Box refers to pictures where black bands appear at the top and bottom 16 ...

Page 17: ...e player to a TV using the Stereo Audio jacks you should set 2 channel to enjoy downmixed stereo audio You can set the audio format for each of the following sources MP3 CD and Others DVD playback must be stopped in order to adjust the Audio setup AC 3 Setting Follow these steps to set the analog and digital audio formats of outgoing Dolby Digital 2 1 sound tracks A B C D E From Stop mode press SE...

Page 18: ...il you select the correct password using the 0 9 keys D Select Password E Use the 0 9 keys to select a 4 digit password and press ENTER The lock icon will close to indicate that the rating and password are set F Press SETUP to save and exit 17 Advanced Features Modes and Features Setup Rating Setup Language Video Audio Rating Password Rating LOAD factory 8 Adult Reset 1 Kid Safe 2 G 3 PG 4 PG 13 5...

Page 19: ...EAR Press CLEAR to delete numbers you have selected Press once to delete on digit Press and hold to delete all digits POWER To open the disc tray press OPEN CLOSE To Close the disc tray press OPEN CLOSE again OPEN CLOSE These keys are used to input time as well as title chapter and track numbers When a numeric item is displayed on the screen press 0 10 keys to select the desired entry and press EN...

Page 20: ...PLAY to display the current time counter position DVD 00 00 01 0 04 45 CD VCD CDDA Track 1 15 00 00 01 0 04 45 Elapsed time of the current track chapter Elapsed time of the current track Total tracks Current track Disc type Disc type Current title DVD DVD Title 2 2 Chapter1 22 Audio type DVD Audio 1 1 Eng 6 Ch Chi Audio type DVD Angle 1 1 Subtitle 1 1 Chi ...

Page 21: ...ayed as follows Time searches for an exact time in the movie In Title Chapter mode you cannot select a value outside the range of the total number of titles or chapters For some DVD discs the Search Function is unavailable CD VCD Track Search Time Track During playback press SEARCH and the Tack Search menu will display as follows DVD Search Time Track Chapter CD Track Search Time Track Note 1 2 3 ...

Page 22: ...use playback PAUSE X2 X4 X8 X20 play During DVD or CD VCD playback press once to play the next chapter title or track During DVD or CD VCD playback press and hold to scan forward The player will review the disc at 2 4 8 and 20 time normal speed as follows Press PLAY to resume normal playback X2 X4 X8 X20 play During DVD or CD VCD playback press once to play the previous chapter title or track Duri...

Page 23: ...layback press MENU to return to the program menu In the Setup Menu press MENU to return to the main menu or play mode Any time press MENU to cancel the current OSD or some menus Note This function is subject to the discs DISC MENU During playback press A B to select A Press it again to select B The player will repeat the section from A to B automatically Press A B a third time to cancel A B repeat...

Page 24: ... Input the title number and the chapter number in the desired order Then select Play Program and press ENTER to play the chapters in the order you have set Select Clear All and press ENTER to clear all the numbers you have input When playback is stopped Press PS IS button twice to switch to progressive scan mode Press PS IS once to switch back to interlace scan mode Note If you have connected the ...

Page 25: ...W DOWN motion playback at variable speeds Select to press REPEAT to select Repeat Title Repeat chapter Repeat off during DVD playback Press REPEAT to select Repeat Single Repeat All and Repeat off when PBC is off VCD CD SVCD SLOW STEP Press STEP during playback to pause playback Press STEP repeatedly to play frame Press PLAY to resume normal playback ...

Page 26: ...put Press MUTE again to resume normal audio output Press RETURN to the main menu when PBC is on RETURN VOL VOL Press Volume VOL button to increase Volume Press VOL button to reduce volume till no volume output PBC During VCD playback Press PBC playback control to select PBC 0n and off ...

Page 27: ...edly to change from one camera angle to another Note This function is disc specific ANGLE During VCD SVCD DVD playback press ZOOM to magnify the image as follows Q1 Q2 Q3 Q4 Q Off ZOOM During CD VCD SVCD playback Press AUDIO ro select a audio channel STEREO LEFT RIGHT etc During DVD playback Press AUDIO repeatedly to select from up to 8 audio languages formats During SVCD playback Press AUDIO repe...

Page 28: ...usic files and albums around 350 per disc Sampling rate CBR 32kHz 44 1kHz 48kHz 64kHz VBR 16kHz 22kHz 24kHz 32kHz MPEG Note The player will not identify or play MP3 discs under the following conditions recording format is not supported badly scratched or deformed disc MP3 recorded in CD R or CD RW which is not finalised or a dirty pickup When a MP3 disc is loaded the screen will display as follows...

Page 29: ...e Committee on Still Picture Compressing Standard of ISO The pictures on KODAK Picture CD are stored in this format JPEG This player can decode the JPEG pictures in KODAK Picture CD and playback the pictures in different modes Now you can playback Kodak Picture CDs on this player and view your wonderful pictures on your TV in the comfort of your living room When a Kodak Picture CD is inserted on a...

Page 30: ...r use of batteries may cause battery leakage and corrosion To operate the remote controller correctly follow the instruction below Do not insert batteries in the wrong direction Do not charge heat open or short circuit the batteries Do not throw batteries into a fire Do not leave dead batteries in the Remote Control Do not use different types of batteries together or mix old and new batteries If y...

Page 31: ... BUT NO SOUND Ensure the audio jacks are securely connected Ensure the audio connector is not damaged Ensure the volume is turned up in VOL CH setup Ensure you have set the player s AUDIO settings correctly Ensure you have ENTERED the correct AV input for your TV Ensure that the audio is not set mute Ensure that the power button is on Ensure that the wall outlet is operational Ensure that the powe...

Page 32: ...PALSONIC CORPORATION PTY LTD 1 JOYNTON AVENUE WATERLOO NSW 2017 AUSTRALIA TEL 02 9313 7111 FAX 02 9313 7555 www palsonic com au PALSONIC CUSTOMER SERVICE TELEPHONE AUSTRALIA 1300 657 888 ...

Reviews: