


73
Installing Software
Installing software will return the computer to the default condition. When you install the
software, the hard disk data will be erased.
Back up important data to other media or an external hard disk before installation.
CAUTION
●
Do not delete the Recovery Partition on the hard disk. The disk space in the partition is not
available to store data.
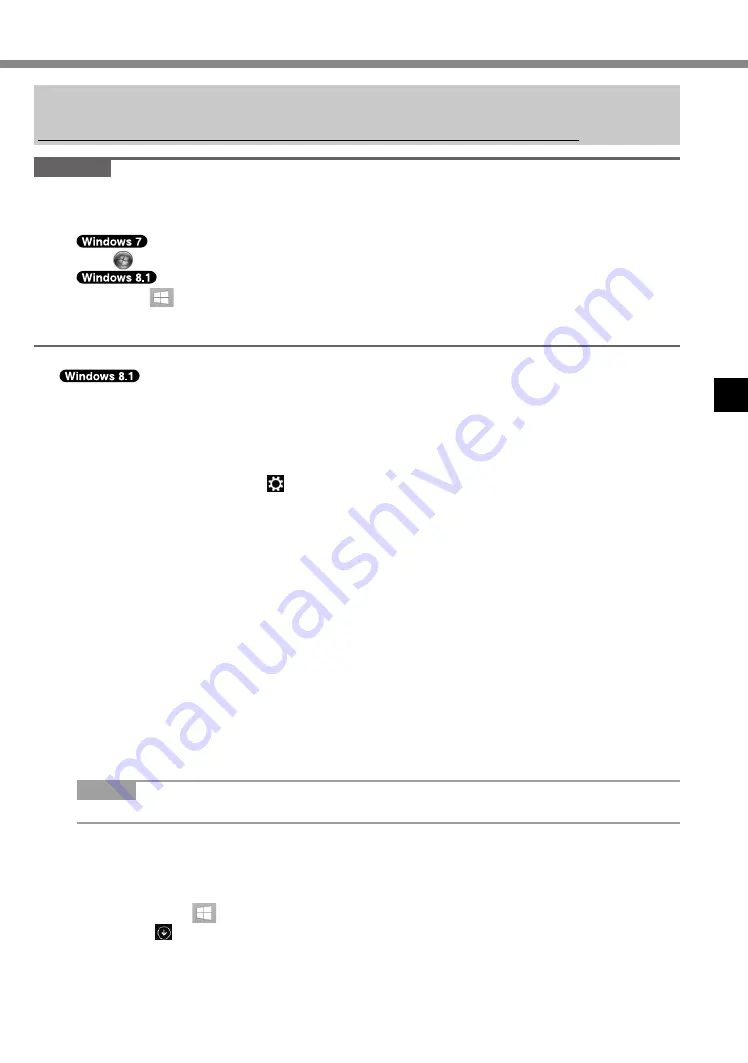
To check the Recovery Partition, perform the following methods.
A
Click (Start) and right-click [Computer], then click [Manage].
Right-click
at the bottom left corner of the Desktop screen.
●
A standard user needs to enter an administrator password.
B
Click [Disk Management].
■
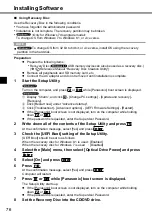
Remove everything and reinstall Windows
Preparation
●
Remove all peripherals and SD memory card, etc.
●
Connect the AC adaptor and do not remove it until installation is complete.
1
Perform “Remove everything and reinstall Windows”.
A
Display “Charm” and click - [Change PC settings] - [Update and recovery] - [Recovery].
B
Click [Get Started] under “Remove everything and reinstall Windows”.
C
Click [Next].
D
Select the option.
●
Just remove my files
Perform the reinstallation of the Windows in a few moments (Approximately 20
minutes).
●
Fully clean the drive
By fully cleaning, the deleted files can not be recovered easily and the security level
will be increased. The processing time will be longer (Approximately 140 minutes).
Follow the on-screen instructions.
After the reinstallation, the computer will restart.
●
Do not interrupt installation, for example by turning off the computer or performing other
operation.
Otherwise installation may become unavailable as Windows may not start up or the
data may be corrupted.
2
Perform the “First-time Operation” (
è
page 64).
NOTE
●
The date and time, and the time zone may not be correct. Be sure to set them correctly.
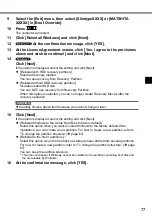
3
Perform Windows Update.
4
<Only for model with TPM> Clear TPM.
A
Perform either of the following procedures.
●
Right-click
at the bottom left corner of the Desktop screen.
●
Click on the Start screen.
B
Click [Run], then input [tpm.msc] and click [OK].
C
Click [Clear TPM…] under “Actions” on the right of the “TPM Manager on Local
Computer” screen.
Summary of Contents for CF-NX4E/G
Page 2: ...2...
Page 3: ...3 1 AC 1...
Page 4: ...4 AC 100 V...
Page 5: ...5 2 2 CCU 3 15 cm 2 3 CCU...
Page 6: ...6 LAN 1000BASE T 100BASE TX 10BASE T IP AC AC AC AC AC...
Page 7: ...7 CD DVD 1 10 15...
Page 8: ...8 14 J 1 1 B VCCI B 2 J 2 3 J 1 1 53 J 1...
Page 14: ...14 K L Reference Manual CD DVD Drive M Reference Manual RAM Module N 15 O 22 N O K L M...
Page 16: ...16 21 AC AC 2 A 180 3 AC 6 AC AC LAN AC AC 4 A 12 12 4 10 AC A 2 3...
Page 23: ...23 A A A Bottom AC AC 1 WiDi LCD CPU RAM RAM 1 24...
Page 24: ...24 Reference Manual LAN Bluetooth LAN Bluetooth Windows S 3 L 1 5 S 4 L 1 8 Windows 1 L...
Page 31: ...31 17 32 64 OK OK CANCEL 30 45 Windows 18 40 19 17 20 21 Windows Update 22 TPM TPM 26...
Page 38: ...38 Q A Ctrl Shift Esc Alt Tab 4 A 1 2 B CD DVD CD DVD 20...
Page 39: ...39 1 2 3 1 4 1 5 6 7 6 8 9 10 11 1 2 3 3...
Page 47: ...47 22 J 1...
Page 96: ...96...
Page 97: ...97...
Page 98: ...LAN 1000BASE T 100BASE TX 10BASE T IP CD DVD 10 15 98...
Page 100: ...GB4943 1 2011 Pb Hg Cd CrVI PBB PBDE HDD ODD SJ T11364 GB T 26572 GB T 26572 42 Cs 1 100...
Page 102: ...15 Cs 1 35 Cs 1 CD DVD CD DVD 12 Cs 1 12 1 1 53 Cs 1 102...
Page 103: ...LAN CCU 1 1 CCU 22 103...
Page 106: ...106 N O K L M K L Reference Manual CD DVD Drive M RAM Reference Manual RAM Module N 107 O 113...
Page 108: ...108 2 A 180 3 LAN UPS 4 A 104 104 10 CD DVD A 2 3...
Page 113: ...113 5 C 35 C 20 C 60 C 30 80 30 90 CD DVD Correct Incorrect Incorrect A A A Bottom...
Page 115: ...115 A B C D B C E B C...
Page 116: ...116 A B Windows SD 1 Windows A B Windows C D 20 Windows 140 Windows 2 109 3 Windows...
Page 118: ...118 11 32bit 64bit OK OK CANCEL 12 YES Windows 13 OK 14 15 109 16 Setup Utility 17 Windows...
Page 121: ...121 21 Windows...
Page 127: ...127 PANASONIC A B C D E F 1 2 G H 8 C 19 100026 800 810 0781...
Page 132: ...132 ENERGY STAR ENERGY STAR Panasonic ENERGY STAR ENERGY STAR 22 Cs 1 1006 5 C 3 6 2015 5...
Page 135: ...135...
Page 136: ...AC AC AC AC AC AC AC AC DC AC AC AC AC AC AC AC AC AC AC AC 136...
Page 137: ...AC AC AC LAN 1000BASE T 100BASE TX 10BASE T IP AC AC AC AC AC CD DVD 10 15 137...
Page 140: ...LAN Bluetooth l l 26 Ct 1 58 Ct 1 15 Ct 1 56 Ct 1 140...
Page 144: ...144 N O K L M K L Reference Manual CD DVD Drive M RAM Reference Manual RAM Module N 145 O 152...
Page 146: ...146 2 A 180 LCD LCD 3 AC AC LAN AC AC AC AC UPS 4 A 142 142 AC CD DVD A 2 3...
Page 154: ...154 LCD LCD LCD A AC B C D B C E B C...
Page 165: ...165 CD DVD CD DVD 150...
Page 171: ...171 ENERGY STAR Panasonic Corporation ENERGY STAR Panasonic ENERGY STAR ENERGY STAR 22 Ct 1...
Page 174: ...174...
Page 175: ...AC AC AC AC AC AC AC AC DC AC AC AC AC AC AC AC AC AC 175...
Page 177: ...AC AC AC CD DVD 10 15 Panasonic 1 30 40 95 AC 177...
Page 184: ...184 N O K L M K L Reference Manual CD DVD Drive M RAM Reference Manual RAM Module N 185 O 191...
Page 186: ...186 2 A 180 LCD LCD 3 AC AC LAN AC AC AC AC UPS 4 A 182 182 4 10 AC CD DVD A 2 3...
Page 191: ...191 5 C 35 C 20 C 60 C 30 80 RH 30 90 RH LCD CD DVD Correct Incorrect Incorrect AC AC AC AC...
Page 194: ...194 A AC B C D B C E B C...
Page 209: ...209...
Page 215: ...215 ENERGY STAR Panasonic Corporation ENERGY STAR Panasonic ENERGY STAR ENERGY STAR 22 Th 1...


