Chapter 2 Description of Parts
—
Main unit
- 19 -
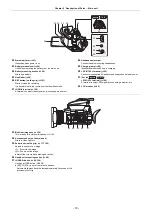
42
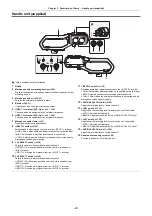
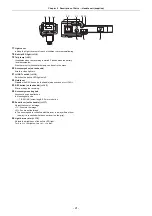
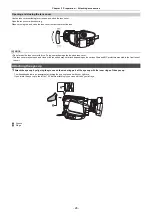
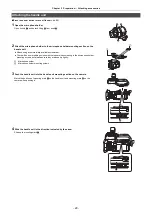
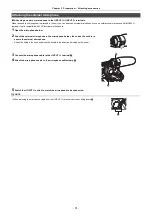
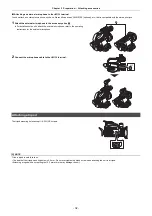
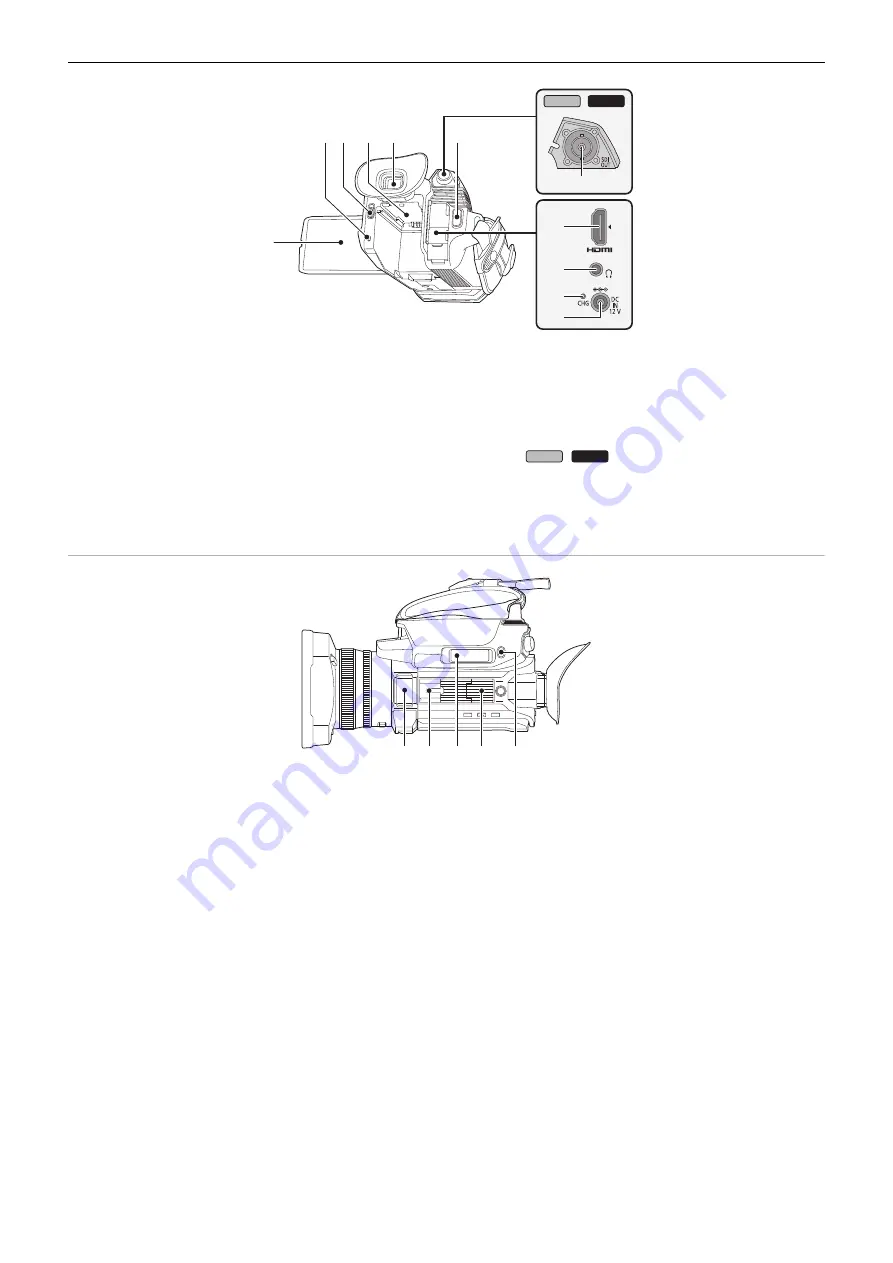
Status indicator (
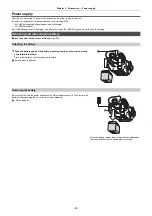
Illuminates when power is on.
43
Battery release lever (
Used when removing the battery from the main unit.
44
Battery mounting section (
24)
Attaches a battery.
45
Viewfinder (
46
REC button (on the grip) (
Starts or stops the recording.
It is possible to directly record from the thumbnail mode.
47
<HDMI> terminal (
A terminal to output video signal by connecting a monitor, etc.
48
Headphones terminal
Connects audio monitoring headphones.
49
Charging lamp (
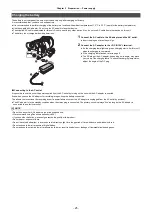
Illuminates when the battery is charging.
50
<DC IN 12V> terminal (
Connects the supplied AC adaptor and supplies an external power.
51
(For the
/
)
<SDI OUT> terminal (
A terminal to output SDI signal by connecting a monitor, etc.
52
LCD monitor (
53
Built-in microphone (
124)
This is the built-in stereo microphone <L>/<R>.
54
Accessory shoe (on the main unit)
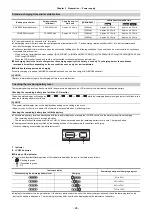
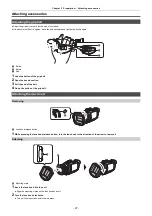
Attach a video light, etc.
55
Zoom lever (on the grip) (
Adjusts the zoom of an image.
<T>: Zooms in the image.
<W>: Zooms out the image.
≥
Adjust the volume when playing back clips.
56
Handle unit mounting section (
57
<USER5> button (
Used as a USER button (USER5).
≥
[REC CHECK] is set at the time of purchase.
Automatically plays back the last approximately 3 seconds of the
previously shot clip.
52
43
42
45
46
44
47
48
49
50
51
CX8
CX10
/
CX8
CX10
53 54
56
55
57
Summary of Contents for AG-CX7
Page 8: ...Chapter 1 Overview Before using the unit read this chapter ...
Page 188: ...Chapter 10 Notes Maintenance of the unit or frequently asked questions are described ...
Page 199: ...Chapter 11 Specification This chapter describes the specifications of this product ...
Page 208: ... Panasonic Corporation 2020 Panasonic Corporation Web site http www panasonic com ...


