Chapter 3 Preparation
—
Adjusting and setting the LCD monitor
- 49 -
Adjusting and setting the LCD monitor
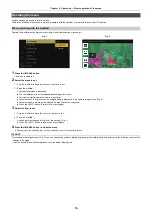
Using the LCD monitor
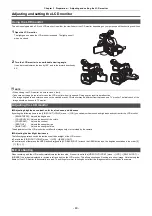
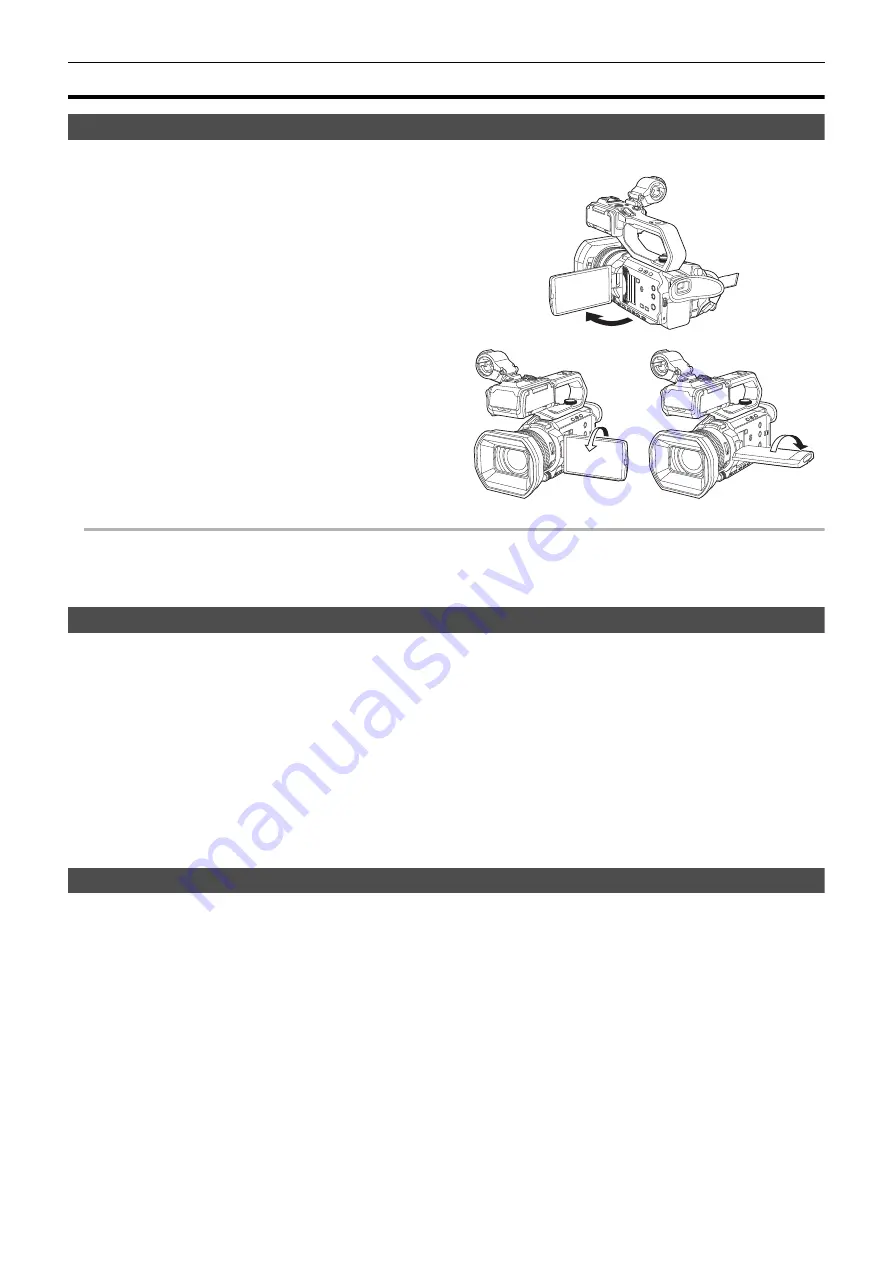
This unit is equipped with a 3.5-inch LCD monitor. Use either the viewfinder or the LCD monitor depending on your purpose and the shooting conditions.
1
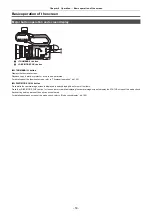
Open the LCD monitor.
The light goes on when the LCD monitor is opened. The light goes off
when it is closed.
2
Turn the LCD monitor to a comfortable viewing angle.
It can be turned towards the lens by 180° and in the forward direction by
90°.
@
NOTE
0
When closing the LCD monitor, be sure to close it firmly.
0
Take care not to apply excessive force on the LCD monitor when it is opened. Doing so may result in a malfunction.
0
The image brightness and color hue seen on the viewfinder and LCD monitor may be different from that seen on a TV monitor. The final check of the
image should be done on a TV monitor.
Adjusting the LCD monitor
∫
Adjusting brightness, contrast, color level, redness, and blueness
By setting the following items in the [VIDEO OUT/LCD/VF] menu
→
[LCD], you can adjust items such as brightness and contrast for the LCD monitor:
j
[BRIGHTNESS]: Adjusts the brightness.
j
[COLOR LEVEL]: Adjusts the density of the colors.
j
[CONTRAST]:
Adjusts the contrast.
j
[RED TINT]:
Adjusts the strength of red.
j
[BLUE TINT]:
Adjusts the strength of blue.
The adjustments of the LCD monitor do not affect the images output or recorded by the camera.
∫
Adjusting the backlight luminance
The following operations switch the luminance of the backlight of the LCD monitor:
≥
Set with the [VIDEO OUT/LCD/VF] menu
→
[LCD]
→
[BACK LIGHT].
≥
Each time you either press the USER button assigned to [LCD BACKLIGHT] or touch the USER button icon, the brightness switches in the order [0],
[1], [2], [
j
1].
Mirror shooting
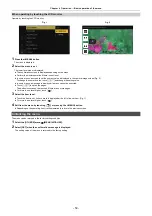
When recording with the LCD monitor rotated towards the lens side, if the unit is set to the [VIDEO OUT/LCD/VF] menu
→
[LCD]
→
[SELF SHOOT]
→
[MIRROR], the image is displayed in reverse in left and right on the LCD monitor. This allows shooting as if looking at a mirror image. Note that only the
display of the LCD monitor is horizontally reversed. The settings for mirror shooting do not affect the images output or recorded by the camera.
Summary of Contents for AG-CX7
Page 8: ...Chapter 1 Overview Before using the unit read this chapter ...
Page 188: ...Chapter 10 Notes Maintenance of the unit or frequently asked questions are described ...
Page 199: ...Chapter 11 Specification This chapter describes the specifications of this product ...
Page 208: ... Panasonic Corporation 2020 Panasonic Corporation Web site http www panasonic com ...

