64
Clips can be deleted or protected.
1
Press the [MENU] button.
Using the setup menus (Page 27)
2
Select [OPERATION], and then press the
[ENTER] button or .
3
Press to select an item, and then
press the [ENTER] button.
DELETE:
ALL CLIPS:
Deletes all clips.
Select whether or not to delete (YES/NO),
and then press the [ENTER] button.
SELECT:
Deletes the selected clips.
Press to select a clip, and
then press the [ENTER] button to display
an orange frame around the selected clip.
(Repeat this operation to select multiple
clips.)
If you select the same clip again and press
the [ENTER] button, the orange frame
disappears and the selection is canceled.
Press the [SHIFT/EXEC] button, select
whether or not to delete (YES/NO) on the
confirmation screen, and then press the
[ENTER] button.
NO:
Returns to the previous screen.
Deleting and protecting clips (OPERATION)
• Protected clips cannot be deleted.
• If you select [ALL CLIPS] to delete all clips
from the memory, the operation may take
some time to complete, depending on the size
of the clips to be deleted.
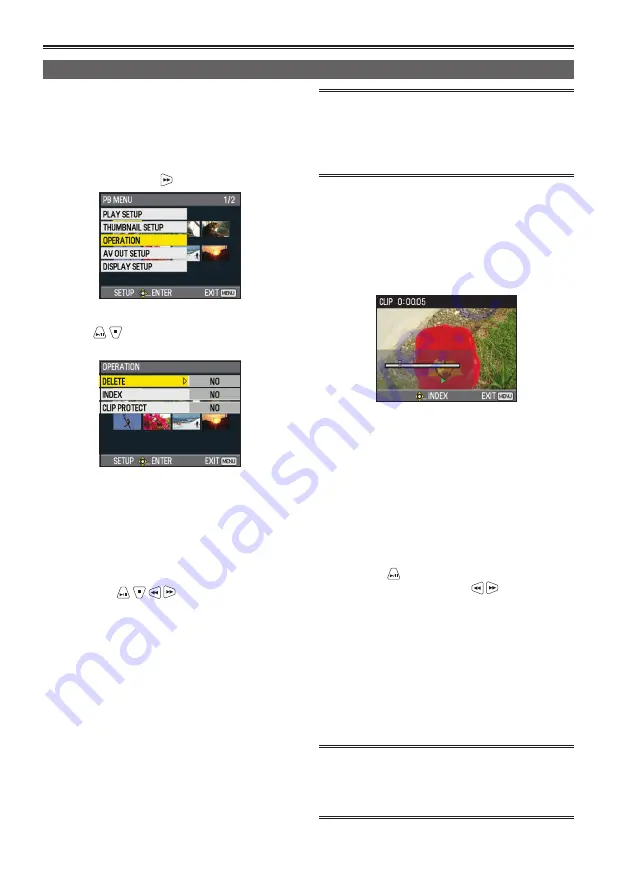
INDEX:
YES:
Adds an index to the selected clip.
1) Select and play a clip, and press
[ENTER] at the point where you want to
add an index.
2) Select [YES] on the confirmation
screen, and then press the [ENTER]
button. The index is added.
• The point in the clip at which the index
is actually added is accurate to within a
range of 0.5 seconds.
• To delete an index, select [INDEX] →
[YES] in step
3
, and then perform the
following.
1) Select and play a clip, and then press
to pause the clip.
2) When you press , the pointer
moves to a point where an index has
been added. Move the pointer to the
index that you want to delete, and
then press the [ENTER] button.
3) Select [YES] on the confirmation
screen, and then press the [ENTER]
button.
NO:
Returns to the previous screen.
• It is not possible to add indexes to clips
recorded using a consumer camcorder.
• It is not possible to adjust the volume when
adding or deleting indexes.
Thumbnail operations (continued)


