- 83 -
Synchronizing the time code with an external
device [AG-UX180]
You can synchronize the default time code during multi-camera recording.
≥
In the following section, the device with the reference time code is referred to as “master”, while
the device to be synchronized is referred to as “slave”.
1
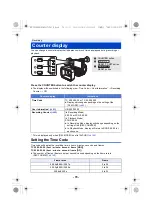
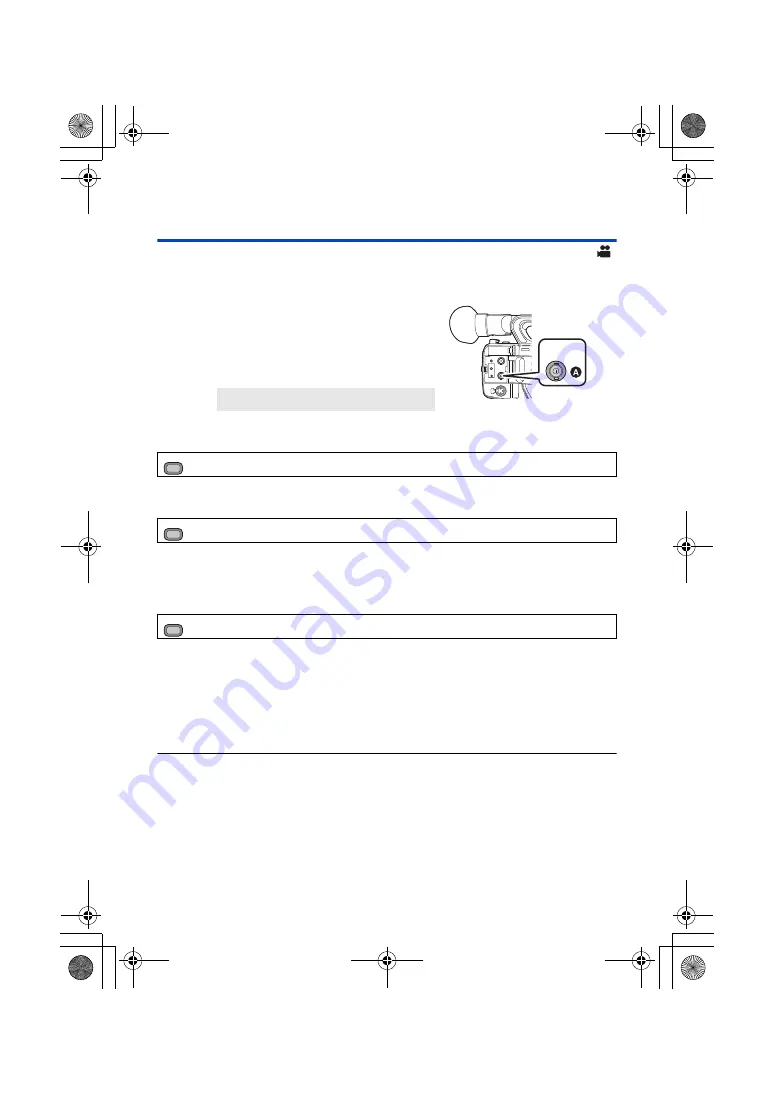
Connect the TC PRESET IN/OUT terminals of
the two devices with a BNC cable
(commercially-available), and turn them on.
≥
Apply the same [REC FORMAT] and [DF MODE] settings
to the two devices. (
2
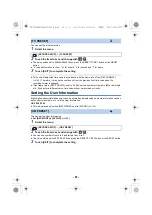
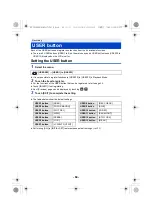
(On the master device)
Select the [
TCG
] menu.
3
(On the master device)
Select the [EXT TC LINK] menu.
≥
The time code will be output from the TC PRESET IN/OUT terminal.
≥
To cancel the output of the time code, touch [EXIT].
4
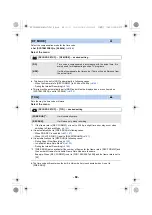
(On the slave device)
Select the [EXT TC LINK] menu.
≥
[TCG] will be set to [FREE RUN].
5
(On the slave device)
Press the RESET/TC SET button.
≥
“TC LINK OK” will be displayed and the time code will be synchronized with that of the master
device.
≥
When the time code is not synchronized correctly, “TC LINK NG” is displayed.
≥
To cancel the operation without synchronizing the time code, touch [EXIT].
≥
Use a commercially-available, double-shielded BNC cable equivalent to 5C-FB.
≥
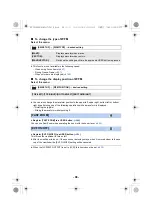
[EXT TC LINK] cannot be set to [SLAVE] in the following cases:
j
During Super Slow Recording (
)
j
In Variable Frame Rate Mode (
j
During the Interval Recording (
A
TC PRESET IN/OUT terminal
: [RECORD SETUP]
#
[TCG]
#
[FREE RUN]
: [RECORD SETUP]
#
[EXT TC LINK]
#
[MASTER]
: [RECORD SETUP]
#
[EXT TC LINK]
#
[SLAVE]
TC PRESET
IN/OUT
MENU
MENU
MENU
AG-UX180ED(DVQP1171ZA)_E.book 83 ページ 2016年11月28日 月曜日 午前11時32分

