30 (E)
Regular shooting
Before shooting, check that the camera-recorder is
operating properly.
Check the equipment as warranted by the shooting
conditions.
g
Battery
Have a fully charged battery ready.
We also recommend that you keep a spare battery
on hand.
g
Cassette tape
(P15)
Check that the cassette tape can be used for record-
ing:
•
Is the cassette’s accidental erasure prevention
tab not set to the SAVE position?
•
Is there not already any important material on the
tape?
•
Is the cassette cover closed securely?
g
Viewfinder
(P22)
Check whether the viewfinder’s diopter adjustment
has been made.
g
Zoom/focus/iris
•
Check that motor-driven zooming is possible.
(P31)
•
Check that the focusing can be performed both
automatically and manually.
(P37)
•
Check that the lens iris operations can be per-
formed automatically and manually.
g
Time data
•
Check that the calendar and time have been set
correctly.
•
Check that the time code and user’s bit have
been set correctly.
g
Audio input
Check that the audio input switch is in the correct
position.
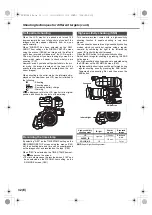
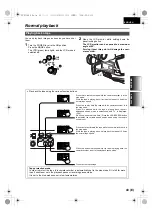
1
Set the AUTO/MANUAL selector switch to the
AUTO position.
2
Squeeze both sides of the lens cap and remove it.
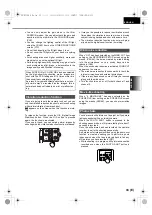
3
Look through the viewfinder and check what you
want to shoot.
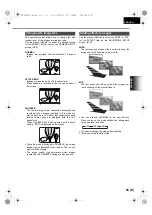
4
Shooting starts when you press the START/STOP
(red) button on the POWER lever.
Press this button again to pause shooting (shooting
pause mode).
Preparation and inspections
Shooting
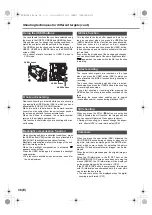
The following items are adjusted automatically in the auto
mode.
FOCUS
USER 2
SEARCH
MANUAL
MENU
VOL/JOG
SEARCH
D.ZOOM
USER 3
STILL
WHITE BAL
AUTO
PUSH
SHUTTER/IRIS
MANUAL
AUTO
•
Focusing
•
Shutter speed
•
Iris
•
Gain
•
White balance
OSD
COUNTER RESET
TITLE
V
OL +
MULTI/
P-IN-P
REC
A.DUB
ZOOM
DATE/
TIME
PHOTO
SHOT
START/
STOP
P
Q
POWER
lcc
lk
Viewfinder
AG-DVC60E_En.fm 30 ページ 2004年9月2日 木曜日 午後1時43分


