30
Recording
Recording Operations
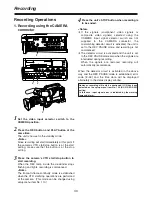
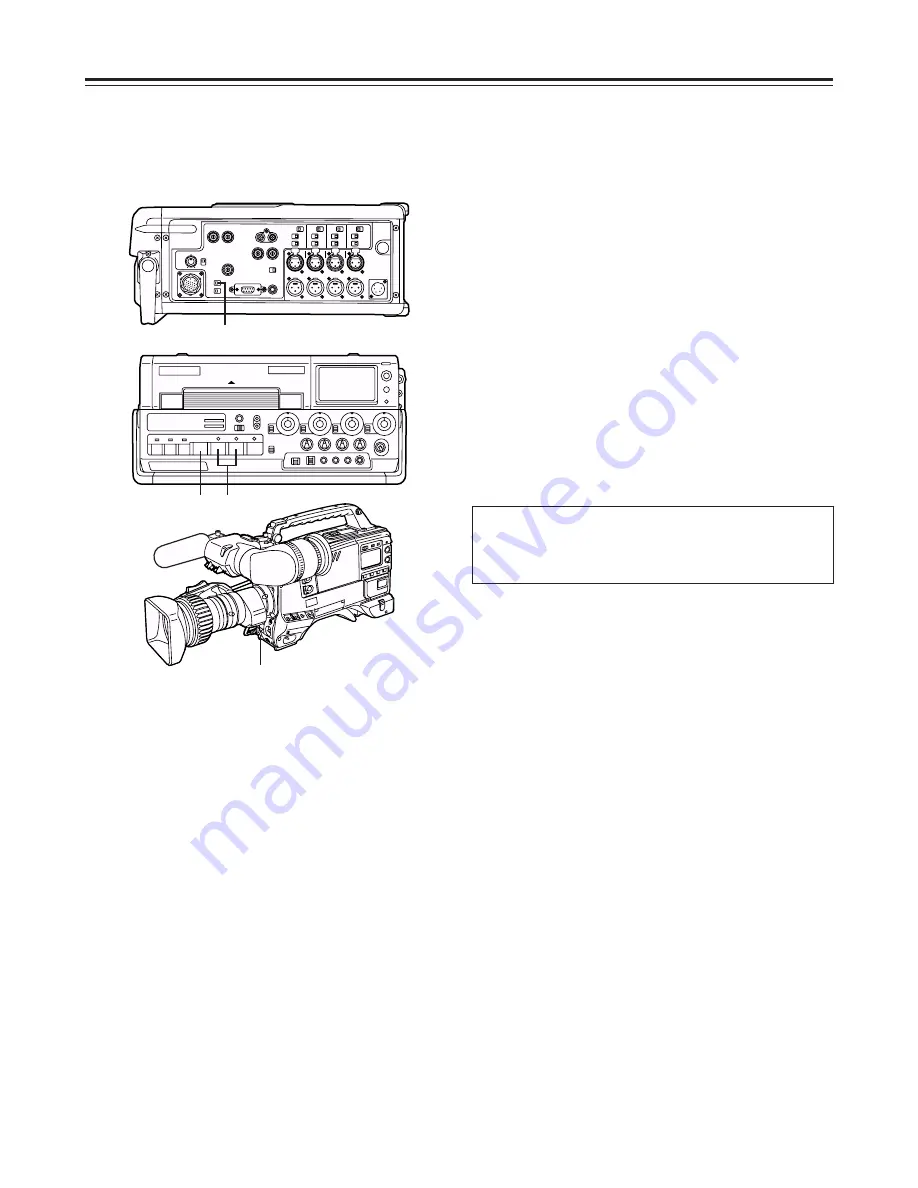
1. Recording using the CAMERA
connector
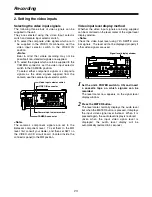
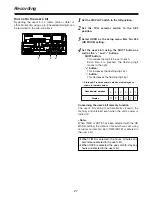
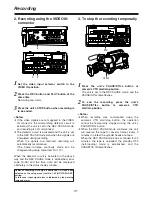
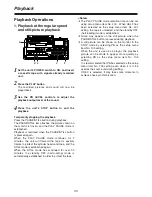
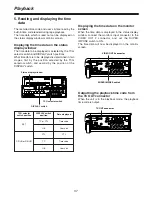
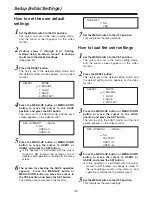
Set the video input selector switch to the
CAMERA position.
1
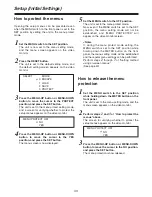
Press the REC button and PLAY button at the
same time.
The unit is now set to the standby mode.
<Note>
Since recording will start immediately at this point if
the camera’s VTR start/stop button is at the start
setting, make sure that the button is at the stop
setting.
2
<Notes>
O
If the signals (component video signals or
composite video signals) selected using the
CAMERA input signal selector switch are not
supplied to the CAMERA connector, the
mismatching detector circuit is activated, the unit is
set to the REC PAUSE mode, and recording is not
commenced.
O
The detector circuit is activated and the unit is set
to the REC PAUSE mode also when the signals are
interrupted during recording.
When the signals are restored, recording will
automatically recommence.
When the detector circuit is activated in the above
way and the REC PAUSE mode is established, error
code [E-A0] and the time data will be displayed
alternately in the status display window.
However, recording will only be continued if ON has been
selected as the setup menu item No. 130 (NO VIDEO REC)
setting.
In this case, input signal error is indicated by the warning
lamp and alarm.
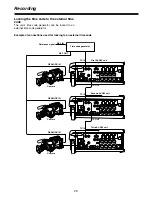
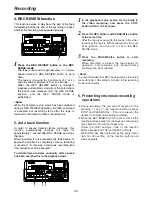
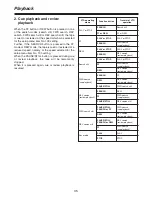
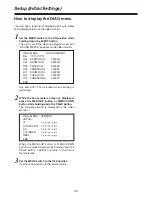
Press the camera’s VTR start/stop button to
start recording.
When the REC lamp inside the viewfinder stops
flashing and lights, recording is commenced.
<Note>
The frame-to-frame continuity mode is established
when the VTR start/stop operations are performed
at the camera. (This mode can be changed using
setup menu item No. 110.)
3
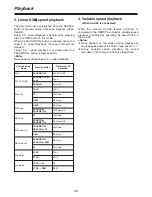
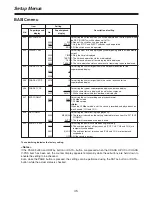
Press the unit’s STOP button when recording is
to be ended.
4
2
4
3
1

