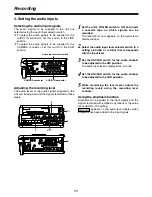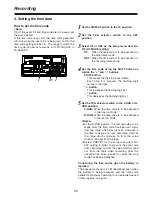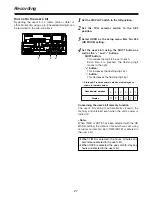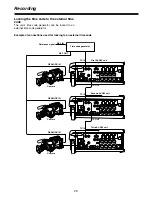
34
Playback
Playback Operations
1. Playback at the regular speed
and still-picture playback
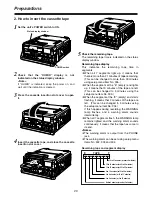
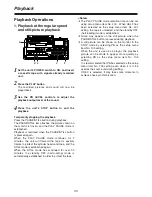
Set the unit’s POWER switch to ON, and insert
a cassette tape with signals already recorded
on it.
1
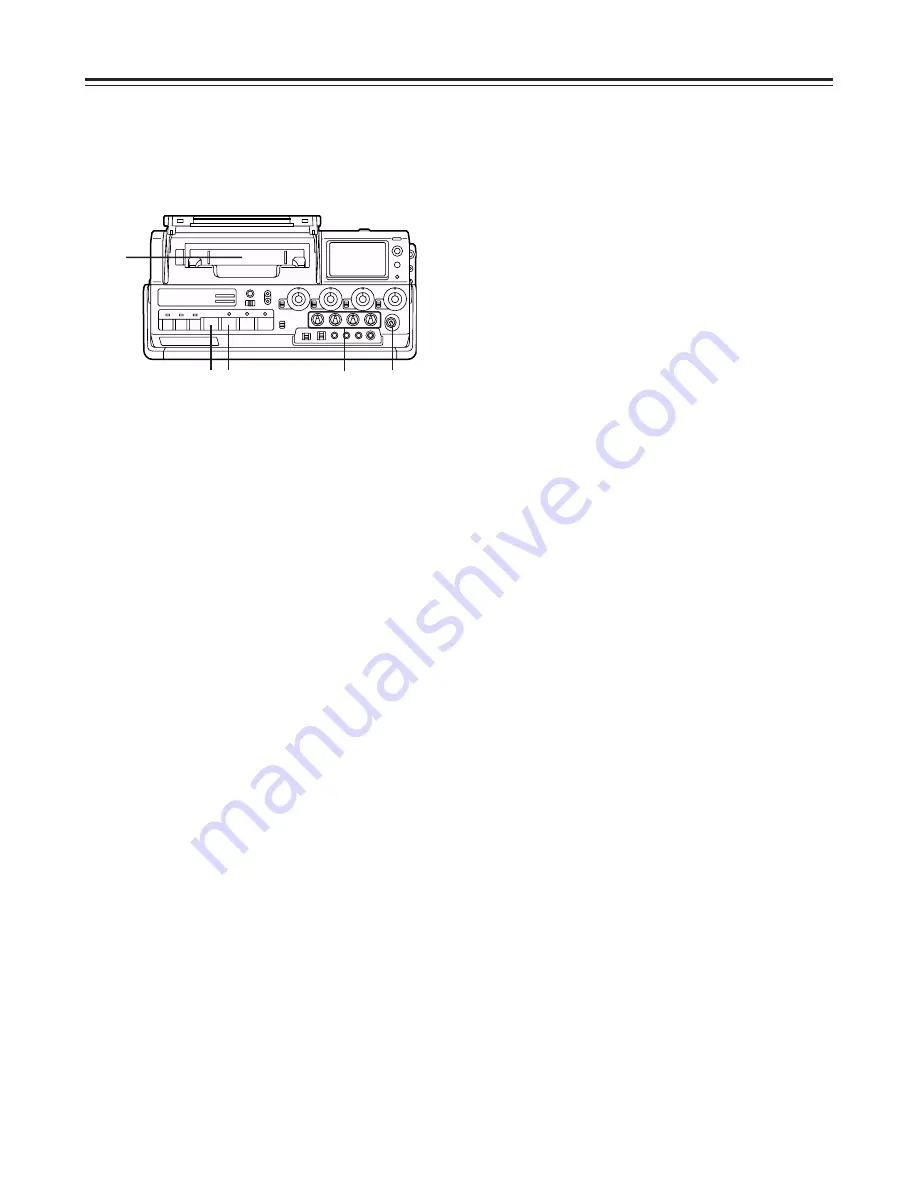
Press the PLAY button.
The recorded pictures and sound will now be
played back.
2
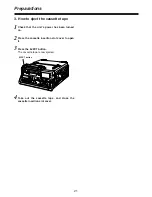
Use the PB LEVEL controls to adjust the
playback output level of the sound.
3
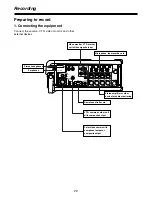
Press the unit’s STOP button to end the
playback.
4
Temporarily stopping the playback
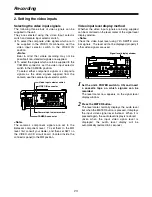
Press the PAUSE/STILL button during playback.
The PAUSE/STILL lamp flashes, the picture shown on
the monitor is frozen, and the PLAY PAUSE mode is
established.
Playback is resumed when the PAUSE/STILL button
is pressed again.
When the PLAY PAUSE mode continues for 2
minutes, the unit will forward the tape for several
frames to protect the cylinder heads and tape, and the
STILL mode is established again.
When the STILL mode has continued for over 30
minutes, the standby OFF (half-loading) mode is
automatically established in order to protect the tape.
<Notes>
O
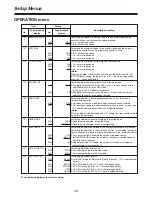
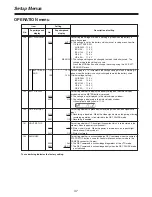
The PLAY PAUSE mode retention time can be set
using setup menu item No. 400. When HALF has
been selected as the setup menu item No. 401
setting, the tape is unloaded, and the standby OFF
(half-loading) mode is established.
O
Noise may appear on the still picture when the
PAUSE/STILL button is pressed during playback.
O
A still picture can be shown on the monitor in the
STOP mode by selecting PB as the setup menu
item No. 105 setting.
When the unit is used as a player, the playback
picture can be made to appear more quickly by
selecting PB as the setup menu item No. 105
setting.
It is recommended that PB be selected as the setup
menu item No. 105 setting even when it is to be
used as the source unit during editing.
If REC is selected, it may take some moments to
achieve phase synchronization.
3
2
4
1
1

