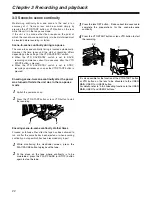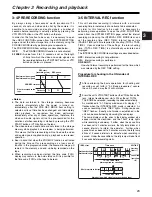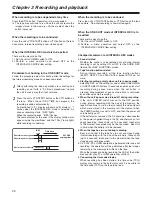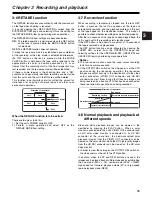
Chapter 4 Adjustments and settings for recording
26
In order to achieve images with a consistently high picture
quality with this unit, it is necessary to adjust the black balance
and white balance as the individual conditions demand. To
achieve a higher picture quality, it is recommended that the
adjustments be performed in the following sequence: AWB
(white balance adjustment)
>
ABB (black balance
adjustment)
>
AWB (white balance adjustment).
4-1 Adjusting the white balance and
black balance
4-1-1 Adjusting the white balance
The white balance must always be re-adjusted when the
lighting conditions have changed.
The white balance is adjusted automatically by following the
steps below.
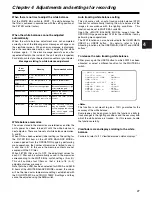
White balance detection area
The white balance detection area setting can be changed to
90%, 50% or 25% by opening the <WHITE BALANCE
MODE> screen from the OPERATION page and selecting the
desired setting for the AWB AREA item by performing menu
operations.
The factory setting is 25%.
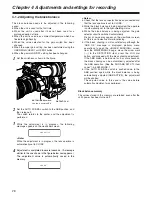
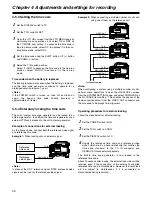
1
Set the switches as shown in the figure.
2
Select the CC FILTER/ND FILTER controls setting in
accordance with the lighting conditions.
<Note>
For examples of the FILTER controls settings, refer to “2-
3 Shooting and recording/playback function section.”
3
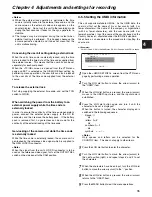
Erect a white pattern at a place with the same conditions
as the source of light illuminating the subject, zoom in,
and shoot the white of the pattern on the screen. A white
object (such as a white cloth or white wall) near the
subject may be used as a substitute for the white pattern.
The size of the white object required is shown in the
figure below.
<Notes>
≥
Take care to keep high-brightness spots off the screen.
≥
Shoot white objects in the center of the screen.
4
Adjust the lens aperture.
5
Set the AUTO W/B BAL switch to AWB, and then release
it.
The switch returns to the center, and the white balance is
automatically adjusted.
<Note>
When the AUTO W/B BAL switch is pressed again to the
AWB side when the white balance is being adjusted
automatically (AWB ACTIVE), the adjustment operation
will stop.
The adjusted value in this case is the value before
automatic adjustment was performed.
6
While the adjustment is in progress, the following
message appears on the viewfinder screen.
At least one-fourth of the screen width
At least one-fourth of
the screen height
AWB ACTIVE
7
Adjustment is completed in several seconds. (A message
similar to the one shown in the figure below now appears.)
The adjustment value is automatically saved in the
memory (A or B) which was set in step
1
.
AWB A OK 3.2K
8
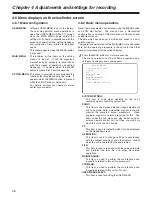
The message shown in the figure below appears when
the color temperature of the subject falls below 2300 K or
rises above 5600 K.
The downward pointing arrow indicates that the color
temperature is lower than the display temperature;
conversely, an upward pointing arrow indicates that the it
is higher than the display temperature.
AWB A OK 2.3K
m
90%
50%
25%
CC FILTER/ND FILTER controls
WHITE BAL:
A or B
OUTPUT:
CAM
GAIN: Normally 0 dB
Set to a more suitable gain level
if it is too dark.
AUTO W/B BAL switch:
Use this to execute AWB.
Summary of Contents for AJ-HDX400
Page 101: ...MEMO ...

