– 107 –
Chapter 5 Playback — Thumbnail operations
2
Use the control stick to move the cursor over the item to be checked, and press the control stick. (Fig. 1)
Settings of the uploaded metadata can be checked.
3
While checking the settings for the metadata, use the control stick to move the cursor over the item that you want to change the
setting, and press the control stick.
f
A software keyboard screen is displayed, allowing you to modify the setting. (Fig. 2)
f
While holding down the <SHIFT> button, press the control stick upward/downward to move the cursor to the first/last of the setting items.
Setting whether to record the uploaded metadata
Set [ON]/[OFF] in the main menu
→
[RECORDING SETUP]
→
[REC META DATA]
→
[RECORD]. [OFF] is set in the factory settings.
Selecting the [USER CLIP NAME] recording method
Select the [USER CLIP NAME] recording method from the two of [TYPE1] and [TYPE2] in the main menu
→
[RECORDING SETUP]
→
[REC META
DATA]
→
[USER CLIP NAME].
r
[TYPE1] (factory settings)
Status of clip metadata
[USER CLIP NAME] to be recorded
When clip metadata has been loaded
Uploaded data
When no clip metadata has been loaded, or when setting disables recording of loaded clip
metadata
Same as [GLOBAL CLIP ID]
r
[TYPE2]
Status of clip metadata
[USER CLIP NAME] to be recorded
When clip metadata has been loaded
Uploaded data
+
[COUNT] value*
When no clip metadata has been loaded, or when setting disables recording of loaded clip
metadata
Same as [CLIP NAME]
* The [COUNT] value is indicated as a four-digit number.
The [COUNT] value is incremented each time a new clip is generated, if the clip metadata has been loaded and [TYPE2] has been selected as the recording
method.
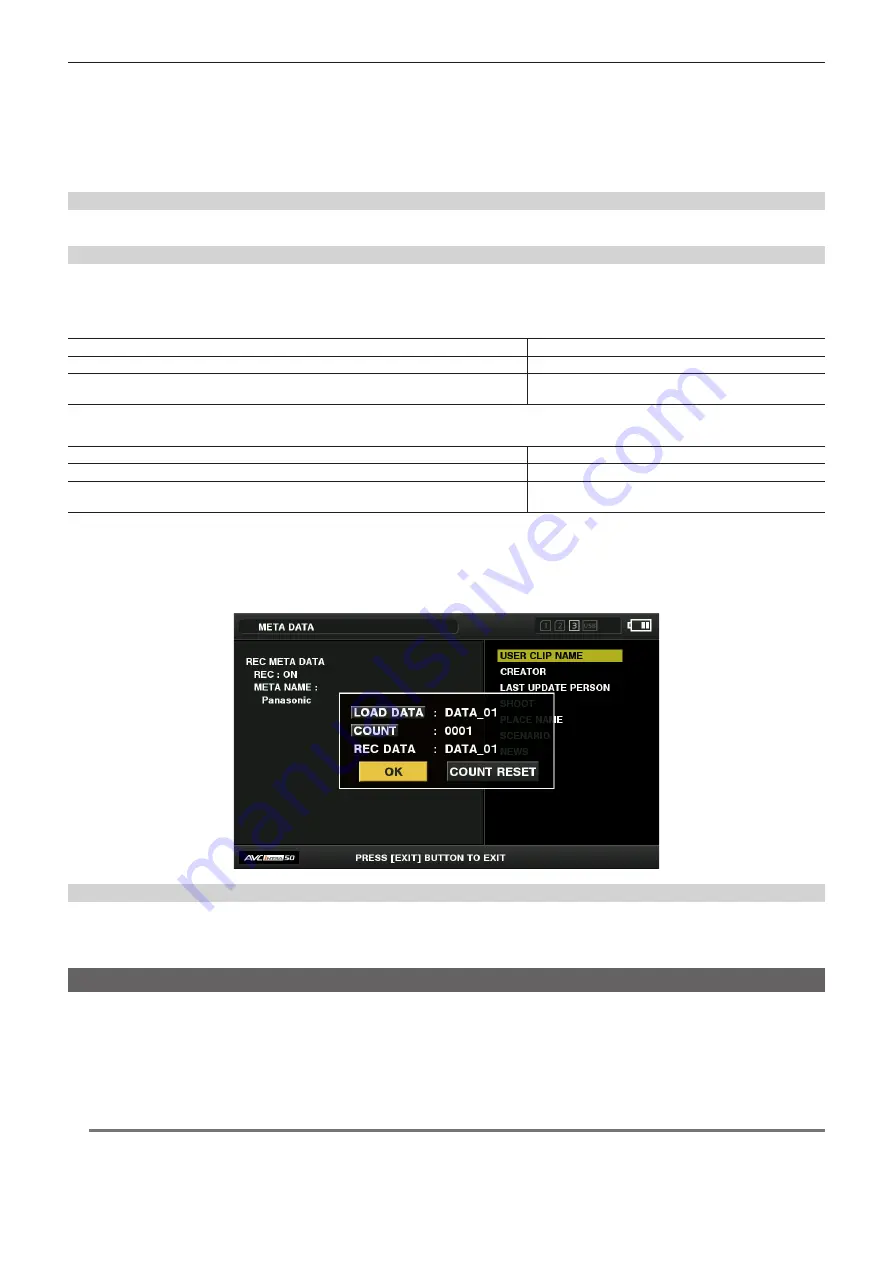
The [COUNT] value can be reset using the following method.
When you select [PROPERTY] in the main menu
→
[RECORDING SETUP]
→
[REC META DATA] and then select [USER CLIP NAME], the following screen is
displayed. Move the cursor over [COUNT RESET], and press the control stick to reset the [COUNT] value to 1.
Initializing the metadata setting
Select [INITIALIZE] in the main menu
→
[RECORDING SETUP]
→
[REC META DATA] and press the control stick. Select [YES] when the confirmation
screen is displayed.
The settings in the main menu
→
[RECORDING SETUP]
→
[REC META DATA] and later items, including loaded metadata, are initialized.
Formatting a P2 card
1
Select [FORMAT] in the main menu
→
[CLIP].
f
Select the slot number where the P2 card to be formatted is inserted, and press the control stick.
f
Select [EXIT] when you do not wish to format the card.
2
Select [YES] using the control stick.
The selected P2 card is formatted.
@
@
NOTE
t
Data deleted as a result of formatting cannot be restored. Always check the data before formatting.
t
If the CPS password has been set, the confirmation message whether to select the encrypted format [CPS(ENCRYPT)] or normal format [NORMAL] is
displayed when selecting a slot. When the encrypted format is selected, the microP2 memory card is encrypted.


