28
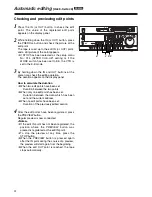
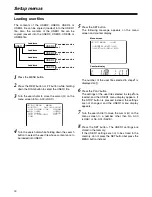
4
Upon completion of the setting, release the search
button.
The item number now flashes.
O
When the search dial is in the SHTL mode, the
item will move unless the dial is set to the center
position.
5
When other items are to be changed, repeat steps
2
to
4
.
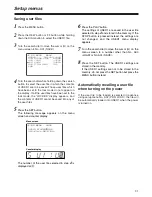
6
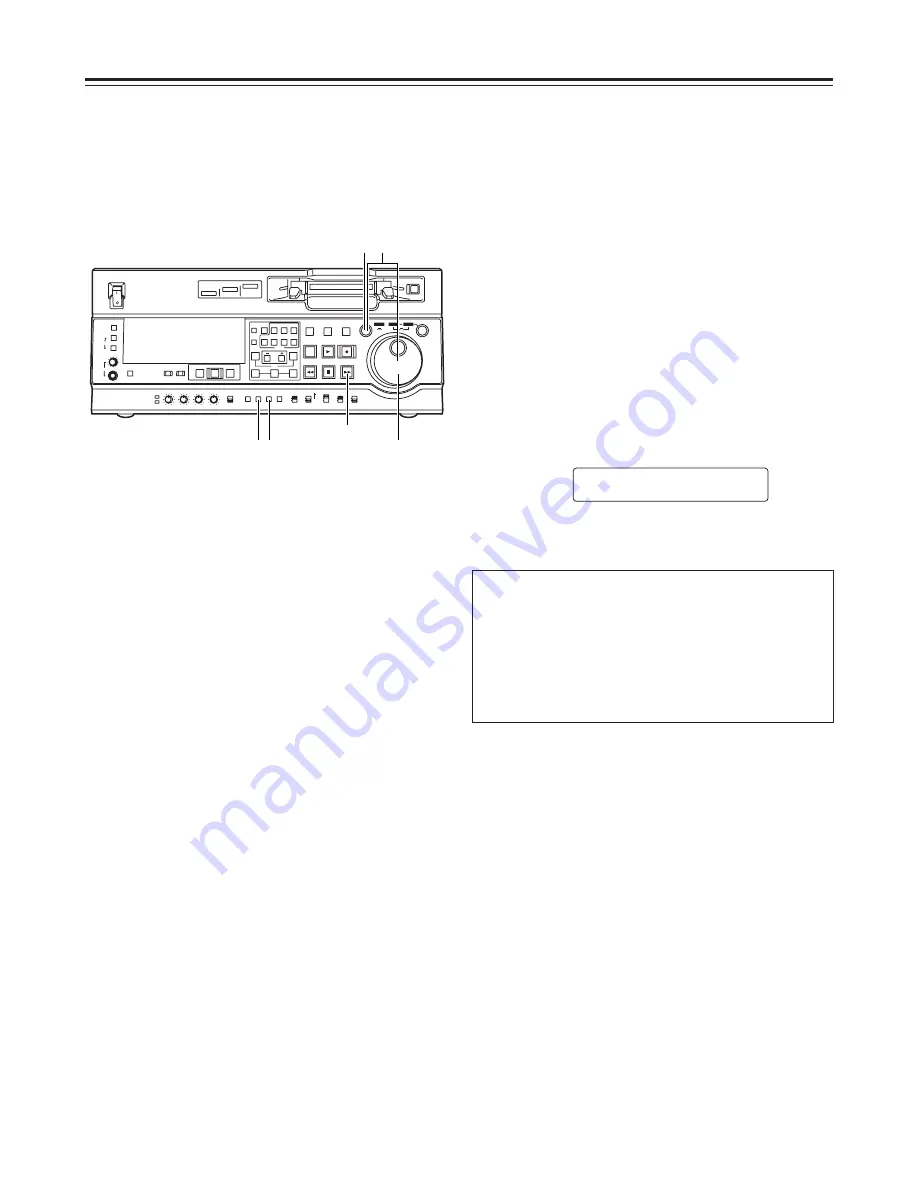
Press the SET button.
The changes are stored in the memory.
To disregard the new settings and restore the
old settings instead, press the MENU button.
O
To return the setup contents to the factory
settings (initial settings), press the RESET
button while the menu is displayed. The
following message is displayed.
If the PLAY button is now pressed, the factory
settings are reinstated.
<Notes>
O
If the RESET button is pressed to restore the
factory settings, only the user files currently in
use are restored. The other user files remain
unaffected.
O
The changes made to the SYSTEM menu
contents are recorded also by pressing the
MENU button to close the menu screen.
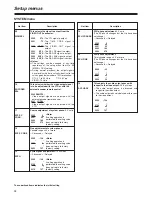
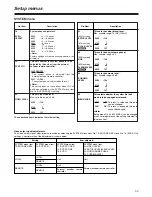
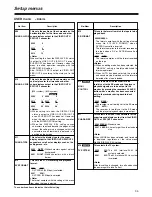
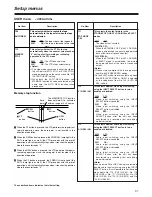
SETUP-MENU INIT SET
YES<PLAY>/NO<STOP>
Setup
(initial settings)
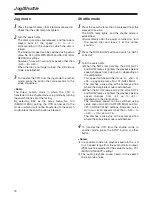
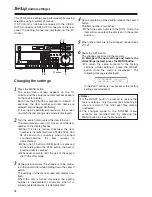
1
Press the MENU button.
The setup menu screen appears on the TV
monitor, and the setup menu item number appears
on the counter display.
Each time the FF button is pressed (for about 1.5
seconds), the item number and item name are
selected and displayed alternately.
(If a setup was performed previously, the screen
on which the last change was made is displayed.)
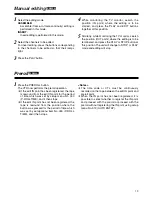
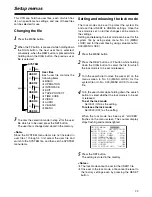
3
At the position where the change is to be made,
turn the search dial while holding down the search
button.
The settings on the menu screen and display now
flash.
When the dial is turned clockwise, the setting
number is incremented; conversely, when it is
turned counterclockwise, it is decremented.
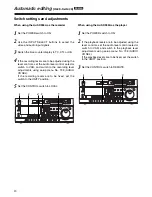
2
Turn the search dial to select the item to be set.
The menu screen cursor (
2
) moves, and the item
number on the display flashes.
O
When the dial is turned clockwise, the item
number is incremented from 001
5
002
5
003
5
004 and so on; conversely, when it is turned
counterclockwise, the item number is
decremented.
O
When the FF button or REW button is pressed
while holding down the PLAY button, the next or
previous item is selected.
O
Whenever possible, limit the use of the search
dial to the JOG mode.
This VTR’s main settings are performed while making
selections using a system of menus.
If a TV monitor has been connected to the VIDEO
OUT 3 connector or SDI OUT 3 connector on the rear
panel, the setting menus are displayed on the TV
monitor.
Changing the settings
ON
OFF
POWER
DV
DVCPRO
DVCPRO 50
METER
L
R
FULL/FINE
MONITOR SELECT
HEADPHONES
MONITOR MIX
INPUT SELECT
PREVIEW/PREVIEW
AUTO EDIT
PREROLL
VIDEO
REC LEVEL
CH1
PB LEVEL
AUDIO
CH2
CH3
CH4
TC
PRESET MENU
SET
DIAG
SUPER
REC INH INT
TCG
MODE
CONTROL
ON
OFF
UNITY
VAR
COUNTER
RESET
A IN
TRIM
SET
OUT
IN
A OUT
CH1
CH4
CH2
INSERT
CH3
ASSEM VIDEO
CUE
TC
STAND BY
EDIT
REW
STOP
PLAY
REC
PLAYER
RECORDER
FF
JOG
SHTL
SLOW
TAPE
EE
ON
REGEN
PRESET
EXIT
OFF
REMOTE
LOCAL
4
2
6
1
3
FF button
Summary of Contents for AJSD930P
Page 79: ......

