– 132 –
Chapter 7 CONFIG Menu — Setting the source name
Setting the source name
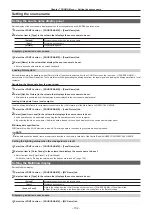
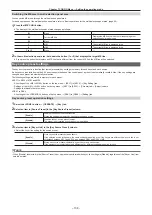
Setting the source name display panel
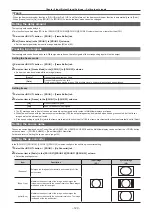
Set the display of the source name display panels on the crosspoint area and KEY/DSK operation area.
1
Select the <CONF> button
→
[SOURCE NAME]
→
[Panel Name] tab.
2
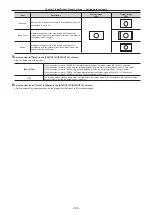
Select an item in [Type] in the column that displays the source name to be set.
[Default]
Displays the same name as the column name.
[User]
Displays a desired name.
[Picture]
Displays bitmap data.
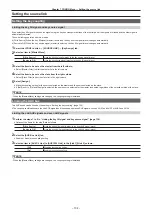
Displaying a desired source name
1
Select the <CONF> button
→
[SOURCE NAME]
→
[Panel Name] tab.
2
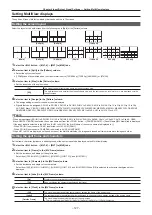
Select [Name] in the column that displays the source name to be set.
f
Enter a desired name with the on-screen keyboard.
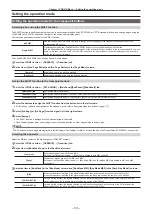
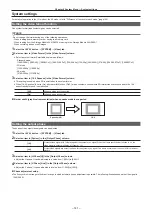
Loading bitmap data
Set the bitmap data to be displayed when [Picture] of the [Type] item is selected from the <CONF> button on the top menu
→
[SOURCE NAME]
→
each column of the [Panel Name] tab. There are two methods: generating the bitmap data from the input signal and loading the bitmap data from a local
computer.
Generating the bitmap data from the input signal
1
Select the <CONF> button
→
[SOURCE NAME]
→
[Panel Name] tab.
2
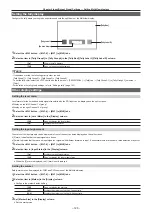
Select [Get Src Picture] in the column that displays the source name to be set.
f
Bitmap data is generated from the input signal and displayed in the source name display panel.
Loading bitmap data from a local computer
Load the bitmap data from a local computer connected to the <LAN> terminal of the Main Frame AV-HS60U1/AV-HS60U2.
1
Select the <CONF> button
→
[SOURCE NAME]
→
[Load Picture] tab.
2
Select [Load from Local] in the column that displays the source name to be set.
f
Load operation can be performed by opening the file operation screen on the computer.
f
By selecting the file on a computer, the bitmap data is loaded to the unit and displayed in the source name display panel.
r
Bitmap data specification
PNG format file with a 42
×
58 pixel size is loaded. Color image data is converted to gray scale when being loaded.
@
@
NOTE
t
Bitmap data cannot be loaded from a memory card inserted in the memory card slot of the Control Panel AV-HS60C1/AV-HS60C2/AV-HS60C4.
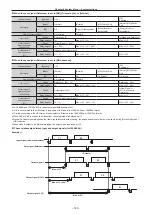
Setting the lighting status when the crosspoint area is off
1
Select the <CONF> button
→
[SOURCE NAME]
→
[Panel Name] tab.
2
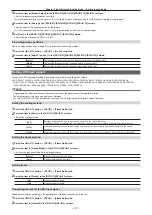
Select an item in [Color Group] in the column that displays the source name to be set.
f
Select an item from [ColorGroup1] to [ColorGroup8].
For details, refer to “Setting the colors when the buttons are turned off” (page 152).
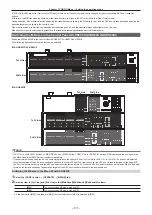
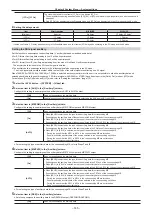
Setting the MultiView display
Set the MultiView display.
1
Select the <CONF> button
→
[SOURCE NAME]
→
[MV Name] tab.
2
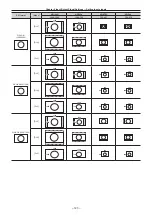
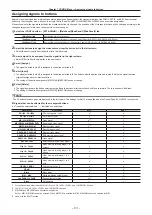
Select an item in [Type] in the column that displays the source name to be set.
[Default]
Displays the same name as the column name.
[User]
Displays a desired name.
[Same as Panel]
Links to the setting from the <CONF> button on the top menu
→
[SOURCE NAME]
→
[Panel Name] tab.
f
When [Picture] is selected in the [Panel Name] tab, this setting links to the [Default] setting.
Displaying a desired source name
1
Select the <CONF> button
→
[SOURCE NAME]
→
[MV Name] tab.
Summary of Contents for AV-HS60C1E
Page 5: ...Please read this chapter and check the accessories before use Chapter 1 Overview ...
Page 52: ...This chapter describes menu operations Chapter 5 Basic Operations ...
Page 162: ...This chapter describes the difference with the Standard mode Chapter 9 3G mode 4K mode ...
Page 168: ...This chapter describes the terminals and signals of the unit Chapter 10 External Interfaces ...
Page 184: ...This chapter describes the setting menu table and terms Chapter 12 Appendix ...
Page 206: ...Web Site http www panasonic com Panasonic Corporation 2014 ...


