46
Useful recording and shooting functions (continued)
Using focus assist (FA)
The center of the screen can be enlarged to make
it easier to focus.
1
While pressing the [SHIFT/EXEC] button,
press .
The center of the screen will be enlarged by a
factor of about 4 in the vertical direction and
about 6 in the horizontal direction.
“EXPANDED” is displayed on the screen during
the expanded display.
The center of the angle of view is shifted slightly
•
from the center of the LCD monitor screen.
This function cannot be used while the digital
•
zoom function is in use.
Press the button again to return to the
•
original screen.
The setting is canceled when the power is turned off.
•
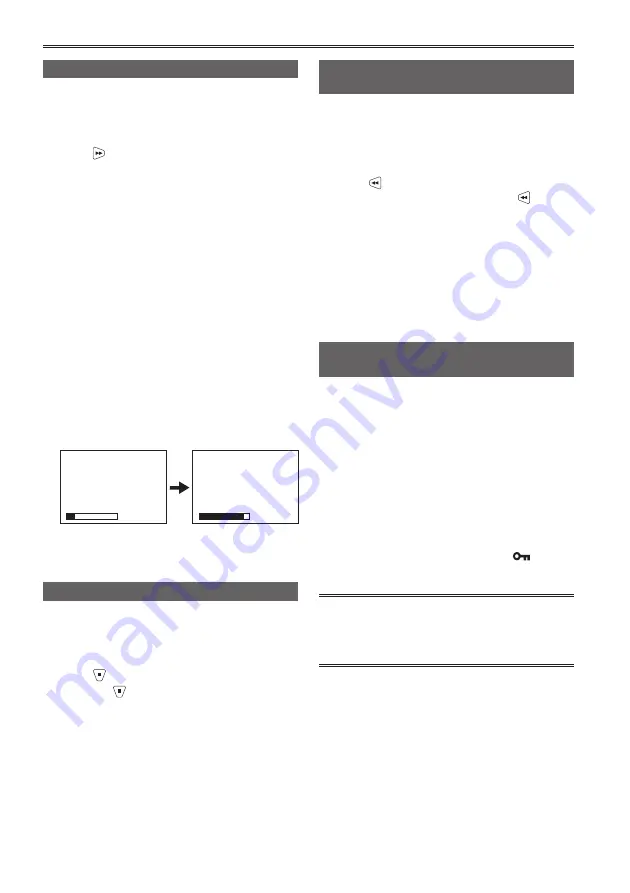
Select [FOCUS BAR]
→
[ON] in the
•
[DISPLAY SETUP] setup menu to display the
focus assist bar.
The length of the bar indicates whether the
image is in focus.
The bar extends to the far right when the
image is in focus.
Out of focus
The bar extends to the
right when the image
is in focus.
Wave form monitor (WFM)
During recording or shooting, an image wave form
can be displayed on the LCD monitor screen.
1
While pressing the [SHIFT/EXEC] button,
press
.
Each time
is pressed, the setting changes
as follows:
WAVE
→
VECTOR
→
OFF
→
WAVE
WAVE: Sets the wave form display.
VECTOR: Sets the vector display.
OFF:
Does not display the wave form or vector.
Does not display while the focus assist
•
function is operating.
The wave form or the vector cannot be recorded.
•
The setting is canceled when the power is
•
turned off.
Temporarily switching to auto focus
mode (ONE PUSH AF)
Even during manual focus (Page 50), you can
temporarily switch to auto focus mode to focus
automatically.
1
While pressing the [SHIFT/EXEC] button,
press .
While the [SHIFT/EXEC] button and are
pressed, the mode switches to auto focus mode
and automatic focusing is performed.
Auto focus may not work properly if there is
•
flickering. Select a shutter speed suited to
the ambient light. (Page 51)
If the auto focus mode is set with any
•
format except 60i and 60P (or 50i and 50P),
controlling the focus will take slightly longer.
Preventing accidental operation
(KEY LOCK)
The operation buttons can be temporarily disabled
to prevent accidental operation.
1
While pressing the [SHIFT/EXEC] button,
press the [ENTER] button for 2 seconds or
longer.
All button operations are disabled.
•
Press the same buttons again for 2 seconds
•
or longer to unlock.
The lock setting is canceled when the power
•
is turned off.
While the operations are locked,
•
(yellow)
is displayed on the LCD monitor screen.
When the remote control (optional) is connected
to the REMOTE jack of the portable recorder,
recording and zoom operations with the remote
control are available even during key lock.
Summary of Contents for AVCCAM AG-HMR10
Page 106: ...E P ...


