12
7
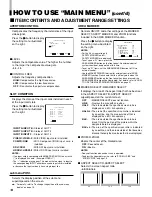
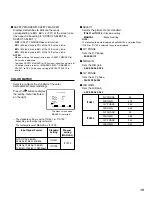
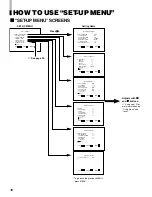
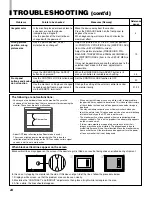
About “ sub menu”
Only displays selected items. (sub-menu display) Allows
you to adjust and set items while looking at the actual
screen.
NOTE:
This function is available only when “ sub menu” is displayed in the
MENU.
Example: Setting an item in the “PICTURE SUB ADJ.”
with the sub-menu.
1. Press the button while button is pressed.
“SET-UP MENU” is displayed on the screen.
2. Select “PICTURE SUB ADJ.” by pressing the
button, then press the button.
3. Select “ sub menu” by pressing the button
several times, then press the button.
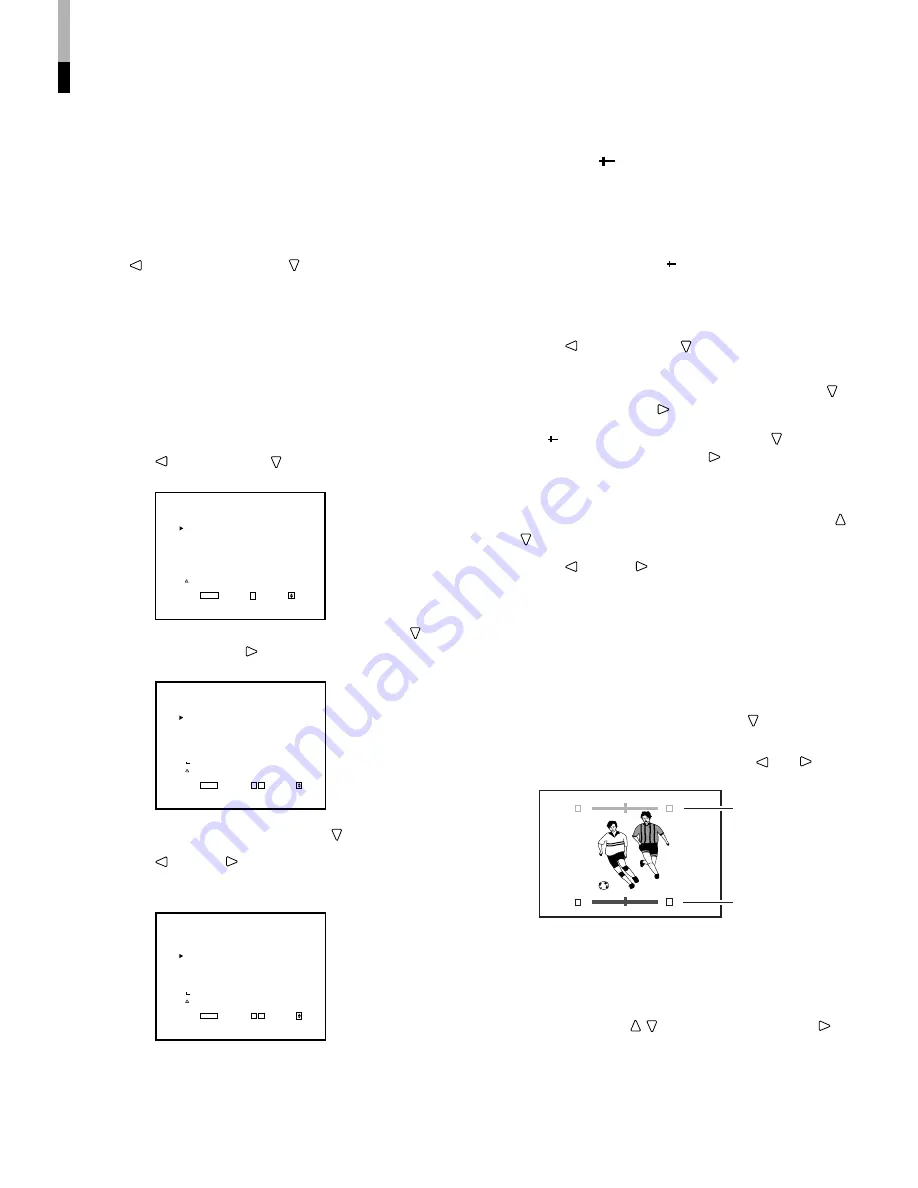
The adjustment bar is displayed at the bottom or top of the
screen.
4. Select the desired setup item by pressing the
and buttons (several times).
5. Press the and/or buttons as many times as
required to obtain the desired setting.
To delete the sub-menu display:
Press the MENU button on the front panel.
• The previous MENU display is restored.
To change the position of the sub-menu display
1.
Display the “MAIN MENU” by pressing the MENU button.
2.
Select “sub menu POSI.” by pressing the button several
times.
3.
Set “UPPER” or “LOWER” by pressing the
and
buttons.
7
About “reset”
Restores all MENU settings (currently displayed) to
factory-preset values.
Select “reset” using the / buttons, then press the
button.
NOTE:
This function is only available when “reset” is displayed in the MENU.
BASIC MENU OPERATIONS
(MAIN MENU, SET-UP MENU) (cont’d)
7
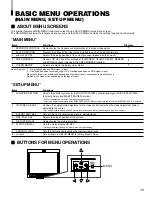
DISPLAYING THE MENU
SCREENS
To display MAIN MENU
Press the MENU button on the front panel.
To display SET-UP MENU
Press the
button while pressing the button on the front panel.
NOTES:
• To exit the MENU, press the MENU button several times.
• The MENU automatically exits about 30 seconds after the last Menu
operation.
• To go back the previous MENU, press MENU.
7
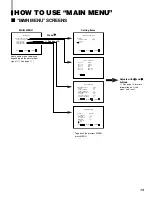
MENU OPERATION
PROCEDURE
Example: Adjusting the “BRIGHT” value to “+10”.
1. Press the button while button is pressed.
“SET-UP MENU” is displayed on the screen.
2. Select “PICTURE SUB ADJ.” by pressing the
button, then press the button.
“PICTURE SUB ADJ.” menu is displayed on the screen.
3. Select “BRIGHT” by pressing the button .
4. Press the and/or buttons as many times as
required to obtain the brightness desired.
Example: Setting brightness to “+10”.
5. Delete the “SET-UP MENU” by pressing the
MENU button several times.
<SET-UP MENU>
FUNCTION SETTING
PICTURE SUB ADJ.
COLOR TEMP./BAL.
SIZE/POSI. ADJ.
DISTORTION ADJ.
STATUS DISPLAY
CONTROL LOCK
: OFF
all
reset
EXIT:
MENU
ENTER: +
SELECT:
<PICTURE SUB ADJ.>
CONTRAST
: 00
BRIGHT
:+10
CHROMA
: 00
PHASE
: 00
NTSC SETUP
: 00
COMPO.LEVEL
:SMPTE
sub
menu
reset
EXIT:
MENU
ADJUST: – +
SELECT:
<PICTURE SUB ADJ.>
CONTRAST
: 00
BRIGHT
: 00
CHROMA
: 00
PHASE
: 00
NTSC SETUP
: 00
COMPO.LEVEL
:SMPTE
sub
menu
reset
EXIT:
MENU
ADJUST: – + SELECT:
CONTRAST
: 00
– –
+ +
[UPPER]
[LOWER]
CONTRAST
:
00
– –
+ +
LCT1464-001A_EN_10-15-6
03.9.19, 14:45
12


