19
G
et
tin
g
St
ar
te
d
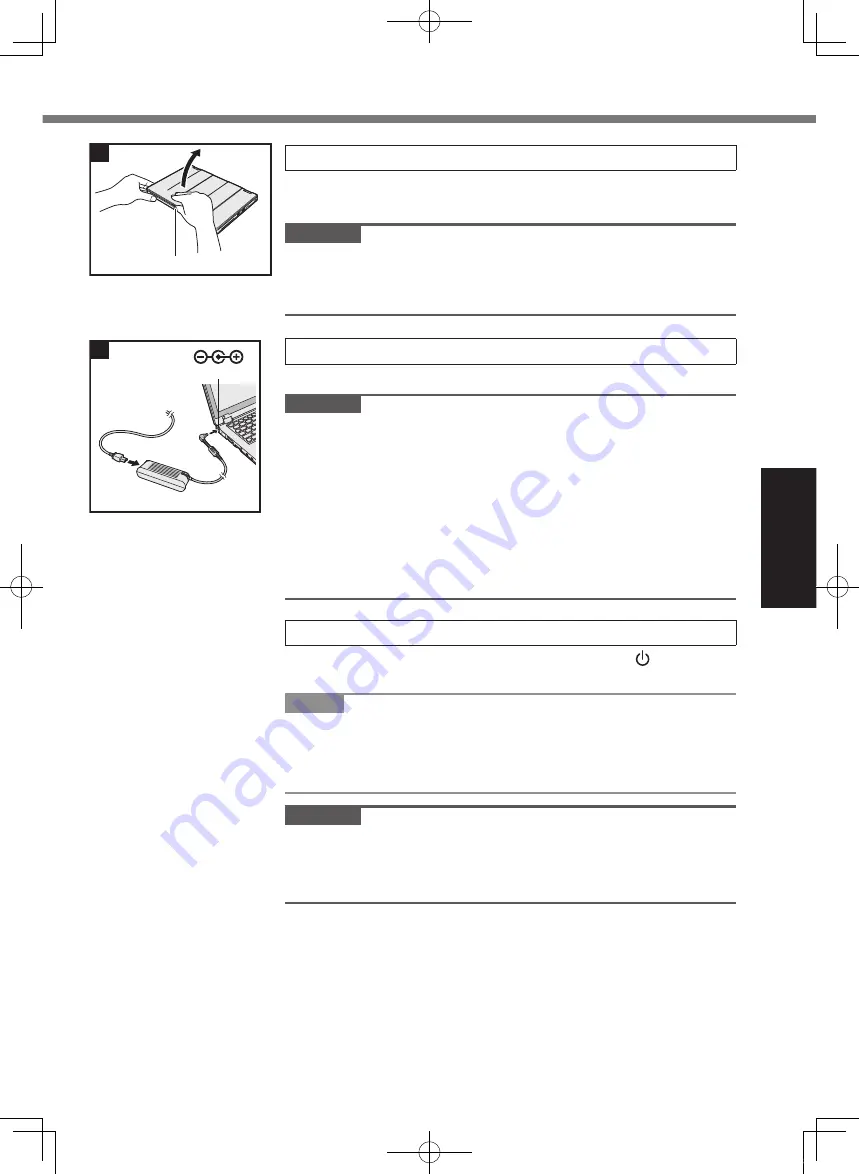
2 Open the display.
Hold the side of the computer with either of your hands and then
hold and lift the (A) part to open the display.
CAUTION
l
Do not apply excessive pressure to the LCD. Do not open or
close the display holding the edge of the LCD segment.
l
If the computer lifts when you are opening the display, hold the
computer down at its side, for example.
3 Connect your computer to a power outlet.
The battery charging starts automatically.
CAUTION
l
Do not disconnect the AC adaptor and do not switch the wireless
switch to on until the first-time operation procedure is completed.
l
When using the computer for the first time, do not connect any
peripheral device (including wired LAN cable) except the battery
pack and AC adaptor.
l
Handling the AC adaptor
Problems such as sudden voltage drops may arise during pe-
riods of thunder and lightning. Since this could adversely affect
your computer, an uninterruptible power source (UPS) is highly
recommended unless running from the battery pack alone.
4 Turn on the computer.
Open the display, and slide and hold the power switch (
è
page 16)
until the power status indicator (
è
page 16) lights.
NOTE
l
If the remaining charge of the built-in battery is less than 50%,
performance of the computer is degraded. We recommend you
to charge the built-in battery for 20 minutes or more before start-
ing setup of Windows.
CAUTION
l
Do not slide the power switch repeatedly or do not hold the
power switch for four seconds or longer.
l
Any changes from the default setting of the Setup Utility must
not be made until the First-time Operation is completed.
2
A
DC IN 16 V
3
CF-AX3mk2_EU_M.indb 19
2013/11/18 12:12:53


