


Usage precautions
Do not touch the terminals on the FDD cable and fl oppy disk
drive. The FDD cable and fl oppy disk drive may fail to operate
properly if dirt has collected or marks are made on the terminals.
Do not connect the FDD cable to a fl oppy disk drive of other than
the specifi ed type. Doing so could cause the connected device, the
cable, and the fl oppy disk drive to malfunction.
Connecting
1
After exiting Windows and powering off the
computer, remove the fl oppy disk drive
Please do not add peripherals while your computer is in the
Suspend or Hibernation mode; abnormal operation may result.
For details, refer to the instruction manual of the
computer or the CD-ROM pack.
2
Use the FDD cable to connect the computer and
to the fl oppy disk drive
Connect the FDD cable to the computer's parallel port and
to the connector of the floppy disk drive. Then secure the
connections by tightening the screws.
Do not apply excessive force to the top of the drive protective
case or place objects on top of it. Doing so could damage it.
Before attempting to unplug the FDD cable from a connector,
make sure that the screws have been loosened all the way.
Pulling out the cable with excessive force could damage it.
3
Turn on the computer
Never move the fl oppy disk drive while a fl oppy disk is being
accessed. Doing so could cause it to malfunction.
Vorsichtshinweise zum Gebrauch
Legen Sie das Diskettenlaufwerk auf einen Tisch oder eine ebene
Oberfl äche.
Halten Sie das Diskettenlaufwerk, wie in der
Abbildung gezeigt, auf beiden Seiten fest, da es
sonst beschädigt werden könnte.
Berühren Sie die Anschlüsse des Laufwerkkabels und des Diskettenlaufwerks
nicht. Laufwerkkabel und Diskettenlaufwerk funktionieren gegebenenfalls
nicht mehr ordnungsgemäß, wenn die Anschlüsse verschmutzt sind oder sich
Fingerabdrücke darauf befi nden.
An das Laufwerkkabel dürfen nur Diskettenlaufwerke des vorgeschriebenen
Typs angeschlossen werden. Andernfalls könnten Computer, Kabel und
Laufwerk beschädigt werden.
Anschluß
1
Verlassen Sie erst Windows und schalten Sie
den Computer aus. Entfernen Sie dann das
Diskettenlaufwerk
2
Verbinden Sie das Diskettenlaufwerk und den
Computer durch das Laufwerkkabel
Schließen Sie das Laufwerkkabel an den Parallelport des Computers und
an den Steckverbinder des Diskettenlaufwerks an. Sichern Sie dann die
Kabelstecker durch Anziehen der Schrauben.
Weitere Einzelheiten entnehmen Sie der Bedienungsanleitung des Com-
puters oder des CD-ROM-Packs.
Schließen Sie keine Peripheriegeräte an, während sich der Computer
im Unterbrechungs- oder Stillegungsmodus befi ndet, da diese sonst
nicht ordnungsgemäß funktionieren.
Belasten Sie die Schutzabdeckung nicht zu stark und legen Sie ke-
ine Gegenstände auf ihr ab, da sie sonst beschädigt werden könnte.
Achten Sie darauf, daß die Sicherungsschrauben vollständig gelöst
sind, bevor Sie das Laufwerkkabel aus den Steckverbindern ziehen,
da es sonst beschädigt werden könnte.
3
Schalten Sie den Computer ein
Das Diskettenlaufwerk darf nicht bewegt werden, während auf eine
Diskette zugegriffen wird, da es sonst zu Fehlfunktionen kommen
könnte.
Specifi cations
Technische Daten
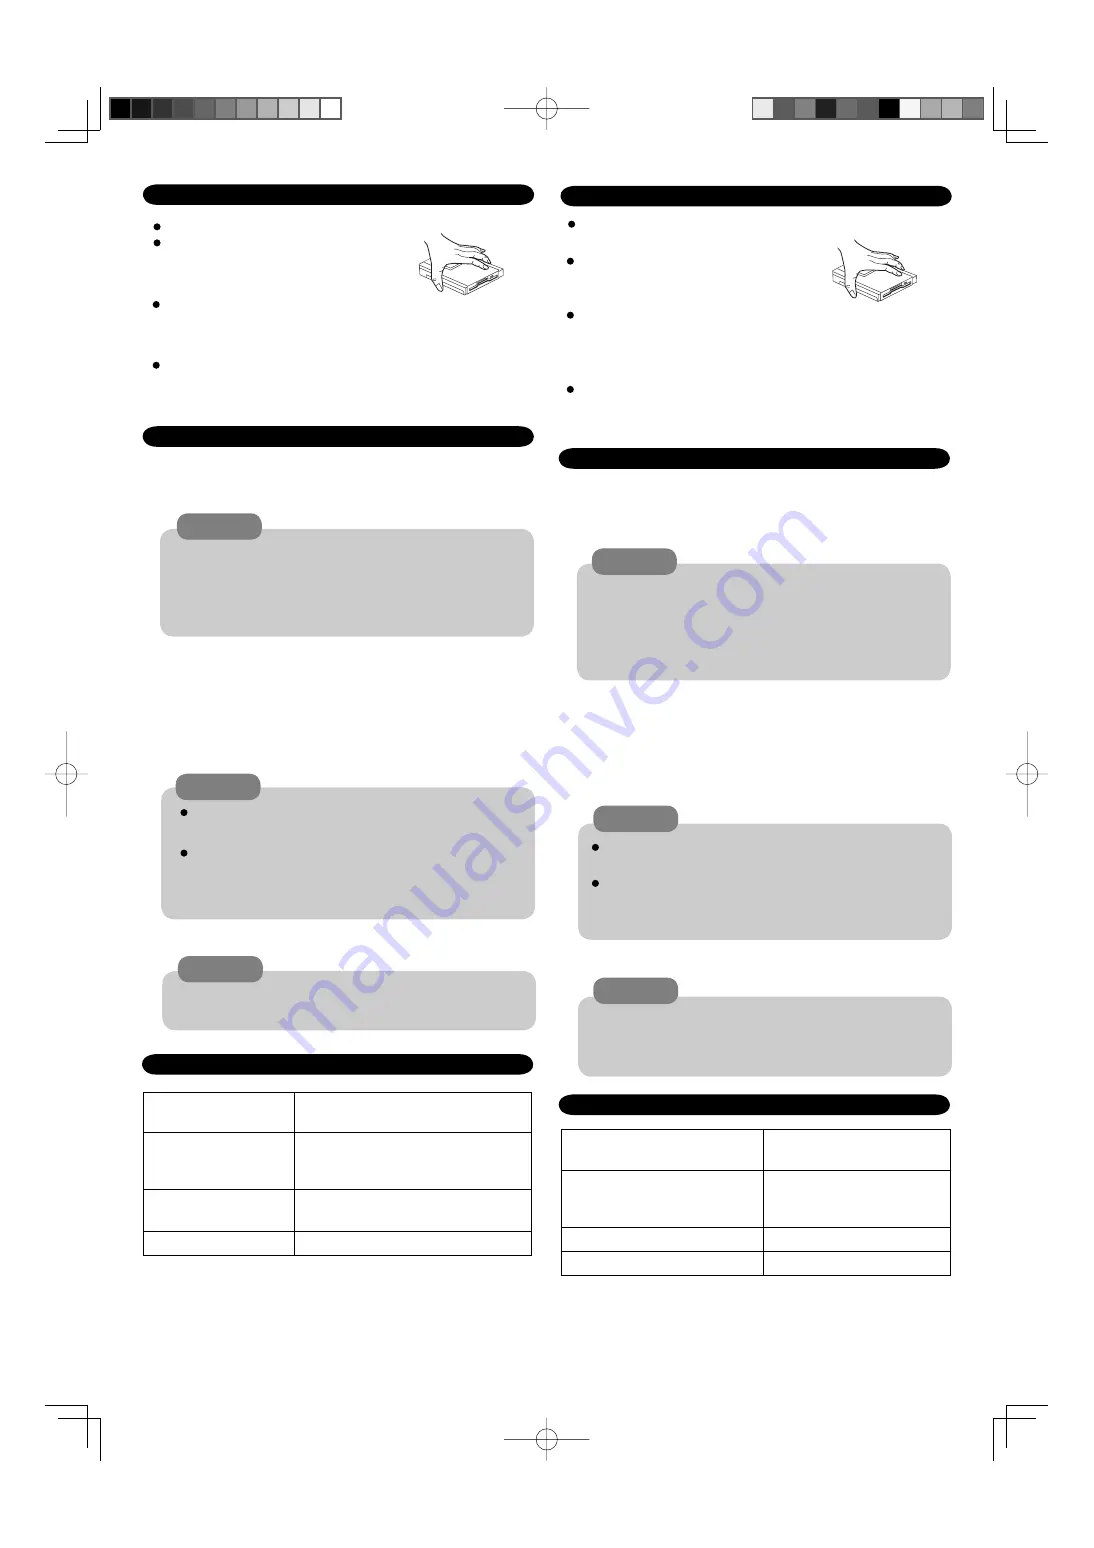
Place the fl oppy disk drive on a desk or other fl at surface.
Please handle the fl oppy disk drive as
shown (holding both sides). Otherwise,
the unit may be damaged.
CAUTION
CAUTION
CAUTION
FDD cable confi guration
Computer side
: Dsub 25-pin
Floppy disk drive side : 100-pin
Environment
Temperature
Humidity
5 °C to 35 °C (41 °F to 95 °F)
30 % to 80 % RH (no condensation)
Dimensions (W x L x H)
Approx. 97mm x 370mm x 19 mm
{3.82" x 14.57" x 0.75"}
Weight
Approx. 160 g {0.35 lb}
VORSICHT
Konfi guration des Laufwerkkabels
Computerseitig: Dsub 25-polig
Laufwerksseitig: 100-polig
Zulässige Umgebungsbedingungen
Temperatur
Luftfeuchtigekeit
5 °C bis 35 °C
30 % bis 80 % RH
Abmessungen (B x L x H)
ca. 97mm x 370mm x 19 mm
Gewicht
ca. 160 g
VORSICHT
VORSICHT
CF-VCF271.indd 3
CF-VCF271.indd 3
2006/10/20 12:22:14
2006/10/20 12:22:14


