


CQ-C7413U/C7113U
7
English
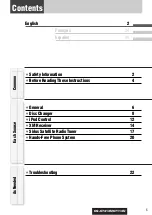
General
Radio
FM1, FM2, FM3, AM (
a
Operating Instructions)
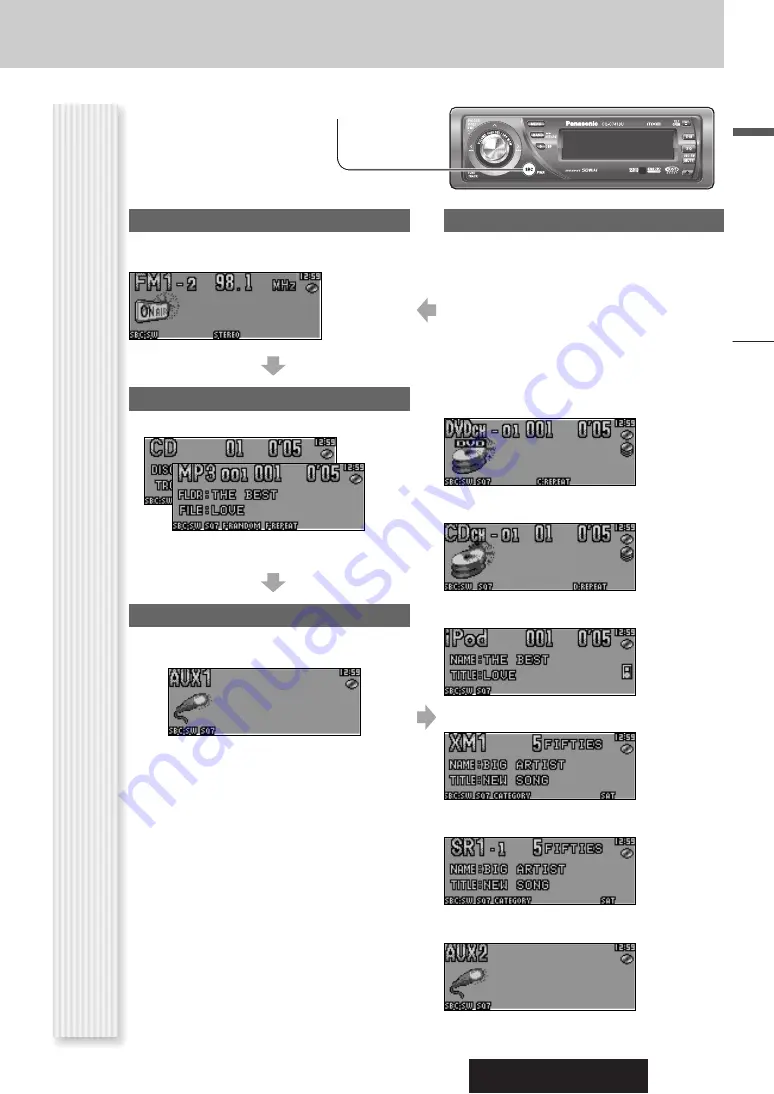
Source Selection
(SOURCE)
The source changes as follows every time
[SRC:
Source
]
is pressed.
Player
When loading CD (
a
Operating Instructions)
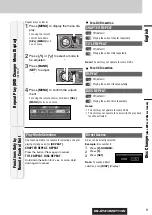
When loading MP3/WMA disc (
a
Operating
Instructions)
AUX 1
Device connected to the AUX terminal of the this unit
System-up Connector
Device connected to the System-up Connector of this
unit
When optional devices are connected:
Shift to connected devices
When an expansion module is connected:
The devices connected to the ports 1 to 4 are activated
in sequence after shifting to AUX2 (devices connected
to the AUX terminal of the expansion module).
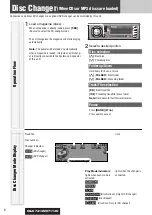
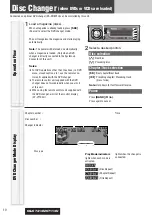
When connecting DVD Changer (
a
page 8, 10)
When connecting CD Changer (
a
page 8)
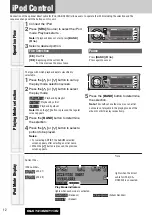
When connecting iPod (
a
page 12)
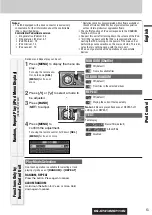
When connecting XM Receiver (
a
page 14)
When connecting Sirius Receiver (
a
page 17)
When connecting Expansion Module


