background image

E
N

G

L

I

S
H

14

CQ-DP151/DP101W

31

E
N

G

L

I

S
H

13

CQ-DP151/DP101W

30

Installation Guide 

(Continued)

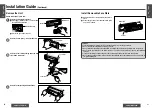
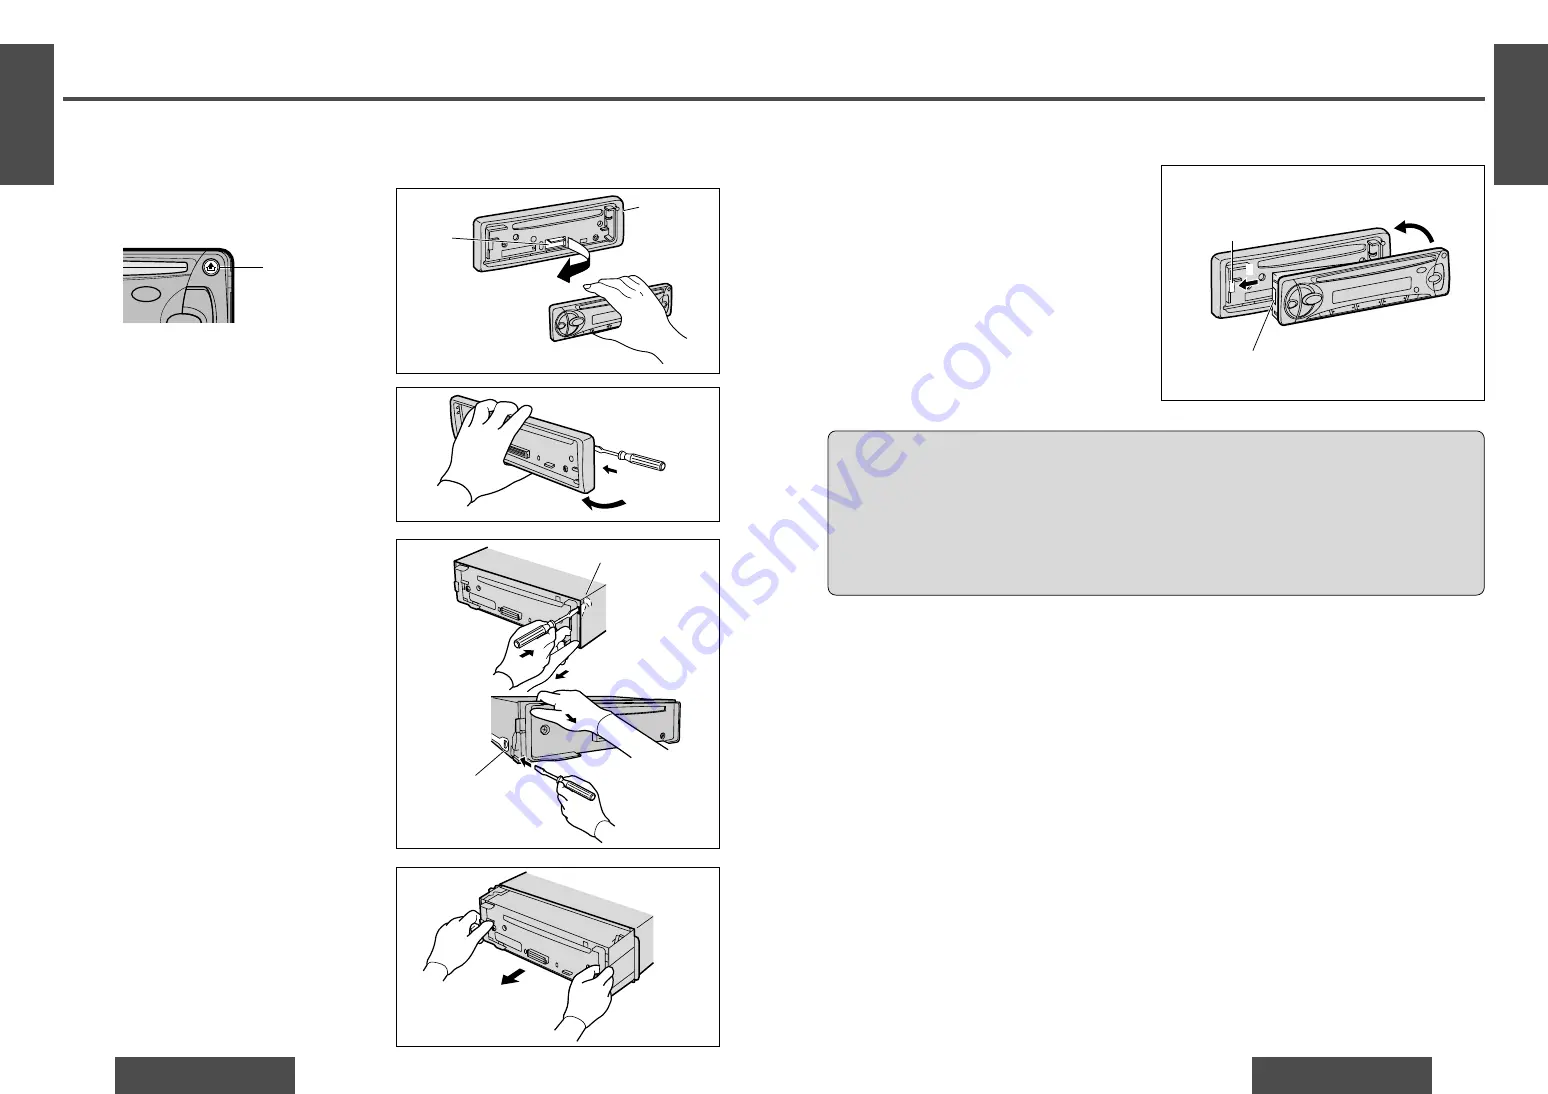
Remove the removable face plate.

1

Press  [

'

(release button). The removable

face plate will be released.

2

Pull on the right side of the unit.

1

2

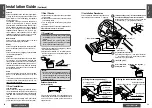
Remove the Unit

7

Trim plate

<

<

SOURCE

REP

RANDOM

PWR

Remove the trim plate 

7

with a screwdriver.

Pull out the unit while pushing down the lock
lever with a screwdriver.

Remove the unit pulling with both hands.

1

Contact

Main unit

Lock lever

Screwdriver

Install Removable Face Plate

1

Slide the left side of the removable face plate in
place.

2

Press the right end of the removable face plate
until “click” is heard.

Cautions:

This face plate is not water-proof. Do not expose it to water or excessive moisture.

Do not remove the face plate while driving your car.

Do not place the face plate on the dashboard or nearby areas where the temperature rises to high level.

Do not touch the contacts on the face plate or on the main unit, since this may result in poor electrical
contacts.

If dirt or other foreign substances get on the contacts, wipe them off with a clean and dry cloth.

Do not apply a strong downward force onto the face plate and do not put anything on it while it is open, or
it might be damaged.

2

1

<

Plastic tab

2

3

4

Switch off the power of the unit.

Lock lever

Cutout

Release button

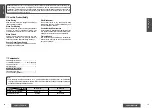
Summary of Contents for CQ-DP101W

Page 1: ...is product and save this manual for future use VOL SEL BAND TUNE MUTE M L 1 2 3 4 5 6 7 12 SOURCE REP CQ DP151W CD RECEIVER 45WX4 LOUD RANDOM PWR 8 11 9 10 TRACK DISP MONO LOC REMOTE SCAN APM CQ DP151W CD Player Receiver CQ DP151 DP101W Operating Instructions ...

Page 2: ... on Use the Proper Power Supply This product is designed to operate with a 12 V DC negative ground battery system Disc Mechanism Do not insert coins or any small objects Keep screwdrivers and other metallic objects away from the disc mechanism and disc Use Authorized Servicenters Do not attempt to disassemble or adjust this preci sion product Please refer to the Servicenter list in cluding with th...

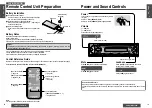
Page 3: ...ontrol unit at the main unit s sensor REMOTE Mute button MUTE page 19 Volume control buttons VOL page 19 Tune Track buttons TUNE TRACK 6 5 pages 22 25 Mode button MODE pages 22 24 Caution Improper use of batteries may cause overheating an explosion or ignition resulting in injury or a fire Battery leakage may damage the unit Band button BAND page 22 PWR MODE PRG TUNE TRACK Car Audio BAND DISC UP V...

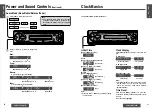
Page 4: ... or TUNE Minutes 4 Press DISP DISPLAY 5 Press TUNE or TUNE 6 Press DISP DISPLAY Note Press and hold TUNE or TUNE to change numbers rapidly Time Reset Press and hold DISP DISPLAY for more than 2 seconds to activate the time setting mode to reset the time Then repeat steps 3 to 6 Clock Display Press DISP DISPLAY to switch to the clock dis play Hours blink Hours set Minutes blink Minutes set End Note...

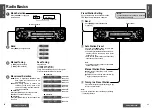
Page 5: ...mpt to preset sta tions while you are driving Radio CD player When a CD is inserted Source FM stereo indicator Preset number Seek Tuning Press and hold TUNE Higher frequency TUNE Lower frequency Tuning will automatically stop when the signals of the next broadcast station are received Manual Station Preset 1 Use manual or seek tuning to find a station page 22 2 Press and hold one of the preset but...

Page 6: ...aying CD player display Track playing time Track number Track number Track playing time Lights when the disc is loaded Do not insert a disc when this indicator lights Lights when the disc is loaded Clock display Listening to a CD Label side Press EJECT to stop CD play and eject the disc During disc ejection EJ EJECT will be dis played Disc Insert and Playback Stop and Disc Eject Scan play Random p...

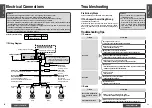
Page 7: ...res from the cut radio connector plug one at a time You will hear the antenna motor activate when you touch the correct wire Antenna The antenna lead is a thick black wire with a metal plug at the end This product should be installed by a professional However if you plan to install this product yourself your first step is to decide where to install it The instructions in these pages will guide you...

Page 8: ...ecommend that you wear gloves for installation work to protect yourself from injuries When bending the mounting tabs of the mounting collar with a screwdriver be careful not to injure your hands and fingers Disconnect the cable from the negative battery terminal see caution below Unit should be installed in a horizontal position with the front end up at a convenient angle but not more than 30o Cau...

Page 9: ...e plate in place 2 Press the right end of the removable face plate until click is heard Cautions This face plate is not water proof Do not expose it to water or excessive moisture Do not remove the face plate while driving your car Do not place the face plate on the dashboard or nearby areas where the temperature rises to high level Do not touch the contacts on the face plate or on the main unit s...

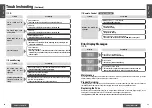
Page 10: ...y be erased when the battery terminals are disconnected All other installation methods require the use of dedicated metal fittings Consult with a qualified servicing engineer or your dealer if other method are required Preliminary Steps Check and take steps as described in the tables below If You Suspect Something Wrong Immediately switch power off Disconnect the power connector and check that the...

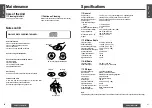
Page 11: ...ounds are reversed in stereo lis tening Buttons are invalid for operation Battery poles i j are reversed Insert the battery correctly Remote Control Wrong the battery Check the battery Battery has run down Replace the battery Remote control is in the wrong direction Direct the remote control at sensor REMOTE on the panel Trouble Cause Step Trouble Cause Step Maintenance Your product is designed an...

Page 12: ...rection system Panasonic super decoding algorithm Pick up type Astigma 3 beam Light source Semiconductor laser Wave length 780 nm Frequency response 20 Hzj20 kHz n1 dB Signal noise ratio 96 dB Total harmonic distortion 0 01 1 kHz Wow and flutter Below measurable limits Channel separation 75 dB Note Specifications and the design are subject to modification without notice due to improvements in tech...

Reviews: