3
CQ-RDP151/RDP101N
2
CQ-RDP151/RDP101N
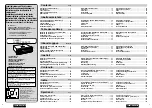
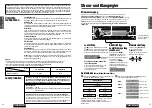
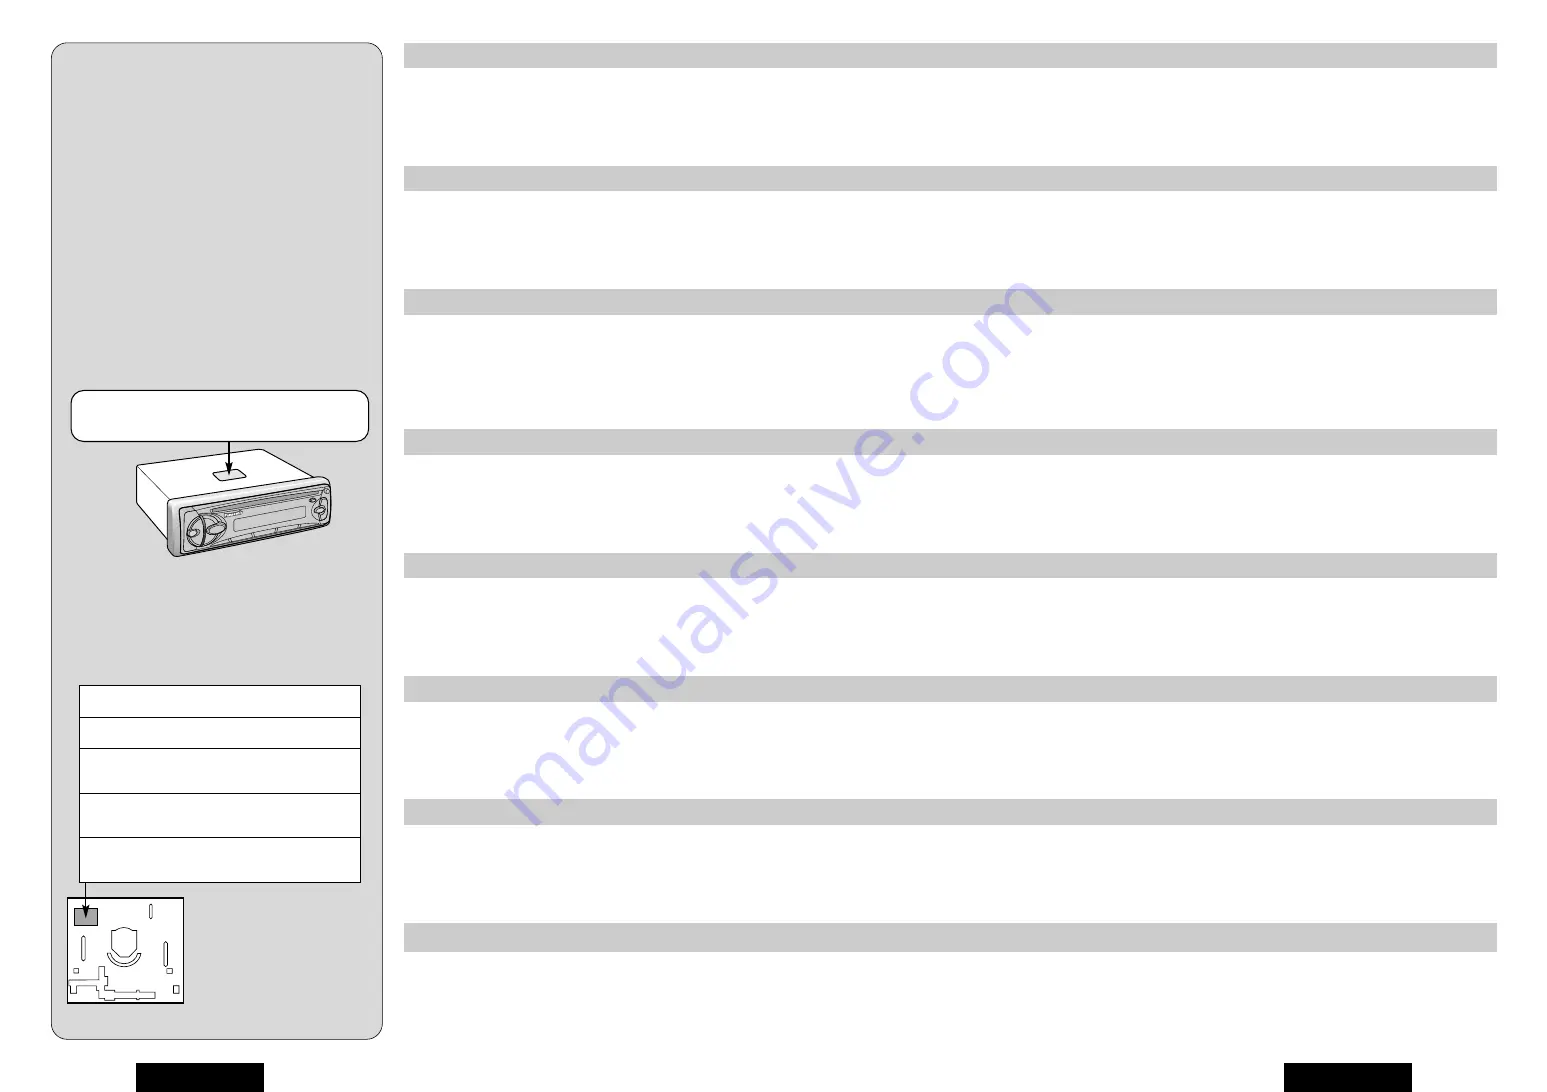
Label Indications and Their Locations
Warnetiketten und deren Anbringungsort
Indications portées les étiquettes et
emplacement
Aanduiding van de labels en hun plaats
Varningsskyltarna, och deras placering
Indicazioni delle etichette e le loro posizioni
Indicaciones de las etiquetas y su ubicación
Oznaczenia na naklejkach i ich lokalizacja
VORSICHT!
UNSICHTBARE LASERSTRAHLUNG!
WENN ABDECKUNG GEÖFFNET IST, NICHT
DEM LASERSTRAHL AUSSETZEN.
¡
APPAREIL À LASER DE CLASSE 1
¡
KLASS 1 LASER APPARAT
¡
LUOKAN 1 LASERPLAITE
¡
Caution Mark
¡
Warnzeichen
¡
Marque d’avertissement
¡
Waarschuwingsteken
¡
Varningsmärke
¡
Etichetta di avvertimento
¡
Marka de advertencia
¡
Naklejka ostrzezæenia
¡
Deck Ass’y (Upper Side)
¡
Geräteansicht (Oberseite)
¡
Assemblage de la table lecture
(Côté supérieur)
¡
Dekkbevestig (Bovenkant)
¡
Däcksenhet (Topp)
¡
Gruppo della piastra
(Lato superiore)
¡
Conjunto de la platina (Lado superior)
¡
Zespo;¬ montazæowy urzaçdzenia (go;rna strona)
DANGER! Invisible laser radiation when open.
Avoid direct exposure to beam.
ADVARSEL! Usynligt laserlys udstråles ved
åbning. Undgå direkte bestråling.
VARO! Avattaessa ja suojalukitus ohitettaessa
olet alttiina näkymättömälle lasersäteilylle. Älä
katso säteeseen.
VARNING! Osynlig lasersträlning när denna
del är öppnad och spärren är urkopplad.
Betrakta ej strälen.
ADVERSEL! Usynlig laserstråling når deksel
åpnes og sikkerhedslås brytes. Unngå
eksponering for strålen.
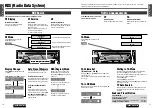
RDS (Radio Data System) .................................. 10
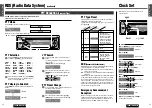
Clock Set ............................................................. 13
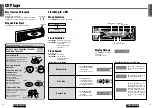
CD Player............................................................. 14
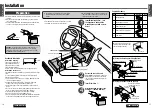
Installation........................................................... 16
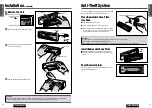
Anti-Theft System ............................................... 19
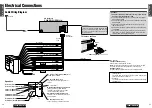
Electrical Connections ....................................... 20
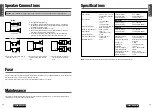
Speaker Connections ......................................... 22
Fuse ..................................................................... 22
Maintenance ........................................................ 22
Specifications ..................................................... 23
Radio-Daten-System (RDS)-Empfang ............... 28
Uhrzeit (CT) ......................................................... 31
CD-Spieler ........................................................... 32
Einbau.................................................................. 34
Diebstahlschutz .................................................. 37
Elektrischer Anschluß........................................ 38
Anschluß der Lautsprecher ............................... 40
Sicherung ............................................................ 40
Pflege ................................................................... 40
Technische Daten ............................................... 41
Réception radio RDS (Radio Data System) ...... 46
Réglage de l’horloge .......................................... 49
Utilisation du lecteur de CD............................... 50
Installation........................................................... 52
Système antivol .................................................. 55
Branchements électriques................................. 56
Branchement des haut-parleurs ....................... 58
Fusible ................................................................. 58
Entretien .............................................................. 58
Données techniques .......................................... 59
RDS (Radio Data Systeem) ................................ 64
Gelijk zetten van de klok .................................... 67
CD-speler............................................................. 68
Installatie ............................................................. 70
Anti-diefstal systeem ......................................... 73
Elektrische aansluitingen .................................. 74
Aansluitingen luidsprekers ............................... 76
Zekering............................................................... 76
Onderhoud .......................................................... 76
Technische gegevens......................................... 77
RDS-mottagning (datastyrd radiomottagning) ..... 82
Tidsinställning .................................................... 85
CD-spelare........................................................... 86
Montering ............................................................ 88
Stöldskyddsanordning....................................... 91
Elektriska anslutningar ...................................... 92
Anslutning av högtalare..................................... 94
Säkring ................................................................ 94
Underhåll ............................................................. 94
Tekniska data ...................................................... 95
Ricezione RDS (Radio Data System) .............. 100
Regolazione dell’orologio ................................ 103
Lettore CD ......................................................... 104
Installazione ...................................................... 106
Sistema antifurto .............................................. 109
Collegamenti elettrici........................................ 110
Collegamenti degli altoparlanti........................ 112
Fusibile .............................................................. 112
Manutenzione .................................................... 112
Dati tecnici......................................................... 113
Recepción RDS (sistema de datos radiofónicos).... 118
Ajuste de la hora............................................... 121
Reproductor de CD........................................... 122
Instalación ........................................................ 124
Sistema antirrobo ............................................. 127
Conexiones eléctricas...................................... 128
Conexiones de los altavoces .......................... 130
Fusible ............................................................... 130
Mantenimiento .................................................. 130
Especificaciones .............................................. 131
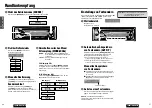
Contents
Page
Precautions (ISO Connector) ............................ 4
Precautions ......................................................... 6
Laser Products ................................................... 6
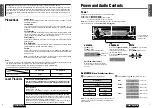
Power and Audio Controls................................. 7
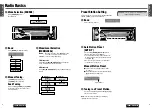
Radio Basics ....................................................... 8
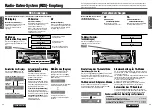
Inhaltsverzeichnis
Seite
Vorsichtsmaßnahmen (ISO-Stecker)................. 4
Vorsichtsmaßnahmen ........................................ 24
Laserprodukte..................................................... 24
Strom- und Klangregler ..................................... 25
Rundfunkempfang .............................................. 26
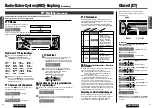
Table des matières
Page
Mesures de précaution (connecteur ISO) ........ 4
Mesures de précaution ...................................... 42
Appareils à laser ................................................. 42
Commandes alimentation et audio ................... 43
Utilisation de base du récepteur radio ............. 44
Inhoudsopgave
Bladzijde
Voorzorgsmaatregelen (ISO aansluiting) ......... 4
Voorzorgen .......................................................... 60
Laserproducten .................................................. 60
Stroom en audio bedieningsorganen ............... 61
Basisbediening radio ......................................... 62
Innehåll
Sida
Observera (ISO-kontakt) .................................... 4
Observera ............................................................ 78
Om laserprodukter ............................................. 78
Strömpå/avslag och styrning av ljudåtergivning..... 79
Grundläggande manövrering av radion ........... 80
Contenuto
Pag.
Precauzioni (Connettore ISO)............................ 4
Precauzioni ......................................................... 96
Prodotti laser ...................................................... 96
Comandi di alimentazione e del suono ............ 97
Funzionamento della radio ................................ 98
Indice
Pag.
Precauciones (conector ISO) ..........................
4
Precauciones..................................................... 114
Productos de láser ........................................... 114
Alimentación y controles de audio ................. 115
Operación básica de la radio ........................... 116
RDS (System Danych Radiowych)
.................. 136
Nastawianie zegara
........................................... 139
Odtwarzacz CD
................................................. 140
Montazæ
............................................................... 142
Zabezpieczenie przed kradziezæaç
...................... 145
Po¬açczenia elektryczne
..................................... 146
Po¬açczenia zestawo;w g≥¬oónikowych
............... 148
Bezpiecznik
....................................................... 148
Konserwacja
..................................................... 148
Dane techniczne
............................................... 149
Spis treóci
Pag.
Ostrzezæenia (z¬açcze ISO)
....................................... 4
S:rodki ostrozænoóci
............................................ 132
Produkty laserowe
............................................ 132
Regulatory zasilania i dz;wieçku
........................ 133
Podstawowe funkcje radia
............................... 134
CLASS 1
LASER PRODUCT

