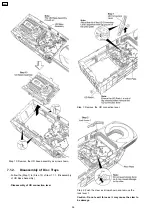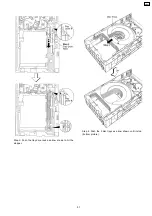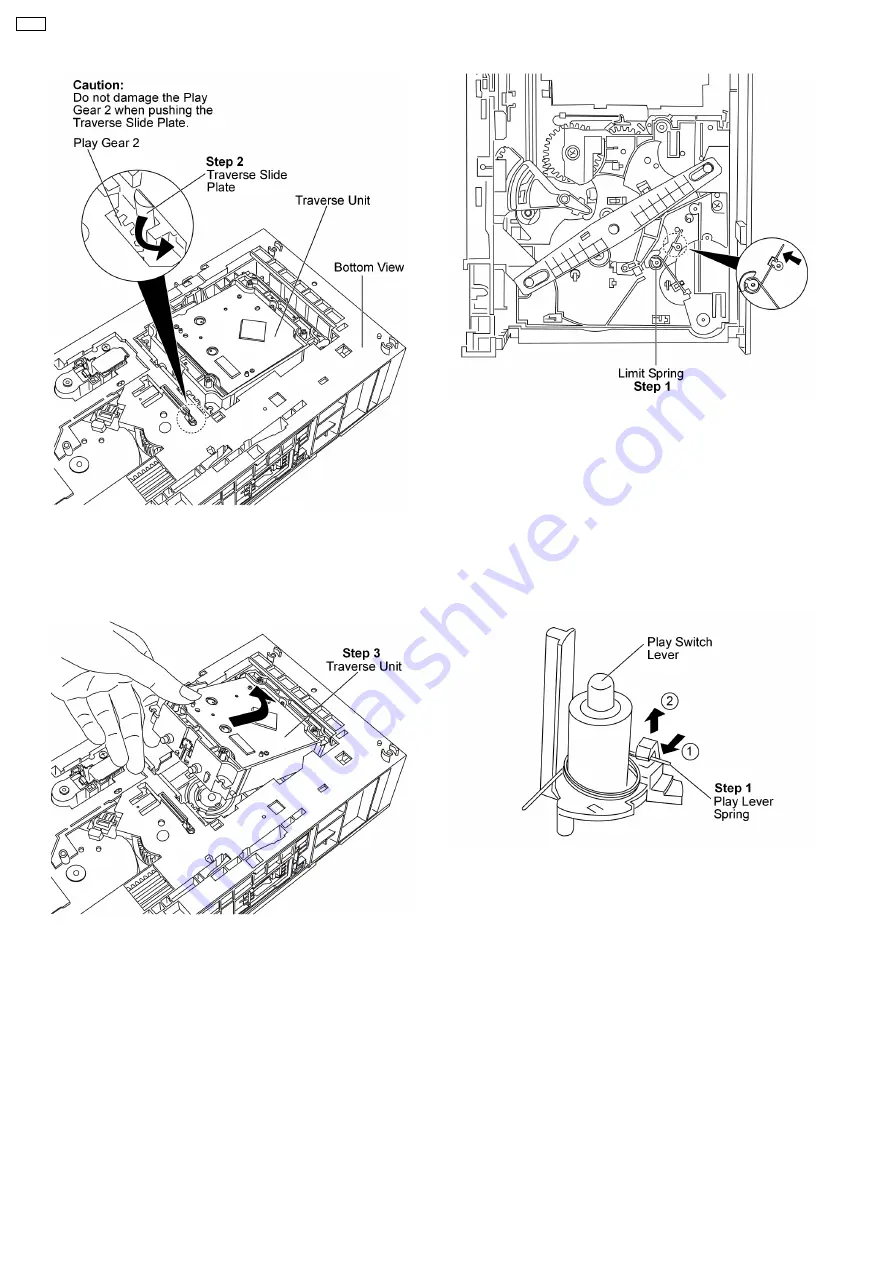
Step 2: Push the traverse slide plate as arrow shown to
release the traverse unit.
Caution: Do not exert strong force on the traverse
slide plate.
Step 3: Remove the traverse unit as arrow shown.
7.1.8. Disassembly of Limit Spring
·
Follow the (Step 1) to (Step 9) of item 7.1.1. (Disassembly
of UD Base Assembly)
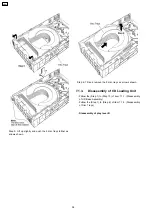
Step 1: Remove the limit spring as arrow shown.
7.1.9. Disassembly of Play Lever Spring
·
Follow the (Step 1) to (Step 13) of item 7.1.1. (Disassembly
of UD Base Assembly)
·
Follow the (Step 1) to (Step 6) of item 7.1.2. (Disassembly
of Disc Trays)
·
Follow the (Step 1) to (Step 26) of item 7.1.3. (Disassembly
of CD Loading Unit)
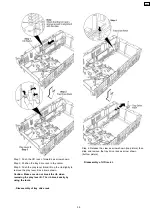
Step 1: Remove the play lever spring as arrow shown.
7.1.10. Disassembly of Pitch Plate
Assembly
·
Follow the (Step 1) to (Step 13) of item 7.1.1. (Disassembly
of UD Base Assembly)
·
Follow the (Step 1) to (Step 6) of item 7.1.2. (Disassembly
of Disc Trays)
·
Follow the (Step 1) to (Step 3) of item 7.1.3. (Disassembly
of CD Loading Unit)
70
CRS1
Summary of Contents for CRS1
Page 3: ...1 Mechanism Overview 3 CRS1 ...
Page 28: ... For tray 1 selection flow chart below will be used 28 CRS1 ...
Page 48: ...48 CRS1 ...
Page 52: ...CRS1 52 ...
Page 97: ...12 Exploded Views 12 1 CD Loading Mechanism 97 CRS1 ...
Page 98: ...98 CRS1 ...
Page 99: ...99 CRS1 ...

