background image

5

English

Power supply

Do not use a modi

fi

 ed cord, 

joint cord, extension cord or 

unspeci

fi

 ed cord to prevent 

overheating and 

fi

 re.


To prevent overheating, 

fi

 re or electric shock:

• Do not share the same power outlet with 

other equipment.

• Do not operate with wet hands. 

• Do not over bend the power supply cord.
If the supply cord is damaged, it must be 

replaced by the manufacturer, service agent 

or similarly quali

fi

 ed persons in order to avoid 

a hazard.
It is strongly recommended to be installed 

with Earth Leakage Circuit Breaker (ELCB) 

or Residual Current Device (RCD) to prevent 

electric shock or 

fi

 re.

Stop using the product if any abnormality/

failure occurs and disconnect the power plug 

or turn off the power switch and breaker.

(Risk of smoke/

fi

 re/electric shock) Examples 

of abnormality/failure

• The ELCB trips frequently.

• Burning smell is observed.

• Abnormal noise or vibration of the unit is 

observed.

• Water leaks from the indoor unit.

• Power cord or plug becomes abnormally hot.

• Fan speed cannot be controlled.

• The unit stops running immediately even if it 

is switched on for operation.

• The fan does not stop even if the operation 

is stopped.

Contact your local dealer immediately for 

maintenance/repair.

This equipment must be earthed to prevent 

electrical shock or 

fi

 re.

Prevent electric shock by switching off the 

power supply:

- Before cleaning or servicing,

- When extended non-use, or

- During abnormally strong lightning activity.

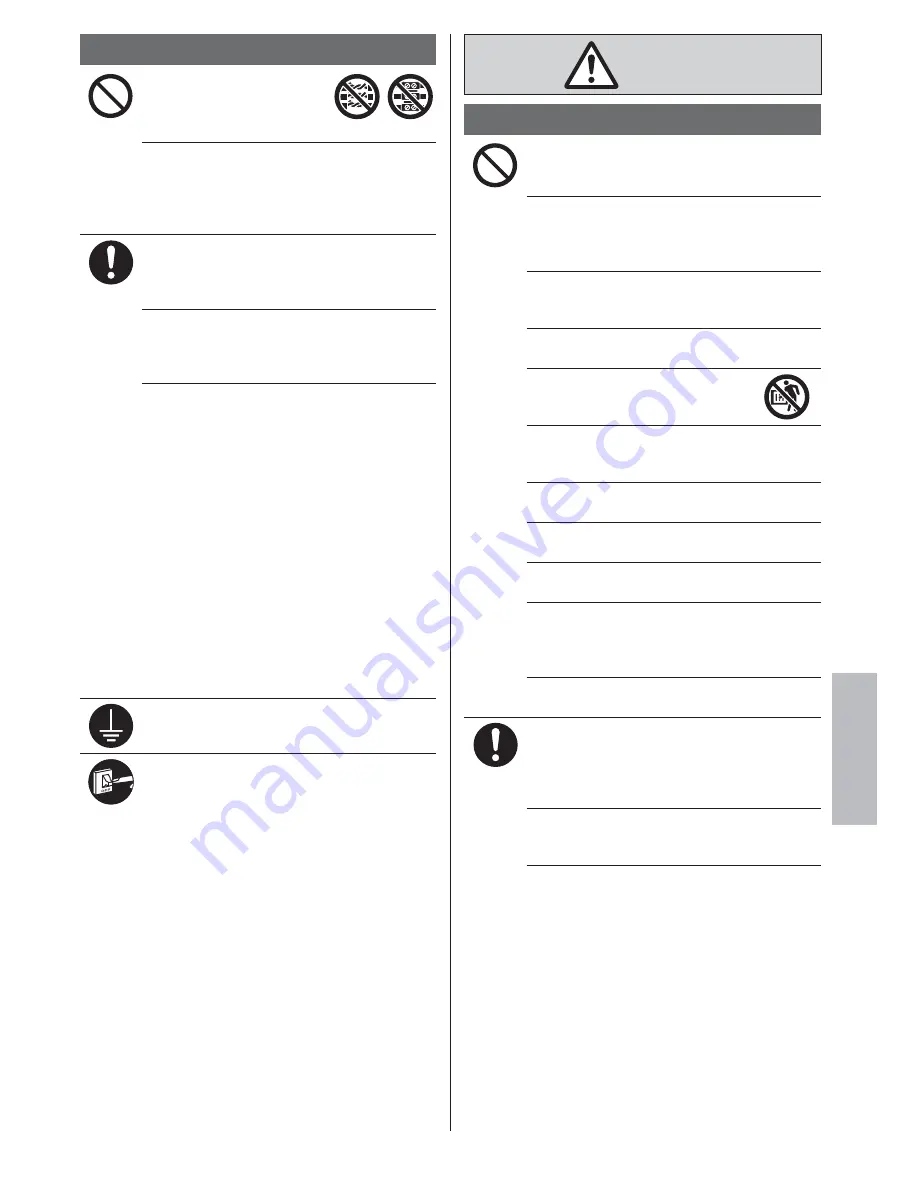
CAUTION

Indoor unit and outdoor unit

Do not wash the indoor unit with water, 
benzine, thinner or scouring powder to 
avoid damage or corrosion at the unit.
Do not use for preservation of precise 

equipment, food, animals, plants, artwork 

or other objects. This may cause quality 

deterioration, etc.
Do not use any combustible equipment 

in front of the air

fl

 ow outlet to avoid 

fi

 re 

propagation.
Do not expose plants or pet directly to air

fl

 ow 

to avoid injury, etc.

Do not touch the sharp aluminium 

fi

 n, sharp parts may cause injury.

Do not switch ON the indoor unit when waxing 

the 

fl

 oor. After waxing, aerate the room 

properly before operating the unit.
Do not install the unit in oily and smoky areas 

to prevent damage to the unit.
Do not dismantle the unit for cleaning purpose 

to avoid injury.
Do not step onto an unstable bench when 

cleaning the unit to avoid injury.
Do not place a vase or water container on the 

unit. Water may enter the unit and degrade 

the insulation. This may cause an electric 

shock.
Do not open window or door for long time 

during COOL/DRY mode operation.
Prevent water leakage by ensuring drainage 

pipe is:

- Connected properly,

- Kept clear of gutters and containers, or

- Not immersed in water
After a long period of use or use with any 

combustible equipment, aerate the room 

regularly.
After a long period of use, make sure the 

installation rack does not deteriorate to 

prevent the unit from falling down.

Safety precautions

Summary of Contents for CS-E12QD3RW

Page 1: ...oor Unit CU E12QD3R CU E18QD3R Multi Split Outdoor Unit CU 4E23QBR CU 4E27QBR CU 5E34QBR Operating Instructions Air Conditioner Thank you for purchasing Panasonic Air Conditioner Installation instructions attached Before operating the unit read these operating instructions thoroughly and keep them for future reference ...

Page 2: ...d COOL modes cannot activate at the same time for different indoor units The power indicator blinks to indicate the indoor unit is standing by for a different operation mode Operation conditions Use this air conditioner under the following temperature range DBT Dry bulb temperature WBT Wet bulb temperature CU E12QD3R CU E18QD3R Indoor Outdoor DBT WBT DBT WBT COOL Max 32 23 46 26 Min 16 11 5 HEAT M...

Page 3: ...MODE CHECK RESET AIR SWING OFF ON CANCEL CLOCK SET SELECT UP DOWN AC RC 3 1 2 1 Start stop the operation Please note that the OFF indication is as follows To start To stop 2 Select the desired mode DRY AUTO HEAT COOL 3 Select the desired temperature Selection range 16 C 30 C The illustrations in this manual are for explanation purposes only and may differ from the actual unit They are subject to c...

Page 4: ... Children should be supervised to ensure that they do not play with the appliance Please consult authorised dealer or specialist to clean the internal parts repair install remove and reinstall the unit Improper installation and handling will cause leakage electric shock or fire Confirm with authorised dealer or specialist on usage of any specified refrigerant type Using refrigerant type other than...

Page 5: ...fore cleaning or servicing When extended non use or During abnormally strong lightning activity CAUTION Indoor unit and outdoor unit Do not wash the indoor unit with water benzine thinner or scouring powder to avoid damage or corrosion at the unit Do not use for preservation of precise equipment food animals plants artwork or other objects This may cause quality deterioration etc Do not use any co...

Page 6: ...rature quickly Single This operation stops automatically after 20 minutes Multi Press the button again or turn OFF the unit to stop this operation Can be activated in all modes and can be cancelled by pressing the respective button again OFF ON TEMP TIMER CLOCK MODE QUIET POWERFUL FAN SPEED MODE CHECK RESET AIR SWING OFF ON CANCEL CLOCK SET SELECT UP DOWN AC RC Remote control display Press and hol...

Page 7: ... in the remote control and repeats daily once set The timer closest to the current time will be activated first If timer is cancelled manually or due to power failure you can restore the previous setting by pressing SET How to use Information To set the timer To ensure optimal performance of the unit cleaning has to be carried out at regular intervals Please consult authorised dealer Switch off th...

Page 8: ...thin 30 seconds or if the SET button is pressed the setting at that moment is confirmed and timer setup is ended To check current timer programme 1 Press TIMER MODE to enter timer mode and press SELECT to enter day setting 2 Press TIMER UP or DOWN until your desired day is shown press SELECT to confirm your selection 3 Press TIMER UP or DOWN to check the set programmes To modify current timer prog...

Page 9: ...tion for the operation when the ON timer has been set Cracking sound during operation Changes of temperature caused the expansion contraction of the unit Check the following before calling for servicing Symptom Check Operation in HEAT COOL mode is not working efficiently Set the temperature correctly Close all doors and windows Clear any obstruction at the air inlet and air outlet vents Noisy duri...

Page 10: ...Memo ...

Page 11: ...Memo ...

Page 12: ...F569674 SS0214 0 Printed in Malaysia Panasonic Corporation Website http panasonic net Panasonic Corporation 2014 ...

Reviews: