25
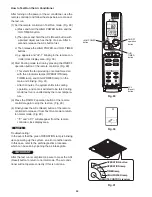
How to Test Run the Air Conditioner
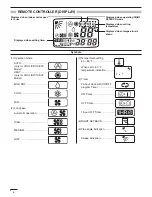
After turning on the power of the air conditioner, use the
remote controller and follow the steps below to conduct
the test run.
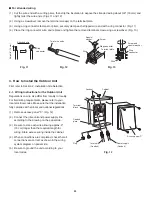
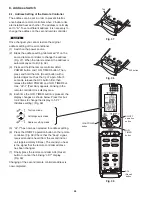
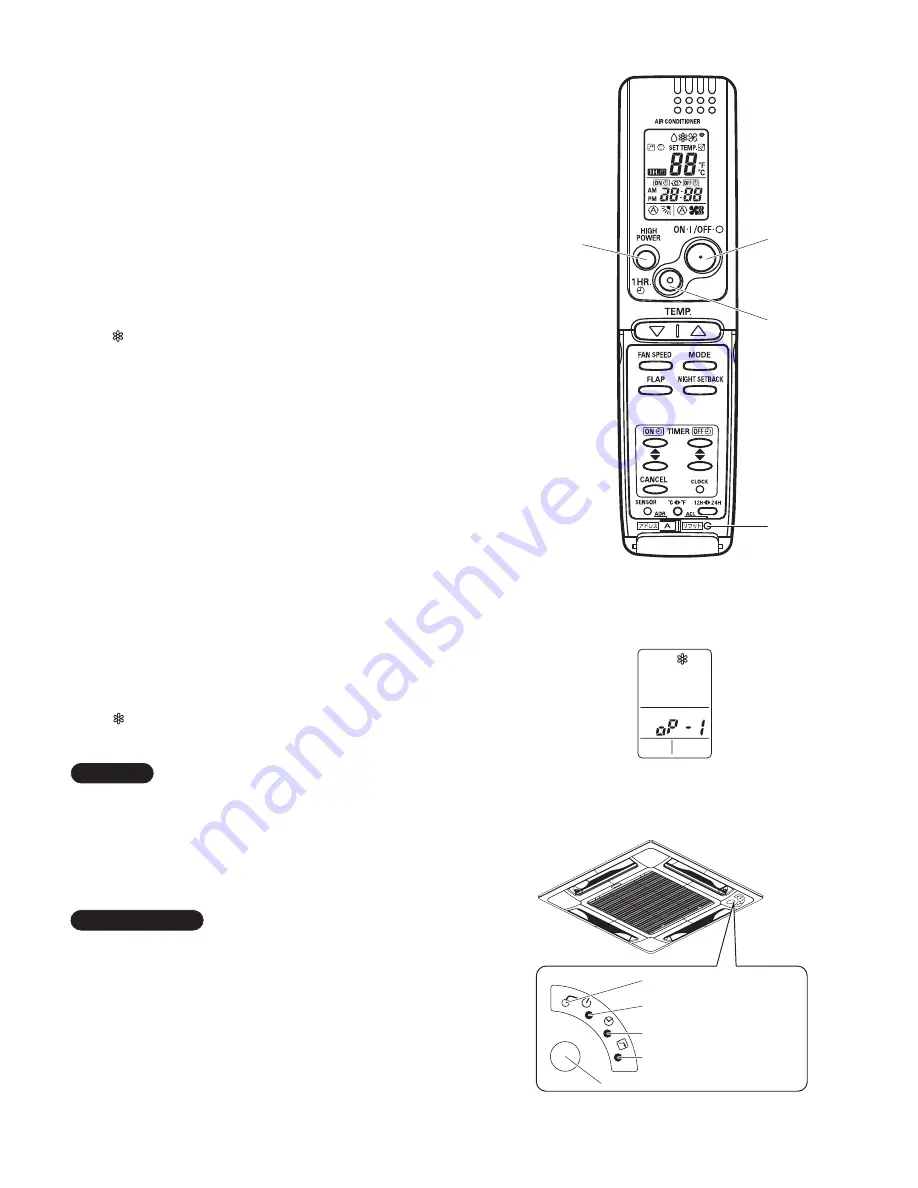
(1) Set the remote controller in Test Run mode. (Fig. 29)
a)Press and hold the HIGH POWER button and the
1HR. TIMER button.
b)Then press and hold the ACL (Reset) button with
a pointed object such as the tip of a pen. After 5
seconds, release the ACL button first.
c) Then release the HIGH POWER and 1HR. TIMER
buttons.
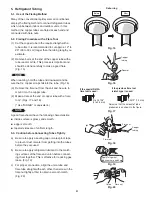
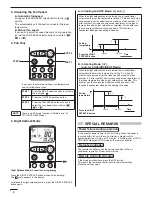
d)
appears and “oP-1” blinking in the remote con-
troller clock display area. (Fig. 30)
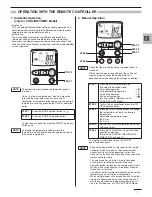
(2) Start Cooling mode test run by pressing the ON/OFF
operation button of the remote controller. (Fig. 29)
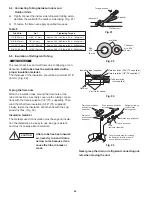
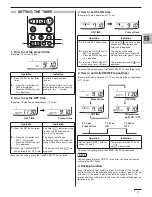
7KLVVWDUWVWKHIDQSURGXFLQJXQFRROHGIRUFHGDLU
with the 3 indicator lamps (OPERATION lamp,
TIMER lamp, and HIGH POWER lamp) on the
main unit blinking. (Fig. 31)
$IWHUPLQXWHVWKHV\VWHPVKLIWVLQWRFRROLQJ
operation, and cool air will start to be felt. Cooling
mode test run is unaffected by the room tempera-
ture.
(3) Press the ON/OFF operation button of the remote
controller again to stop the test run. (Fig. 29)
(4) Finally press the ACL (Reset) button of the remote
controller to release it from Test Run mode to return
to normal mode. (Fig. 29)
´
µDQG´R3µZLOOGLVDSSHDUIURPWKHUHPRWH
controller clock display area.
Troubleshooting:
In the event that the green OPERATION lamp is blinking
upon powering up the system, an error condition exists.
In this case, refer to the self-diagnostics procedure
which can be seen by opening the air-intake grille.
After the test run is completed, be sure to press the ACL
(Reset) button to return to normal mode. The air condi-
tioner will not operate correctly if this is not done.
IMPORTANT
NOTE
Fig. 29
Fig. 30
Fig. 31
ACL
(Reset)
button
1HR.
TIMER
button
ON/OFF
operation
button
HIGH POWER
button
OPERATION lamp
TIMER lamp
HIGH POWER lamp
REMOTE CONTROL receiver
OPERATION button
Summary of Contents for CS-KS12NB41
Page 37: ...Outdoor Unit CU KS12NK1A 8FA2 5251 12300 2 37 ...
Page 69: ......
Page 117: ......
Page 118: ...Operating Instructions CZ RD515U 852 6 4181 230 00 1 APPENDIX C A 3 ...
Page 129: ......
Page 130: ...A 4 INSTALLATION INSTRUCTIONS CZ RD515U 852 6 4190 592 00 0 APPENDIX D ...
Page 135: ......
Page 136: ...DC1111 0 ...

