48
13.1.4 Compressor
Overheating Prevention Control
•
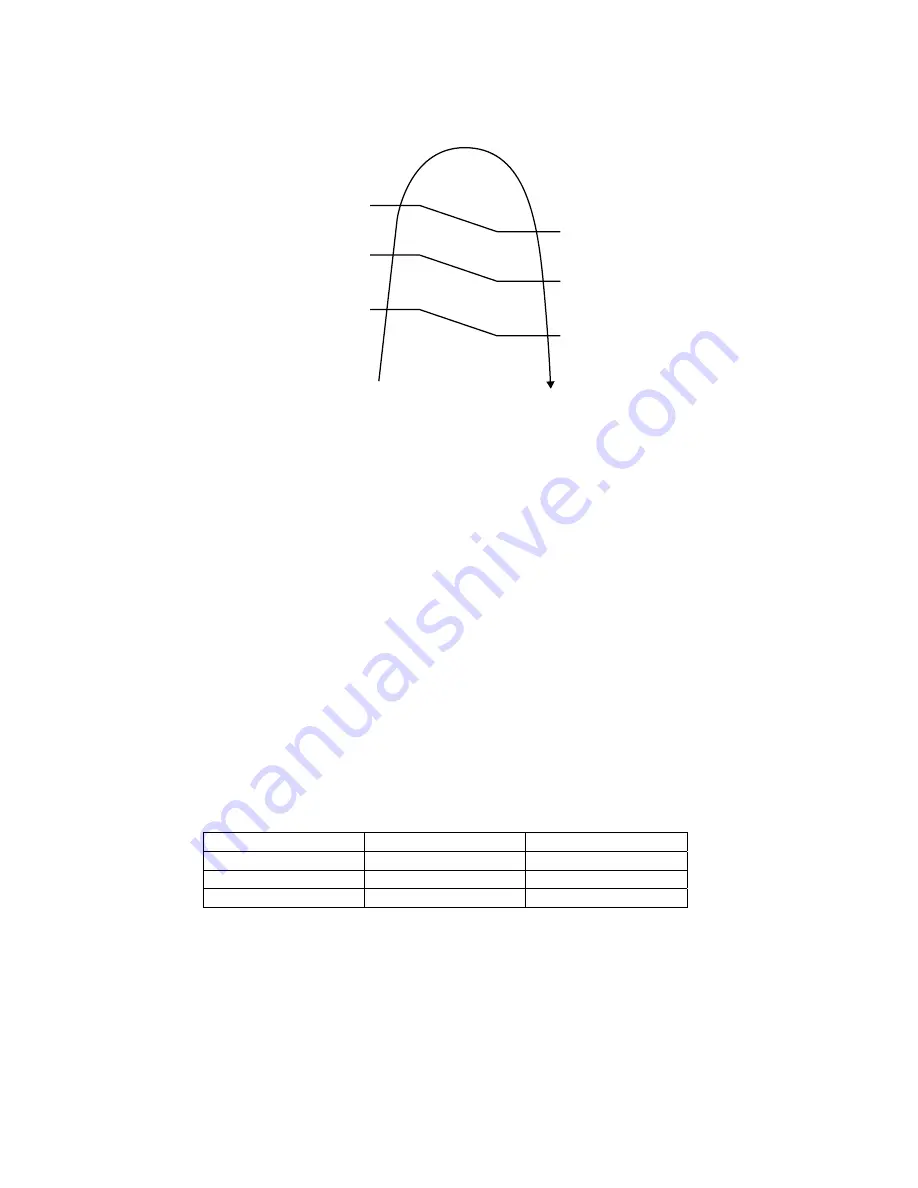
Instructed frequency for compressor operation will be regulated by compressor discharge temperature. The changes of
frequency are as below.
•
If compressor discharge temperature exceeds 103
°
C, compressor will be stopped, occurs 4 times per 20 minutes, timer LED
will be blinking. (“F97” is indicated.)
103°C
88°C
Comp. Discharge temperature
Compressor = OFF
99°C
87°C
Compressor Frequency
Reduce
96°C
86°C
Compressor Frequency
Maintain
Free
13.1.5 Low Pressure Prevention Control (Gas Leakage Detection)
a. Control start conditions
•
For 5 minutes, the compressor continuously operates and outdoor total current is between 0.6A and 1.15A.
•
During Cooling and Soft Dry operations:
Indoor suction temperature - indoor piping temperature is below 4°C.
•
During Heating operations :
Indoor piping temperature - indoor suction is under 5°C.
b. Control contents
•
Compressor stops (and restart after 3 minutes).
•
If the conditions above happen 2 times within 20 minutes, the unit will:
o
Stop
operation
o
Timer LED blinks and “F91” indicated.
13.1.6 Low
Frequency
Protection Control 1
•
When the compressor operate at frequency lower than 24 Hz continued for 240 minutes, the operation frequency
will be changed to 23 Hz for 2 minutes.
13.1.7 Low
Frequency
Protection Control 2
•
When all the below conditions comply, the compressor frequency will change to lower frequency.
Temperature, T, for:
Cooling / Soft Dry
Heating
Indoor intake air (°C)
T < 14 or T
≥
30
T < 14 or T
≥
28
Outdoor air (°C)
T < 13 or T
≥
38
T < 4 or T
≥
24
Indoor heat exchanger (°C)
T < 30
T < 0
Summary of Contents for CS-NE9NKE
Page 12: ...12 4 Location of Controls and Components 4 1 Indoor Unit 4 2 Outdoor Unit 4 3 Remote Control...
Page 13: ...13 5 Dimensions 5 1 Indoor Unit...
Page 14: ...14 5 2 Outdoor Unit...
Page 15: ...15 6 Refrigeration Cycle Diagram...
Page 16: ...16 7 Block Diagram...
Page 17: ...17 8 Wiring Connection Diagram 8 1 Indoor Unit...
Page 19: ...19 9 Electronic Circuit Diagram 9 1 Indoor Unit...
Page 20: ...20 9 2 Outdoor Unit...
Page 23: ...23 10 2 Outdoor Unit 10 2 1 Main Printed Circuit Board...
Page 29: ...29...
Page 90: ...90 Figure 3 Figure 4 16 1 1 3 To remove discharge grille Figure 5...
Page 92: ...92 Figure 8 Figure 9...
Page 93: ...93 Figure 10...


