- 12 -
Disassembly for service (continued)
Note:
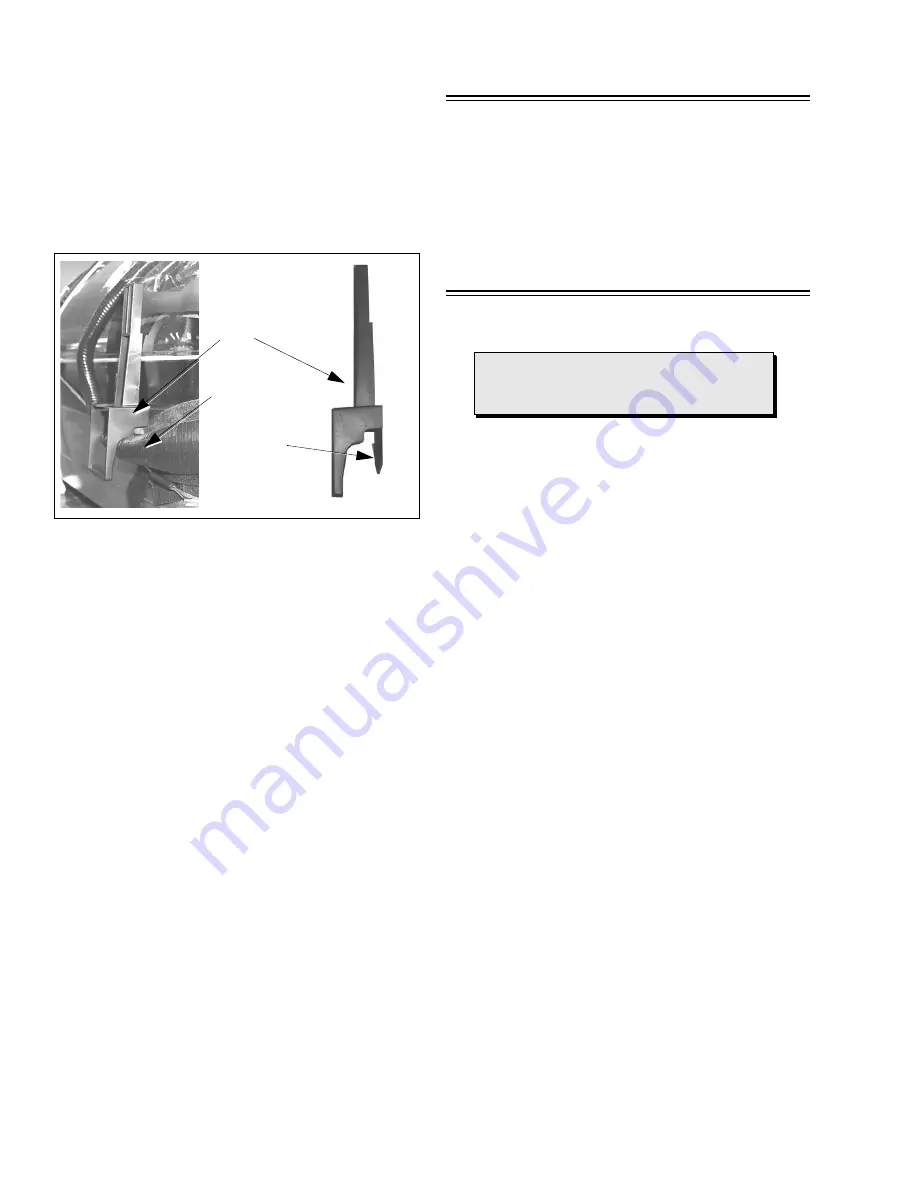
To remove the four brackets holding
the degauss coil from the corners of
the CRT, first remove the CRT from
the cabinet, then remove the brackets
by pressing the tab on the bracket and
pull upwards. These brackets are
included in the degauss coil kit, for part
number, please see parts list section
(see Fig. 7).
Figure 7. Brackets removal
6.
Note the original locations and mounting of the
degaussing coil and the dag ground assembly to
insure proper reinstallation on the replacement
CRT.
To remove and remount the degaussing coil:
The degaussing coil is held in place by clampers
fastened to the CRT corner ears. These clampers
must be installed onto the replacement CRT prior
to mounting the degaussing coil.
To remove and remount the dag ground braid:
a.Unhook the coil spring from the bottom corners
of the CRT ears.
b.Release the braid loop from the upper corners of
the CRT ears.
7.
Mount the dag ground braid on the replacement
CRT. Position the degaussing coil with new ties.
Dress coil as was on the original CRT.
8.
Replace the components on CRT neck and
reinstall into cabinet. Verify that all ground wires
and circuit board plugs get connected.
Note:
Reuse all the clampers and mounting
brackets from the degaussing coil and
screen, and when remounting the
degaussing coil assure that is not
touching the speakers, this can be
done
by
placing
some
tape
(see Fig. 7), this may cause mask
vibration. The mounting brackets and
clampers are not supplied with the
replacements.
Degaussing
coil
bracket
Degaussing
coil
Press tab
then pull
upwards
When ordering the CRT, please order CRT
and CRT KIT also. Please see parts list
section for part numbers
Important notice:
Summary of Contents for CT-32SX12CF
Page 50: ... 50 A Board ...
Page 52: ... 52 ERJ6GEYJ183V NP2AH037AC ERENCES A Board ...
Page 53: ... 53 A Board ...
Page 56: ... 56 D Board ...
Page 57: ... 57 D Board ...
Page 58: ... 58 D Board ...
Page 61: ... 61 notes NOTES ...
Page 62: ... 62 G Board ...
Page 63: ... 63 G Board ...
Page 64: ... 64 G Board ...
Page 66: ... 66 L Board ...
Page 67: ... 67 L Board ...
Page 68: ... 68 A PCB ...
Page 69: ... 69 A PCB ...
Page 70: ... 70 D PCB ...
Page 71: ... 71 D PCB ...
Page 72: ... 72 G PCB ...
Page 73: ... 73 G PCB ...
Page 74: ... 74 L PCB ...
Page 75: ... 75 notes NOTES ...


