20
(EN)
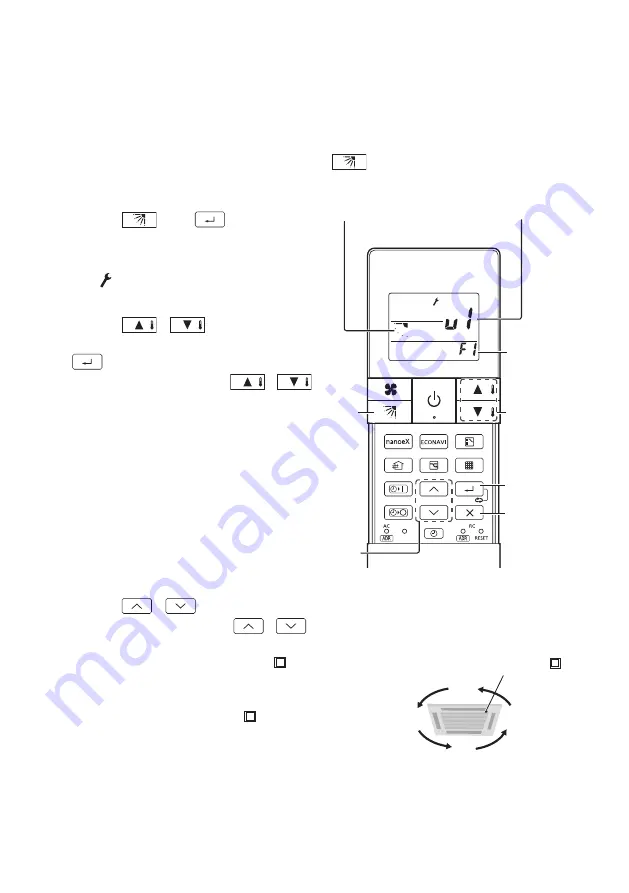
Lock Individual Flap
(Supported models: 4-way ceiling cassette type)
You can set the flap for each air outlet individually according to the room
condition.
• Even if the flap setting is changed with
(P.19), the flap directions
set here are not changed.
1. Press
and
at the
same time for 4 seconds or
longer.
• “ ” starts blinking and the
setting screen is displayed.
2. Press
/
to select the
indoor unit to set, then press
.
• Every time you press
/
to switch between “U1 ↔ U2 ↔ …
↔ U8 ↔ AL (All indoor units that
are connected to the remote
controller)”, the buzzer sounds
from the corresponding receiver.
• When settable: 1 short beep
• When not settable*: 1 short
beep followed by 1 long beep
* When the indoor unit is not
connected or does not support
this function.
3. Press
/
to select the air outlet.
• Every time you press
/
, it cycles from “F1 ↔ F2 ↔ F3 ↔ F4
↔ AL (All the air outlets)”.
• The square mark (indented
) on the panel
of the indoor unit indicates air outlet No. 1.
There are some models that do not have a
square mark (indented
).
• The air outlet No. changes according to the
installation direction. Check by actual
operation.
1
1, 2, 4
5
2, 4
3
Indoor unit
Air outlet
Flap
F1
F2
F3
F4
Square mark (indented
)


